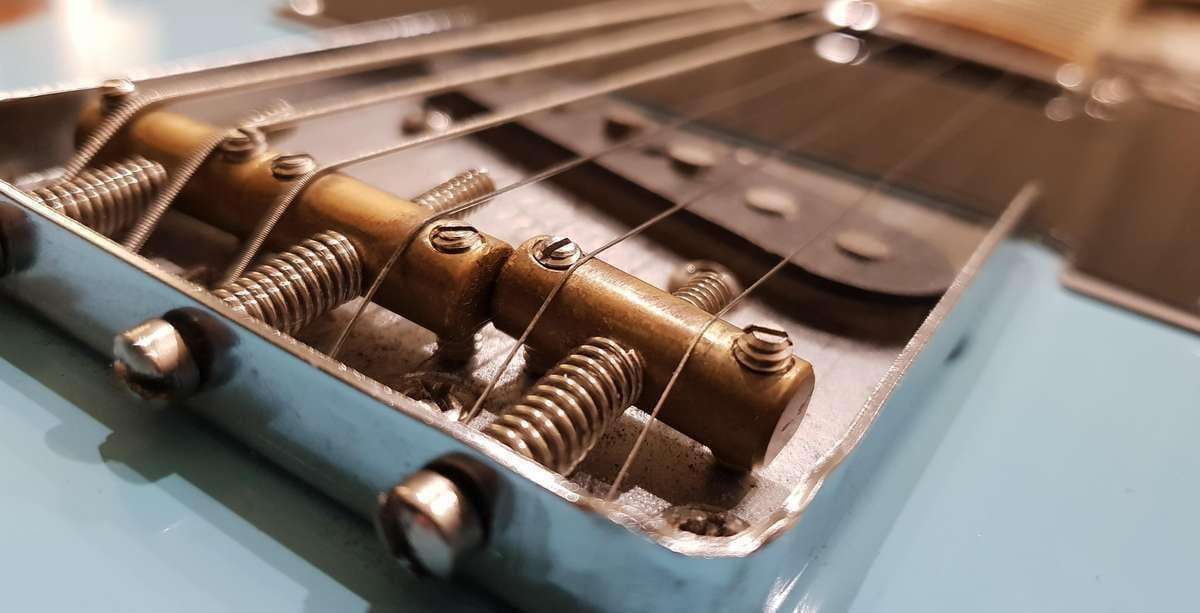
Telecaster Neck Relief: Specs & Truss Rod Adjustment
Measure Telecaster neck relief at the 8th fret, choose a Fender radius-based starting point, identify your truss rod and know when to stop adjusting the neck.
Telecaster neck relief is the small lengthwise curve you check before changing saddle height. Measuring it answers a useful question: does the neck need adjustment, or should you investigate the bridge, nut or individual frets instead?
Quick answer: Fender's general starting relief is 0.010 inch (about 0.25 mm) for a 9.5–12-inch-radius Telecaster. Tune, capo the first fret, hold the low E at the last fret and measure above the 8th fret. A 7.25-inch radius uses 0.012 inch; 15–17 inches uses 0.008 inch. Confirm your actual neck and manual before adjusting.
Use the Fender Setup Guide for the illustrated measuring methods, reference tables and printable setup records. This article takes you through the relief check and the decisions around it.
- Fender Telecaster neck relief specs
- Identify your truss rod and tool
- Measure relief accurately
- Adjust only when the measurement calls for it
- Troubleshoot buzz and high action
- Keep a before-and-after setup record
- Frequently asked questions
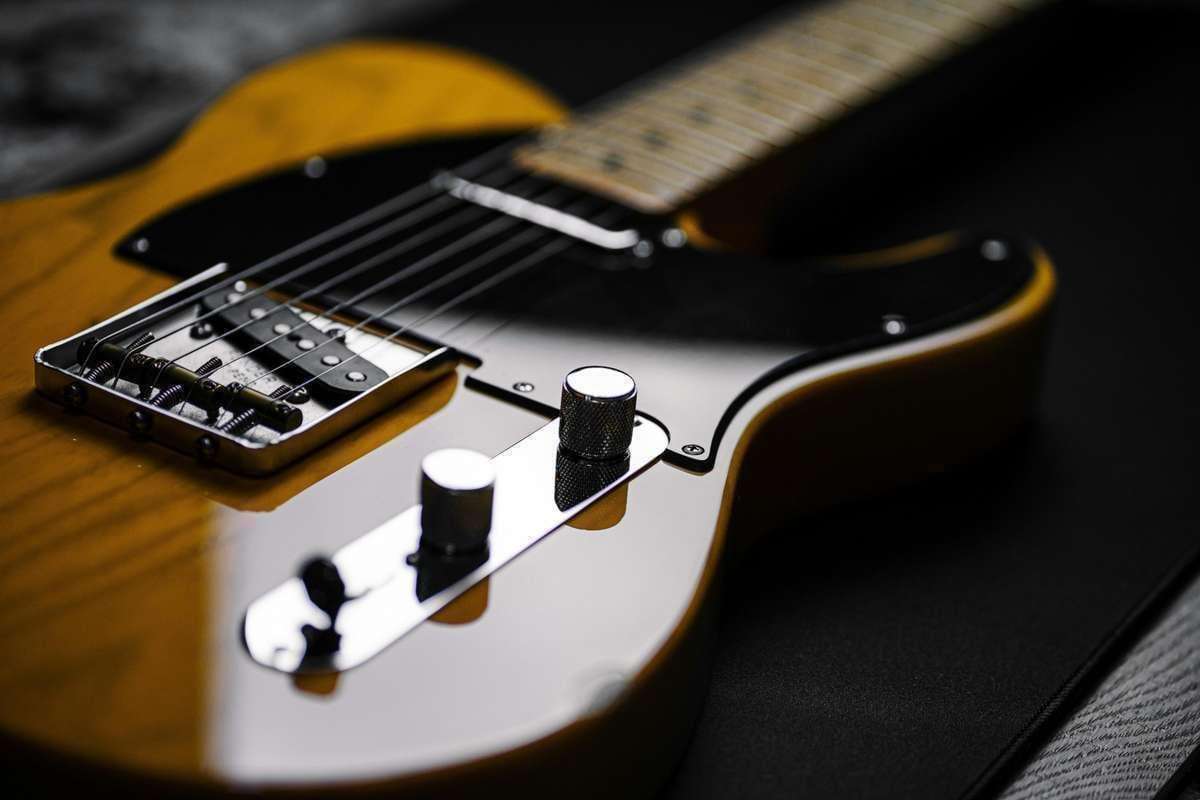 Photo by Chris Hardy on Unsplash. This is an instrument overview, not a relief measurement.
Fender Telecaster neck relief specs
Choose the row by radius
Relief below is measured at the eighth fret. Metric equivalents are rounded.
| Radius (in) | Relief (in) | Relief (mm) |
|---|---|---|
| 7.25 | 0.012 | 0.30 |
| 9.5–12 | 0.010 | 0.25 |
| 15–17 | 0.008 | 0.20 |
These are Fender's general electric-guitar starting references, with the first and last frets held. Fender allows for string gauge and playing preferences; the table is not a pass/fail test for every instrument. See the manufacturer's factory setup specifications.
Check the specification for your exact neck. The setup specs lookup is a convenient starting reference, but a replaced neck or changed hardware may differ from the original guitar. For a compound radius or an unlisted radius, use the applicable manual rather than averaging two rows.
Relief, action and radius describe different things
Relief runs along the neck. Radius describes its curve across the fingerboard. Action is string height above a fret, measured under its own specified conditions. They interact, but the readings are not interchangeable.
A saddle adjustment changes the string's height; it does not straighten neck curvature. A truss rod adjustment changes the neck's curve; it does not level a raised fret or repair a poorly cut nut slot. This distinction saves you from repeatedly turning the rod when a different check is needed.
There is no need to make a comfortable guitar conform exactly to a general chart. Record its existing setting first. The useful endpoint is a stable, playable setup for your touch, with a measurement you can reproduce later. Our factory versus custom Telecaster setup guide explains that distinction further.
Tools for the measurement
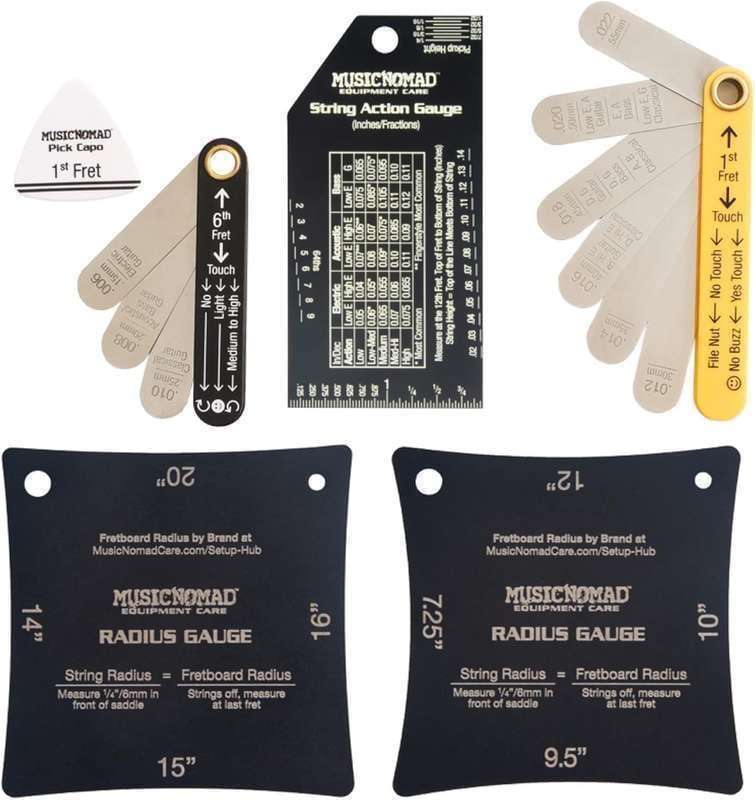
Gather a tuner, a capo and feeler blades around your chosen reference. You also need good light and a supported instrument. The adjustment tool is a separate decision, made only after identifying the fitted rod.
The kit below combines measurement tools; the separate relief gauge is an alternative if you already have the other items. You do not need both. Read the blade markings, and use the Fender fret positions in this article when comparing with Fender's table; a tool maker may describe a different measuring method.
 Buy on Amazon
Identify your Telecaster truss rod and tool
Headstock access does not identify the rod type
Fender uses both conventional single-action rods and its Bi-Flex system. Both can have headstock access. A dark opening, walnut plug or familiar series name is not enough to establish the mechanism on a particular guitar.
For two documented examples, Fender lists the Player II Telecaster with a single-action, head-adjust rod and a 3/16-inch hex fitting. Its American Professional II replacement Tele neck lists Bi-Flex and a 1/8-inch hex fitting. These examples explain why one “Fender wrench” does not fit everything; they are not a tool chart for every production year or Squier.
Find the exact model instructions or Fender service manual. On a modified guitar, identify the installed neck as well as the body. Use a correctly sized, undamaged tool that seats fully. A nearly fitting metric or imperial key can damage the socket.
What single-action and Bi-Flex mean
A conventional single-action rod resists forward bow. Loosening it reduces that resistance so string tension can influence the neck; it does not provide unlimited active movement in the opposite direction.
A verified Bi-Flex mechanism can act in both directions. Fender describes a neutral region between its two working directions in the Bi-Flex explanation. That behavior must not be used as permission to keep turning an unidentified or resistant rod. If the response surprises you, stop and establish what is fitted.
Vintage heel access needs a separate plan
Some Telecaster necks have an adjustment nut at the heel, where clearance can be restricted by the body or pickguard. A visible slot does not mean you can reach it with a screwdriver at a safe angle.
Check the relevant instructions before removing parts. If access requires neck removal, detune first and have someone equipped for that work remove and reinstall it correctly. Do not pry the neck back against partly loosened screws or force a driver past the body finish. A wheel adjuster is another mechanism with its own tool and access requirements.
You can still measure relief and record symptoms without touching the adjuster. Those observations are useful to a technician even when you choose not to do the adjustment yourself.
How to measure Telecaster neck relief
1. Tune and establish repeatable conditions
Use the strings and tuning you intend to play. If you are changing gauge, fit and settle that set before taking your final baseline. Record the tuning and gauge; otherwise a later change in tension can make two readings difficult to compare.
Support the instrument consistently without pushing the middle of the neck into a different shape. Do not pull on the headstock while holding the last fret. If the reading changes when you move your hands, improve your measuring position before drawing conclusions.
A tuner you already own is sufficient for this step. These pedal and clip-on options are alternatives, not required upgrades. What matters here is checking pitch again after every adjustment.
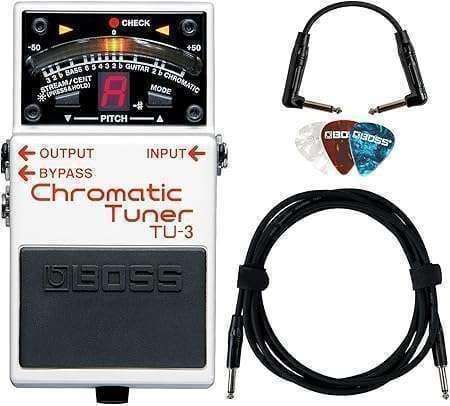

2. Capo first and hold the actual last fret
Place the capo just behind the first fret, then hold the low E against the last fret. Use fret 21 on a 21-fret neck or fret 22 on a 22-fret neck. Do not substitute the 12th fret or neck/body joint when using the table above.
The held string forms a straight reference between those contact points. You are checking the gap beneath that reference, not measuring the open string's ordinary playing height.
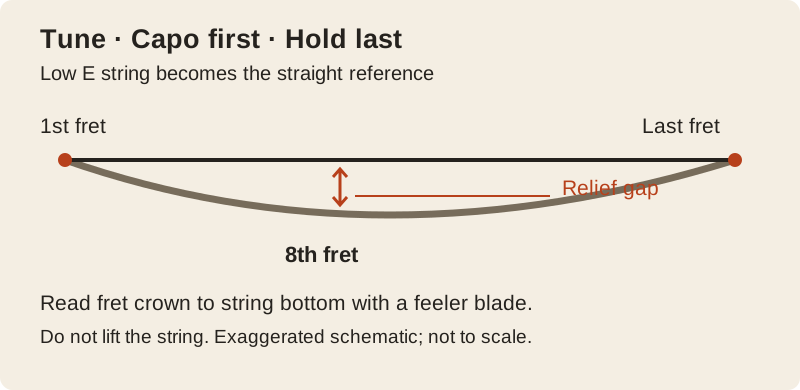 Original schematic; curvature is exaggerated and fret spacing is not to scale. The gap is between the fret crown and the underside of the string.
3. Read above the eighth fret
Slide a clean feeler blade between the eighth fret's crown and the bottom of the low E. Watch the string as the blade enters. If the blade pushes it upward, the blade is larger than the gap; pressing harder does not make that the measurement.
Try a thinner blade and work toward a light contact without lifting the string. If one blade fits and the next does not, record the bracket rather than claiming precision your tools cannot resolve. For example, “0.009 fits; 0.010 lifts” is more useful than rounding it to a confident 0.010.
Release the last-fret hold, retune if needed and repeat. Ask a helper to hold the string if reaching both positions makes you bend the neck or lose the capo contact. A repeatable reading is the prerequisite for an adjustment, not something to establish afterwards.
4. Compare the method as well as the number
A zero-looking gap does not prove the entire neck has back-bow; a very small clearance or fret irregularity can complicate the reading. Likewise, a large-looking gap in a photograph is not a measurement. Use the blades, fret positions and tuning consistently.
If relief is close to your chosen reference and the guitar plays well, leave the rod alone. If relief differs and you have a relevant playability problem, move to the adjustment decision below. Keep the starting reading even when the eventual decision is to stop.
Telecaster truss rod adjustment: direction and limits
Which way should you turn?
For the conventional Fender adjustments described in the Telecaster setup instructions, clockwise reduces forward relief and counterclockwise allows more relief. Read those directions while looking directly into the adjustment nut. Moving from headstock access to heel access changes where you stand, not what clockwise means at the nut.
Do not decide from buzzing alone. A repeatable gap larger than your applicable reference may justify reducing relief. A smaller gap may justify increasing it, but only after confirming the measurement and identifying the mechanism. A nearly straight neck is not automatically defective.
Make one small change, then check
Follow the installed rod's instructions. A movement of around one eighth of a turn is a small practical example, not a universal safe dose or a promised number of turns. Note the initial tool position so you can describe what changed.
Remove the tool, return to pitch and repeat the same relief measurement. Play the notes that prompted the work before making another decision. Avoid changing saddle height, pickup height and relief together: you would lose the ability to connect a result with a particular adjustment.
If the reading is still moving, give the instrument time and check again under the same conditions. There is no fixed waiting period that makes forceful adjustment safe. Do not chase the target through repeated turns when the response is unclear.
Know when to stop
Stop if the tool slips, the fitting looks damaged, resistance becomes excessive, or the neck does not respond as expected. Fender also recommends professional assessment when constant readjustment is necessary. Do not add leverage, improvise a larger handle, or keep loosening an unidentified mechanism to search for a result.
For heel-access work, the meaningful “after” reading comes after correct reassembly and tuning. A gap measured with slack strings or a detached neck cannot be compared directly with the tuned baseline.
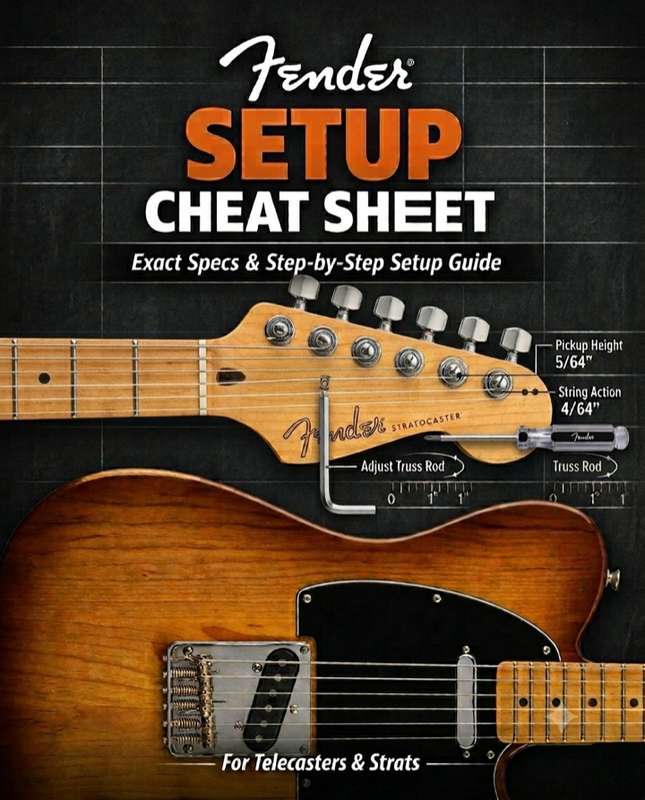
The illustrated Fender workbook covers relief measurement and adjustment limits, then continues through action, pickups and intonation. Its blank records let you keep your own settings alongside the manufacturer's starting references.
When fret buzz or high action is not a relief problem
Use symptoms to choose the next check
The following table is a diagnostic route, not a diagnosis. Several faults can produce similar sounds, and changing relief cannot identify all of them.
| Observation | Useful next check |
|---|---|
| Buzz over several lower or middle frets | Repeat relief measurement; also consider action, attack and fret condition |
| One note buzzes or dies while its neighbors are clear | Inspect that local fret area before changing the whole neck |
| Open string buzzes but fretted notes are clear | Investigate nut/string contact and loose hardware |
| High-fret bends choke | Check action, radius and fret condition at the bend location |
| Action remains high with reasonable relief | Check saddle range and neck angle through the proper setup procedure |
| Readings vary between attempts | Stabilize tuning, support and contact points first |
Check the sound in a useful way
Play the same string, fret and phrase with your ordinary attack, then compare through a clean amp at a sensible level. Write down whether the symptom affects the amplified note, sustain or bend. An acoustic rattle and a note that cuts out are different observations.
Fender's factory guidance acknowledges that some minor string rattle can occur. The practical question is whether the guitar performs the music you need it to play. Adding relief until every hard unplugged attack is silent can leave you with a setting you dislike.
Measure action separately
Once relief is stable, remove the capo and release the held string before checking action. Fender's general electric reference uses the 17th fret. A 12th-fret reading can be useful in another setup method, but it should not be compared directly with Fender's 17th-fret figure.
Either of these string-height rulers can help with that separate check; you do not need two, and neither replaces the feeler blade used for relief. Rest the ruler on the fret crown, then read to the underside of the string with your eye level with the mark.
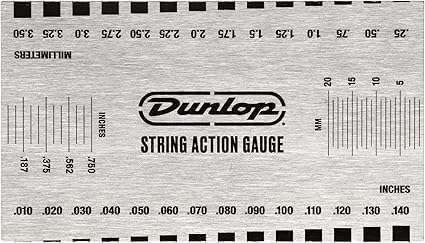
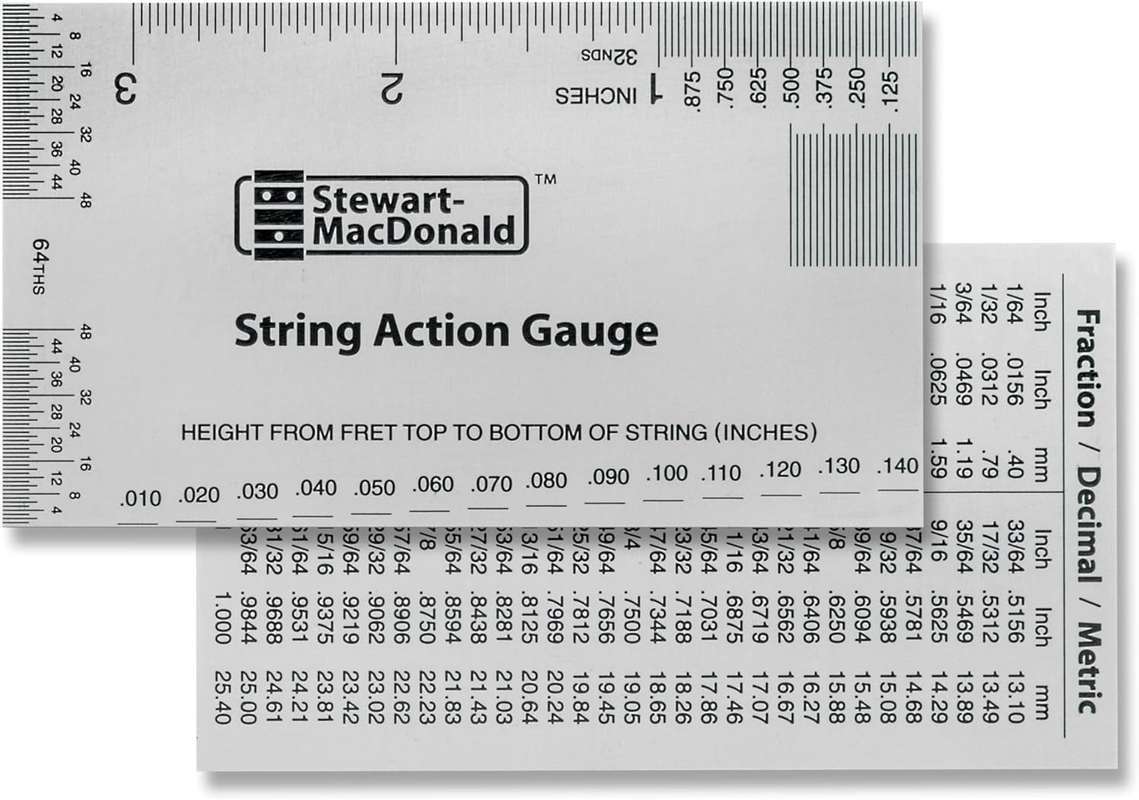
Continue with the complete Telecaster setup sequence. After relief and action are stable, set your Telecaster pickup height and finish with the Telecaster intonation procedure.
Keep a Telecaster neck relief record
Copy this blank check sheet
Keep the reference and your actual result in separate fields. Blank entries mean “not measured”; do not fill in the factory value as though it were an observation.
| Check | Your notes |
|---|---|
| Date; guitar and installed neck | __________ |
| Strings, gauge and tuning | __________ |
| Actual radius; reference/manual | __________ |
| Rod type, access and confirmed tool | __________ |
| Before: first/last held, gap at eighth | __________ |
| Adjustment direction and amount, or none | __________ |
| After: retuned, same contact points | __________ |
| Original symptom: string/fret/phrase | __________ |
| Play-test result and next check | __________ |
Use a repeatable finish line
- Tuning is back at the intended pitch.
- Two careful relief readings agree within what your blades can distinguish.
- The original phrase has been checked with comparable attack.
- Any later action measurement has its own fret and string state recorded.
- A stop condition is recorded honestly rather than counted as a completed setup.
Keep the sheet with the guitar or take a photograph of your notes. At the next string change, compare with that working baseline before deciding that another adjustment is needed.
Recheck after changes, not by the calendar alone
Temperature, humidity and changes in string tension can affect a neck; Fender discusses these in its setup maintenance guidance. “Loosen in winter” and “tighten in summer” are not reliable instructions for an individual instrument.
Let a guitar brought from different conditions acclimatize, tune it and measure. If playability is unchanged, a season change is not itself a reason to turn the rod. A record helps distinguish a genuine change from a slightly different measuring technique.
Telecaster neck relief FAQ
How much neck relief should a Telecaster have?
Fender's general starting references are 0.012 inch for a 7.25-inch radius, 0.010 inch for 9.5–12 inches and 0.008 inch for 15–17 inches. These use an eighth-fret measurement with the first and last frets held. Verify your actual neck and manual.
Do I measure Telecaster relief at the seventh or eighth fret?
Use the eighth fret for Fender's reference table, with a capo at the first and the low E held at the last. Other methods may use different contact points; keep each target paired with the method that produced it.
Does clockwise tighten a Telecaster truss rod?
For the conventional Fender procedure, clockwise when facing the adjustment nut reduces forward relief. Counterclockwise allows more. Establish the rod type and access direction before making a small adjustment and rechecking.
What size Allen key does a Telecaster need?
There is no universal size. Fender lists 3/16 inch for the cited Player II Telecaster and 1/8 inch for the cited American Professional II replacement neck. Other instruments and heel fittings differ. Confirm the installed neck's instructions and full tool engagement.
Should I loosen the strings before adjusting?
Measure relief at normal tuning. For the adjustment itself, follow the instructions for your rod and access method; detune before any required neck removal. Retune after correct reassembly before comparing the new reading with the baseline.
Can I adjust a vintage heel rod without removing the neck?
Only if the installed design provides proper access with the correct tool. Restricted clearance is not permission to lever a driver past the body or tilt a neck against partly loosened screws. Have a technician handle access that requires work beyond your experience.
Will more relief always fix fret buzz?
No. Buzz can involve low action, a nut problem, uneven frets, technique or loose parts. Measure relief first and note which strings and frets are affected. A localized fault may remain even after the neck's overall curve changes.
Is a perfectly straight Telecaster neck always wrong?
No. Some players can use very little relief with suitable action and fret condition. Fender's figures are starting references. Judge a repeatable measurement alongside the guitar's playing response rather than assuming every nearly straight neck needs adjustment.
What if the truss rod is tight or the gap does not change?
Stop. Confirm the tool and mechanism without applying more force. Excessive resistance, tool slip, an unexpected lack of response or repeated need for adjustment calls for a qualified technician or Fender service assessment.
Will heavier strings require more neck relief?
A gauge change can alter tension and the measured curve, but it does not prescribe one new relief target. Fit the intended strings, tune, remeasure and assess playability before adjusting. Keep the old and new gauge in your setup record.
For the next workbench session, the Fender Setup Guide brings the illustrated checks, scoped references and printable records together. Start with a measurement you trust, change one thing at a time, and keep the result that works for your guitar.