Squier Setup: Find the Right Guide for Your Guitar
Start your Squier setup by identifying the bridge, pickups and scale. Choose the right Strat, Tele or bass guide and record a useful baseline before adjusting.
A Squier setup starts with the guitar in front of you: its bridge, scale, pickups and playing symptoms. “Affinity” or “Classic Vibe” helps identify a family, but it does not select one action height or adjustment method for every instrument in that family. A hardtail Strat, a three-saddle Tele and a Jaguar with a separate vibrato need different instructions.
Use this page to choose the right walkthrough and make a useful record before turning any screws. The existing Strat and Tele guides explain their adjustments in detail; this parent guide helps you avoid applying one guitar's procedure to another. Bass owners have a separate route below.
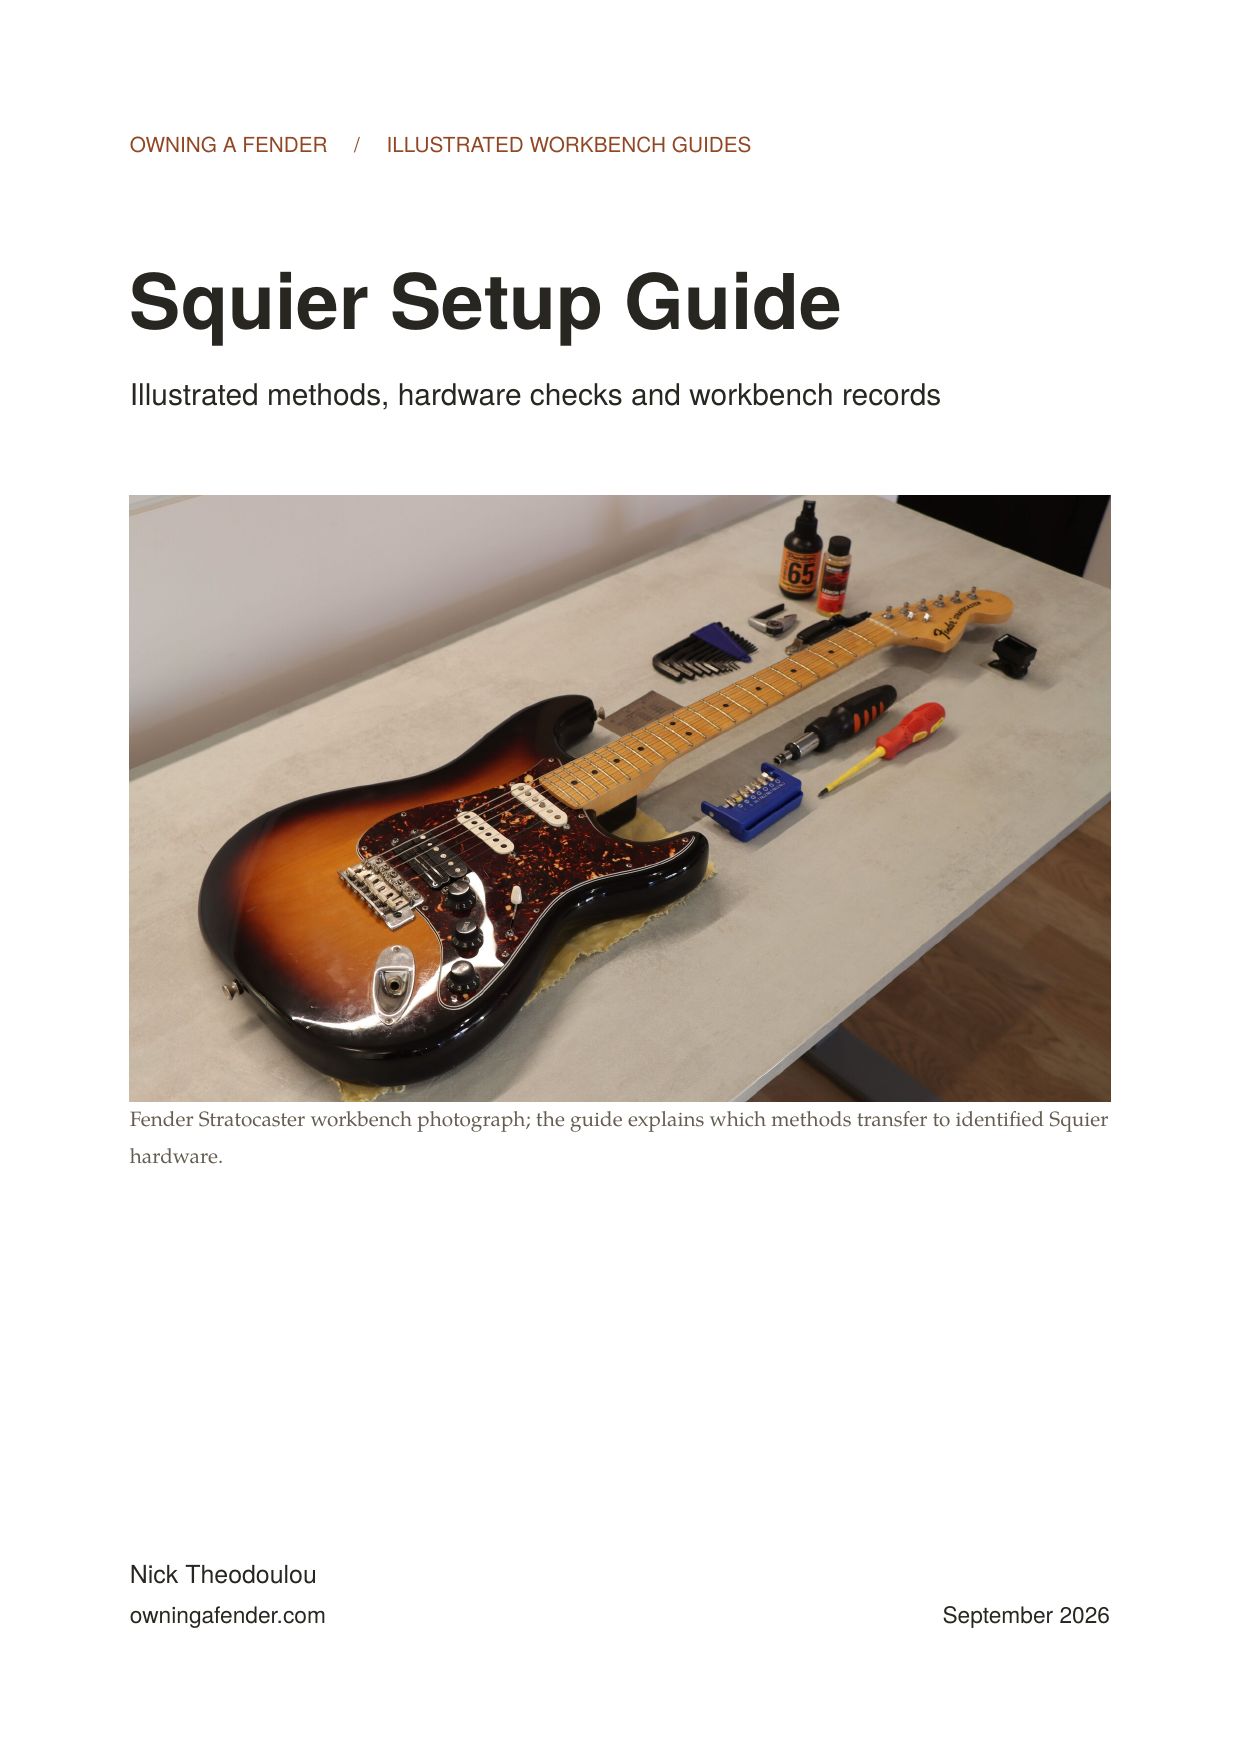
Find Your Squier Setup Route
Start with the model name on the headstock, then look at the bridge. On a used or modified instrument, the installed parts are more useful than an assumption about its original specification. Keep a photo of the bridge and any available model number alongside your notes.
| Your instrument | What to identify first | Next guide |
|---|---|---|
| Full-size, non-locking Squier Stratocaster | Hardtail, two-point tremolo or six-pivot-screw tremolo | Squier Stratocaster setup |
| Conventional Squier Telecaster | Three shared saddles or six individual saddles; top-load or string-through routing | Squier Telecaster setup |
| Squier Precision, Jazz or PJ bass | Installed pickup layout, scale and string fit | Squier Bass setup |
| Jaguar, Jazzmaster or Mustang | Actual bridge and tailpiece, scale, pickups and any modifications | Identify the exact model with its maker's specifications before choosing an adjustment procedure |
| Mini, baritone, locking-tremolo or heavily modified guitar | Scale, tuning, bridge system and manufacturer instructions for installed parts | Use the relevant model or hardware manual; the ordinary Strat/Tele walkthrough may not cover it |
The first three links are the direct routes into our detailed setup articles. The other rows deliberately begin with identification: a familiar body outline does not establish which screws adjust height, which parts should move or what string set fits.
If you are still comparing instruments rather than setting up one you own, the Classic Vibe versus Affinity comparison covers buying decisions. A setup can address an adjustment problem; it cannot turn a guitar into a different scale, pickup layout or bridge design.
Series Names Are Clues, Not Settings
A series name can narrow a specification search, especially when paired with a model number and approximate production year. It is not a reason to give an Affinity more relief than a Classic Vibe. Nor does “Contemporary” automatically establish the truss-rod mechanism or the correct pickup clearance.
Check the complete model designation. Letters such as HT, HSS or HH can distinguish a fixed bridge or pickup arrangement from another instrument sold under a similar name. If the guitar has replacement pickups or a replacement neck, record those separately instead of treating the original product listing as a description of everything now installed.
A Squier serial-number lookup can help investigate production information. It does not prove the current bridge, pickups or neck are original, and a date alone cannot provide their adjustment specifications. Photographs and the exact product or service documentation remain important.
Read the Hardware Before Choosing a Procedure
These manufacturer examples show why the route matters. They describe the linked models as checked in September 2026, not every guitar from every year carrying the same series name.
| Manufacturer example | Verified distinction | Why it changes your next step |
|---|---|---|
| Sonic Stratocaster HT | Six-saddle hardtail bridge | Skip tremolo spring and claw procedures |
| Affinity Series Stratocaster | Two-point tremolo | Use the two-point branch of the Strat guide |
| Sonic Telecaster | Six-saddle top-loading Tele bridge | Each string has its own saddle; identify the loading route before restringing |
| Classic Vibe '50s Telecaster | Three-saddle, string-through Tele bridge | Check both strings sharing each saddle when assessing intonation |
| Classic Vibe '70s Jaguar | 24-inch scale, floating bridge and separate vibrato | Do not apply a Strat rear-claw procedure |
| Paranormal Baritone Jazzmaster HH | 27-inch scale, Adjust-o-matic bridge and stopbar | Jazzmaster shape does not imply a traditional Jazzmaster bridge or ordinary guitar string requirements |
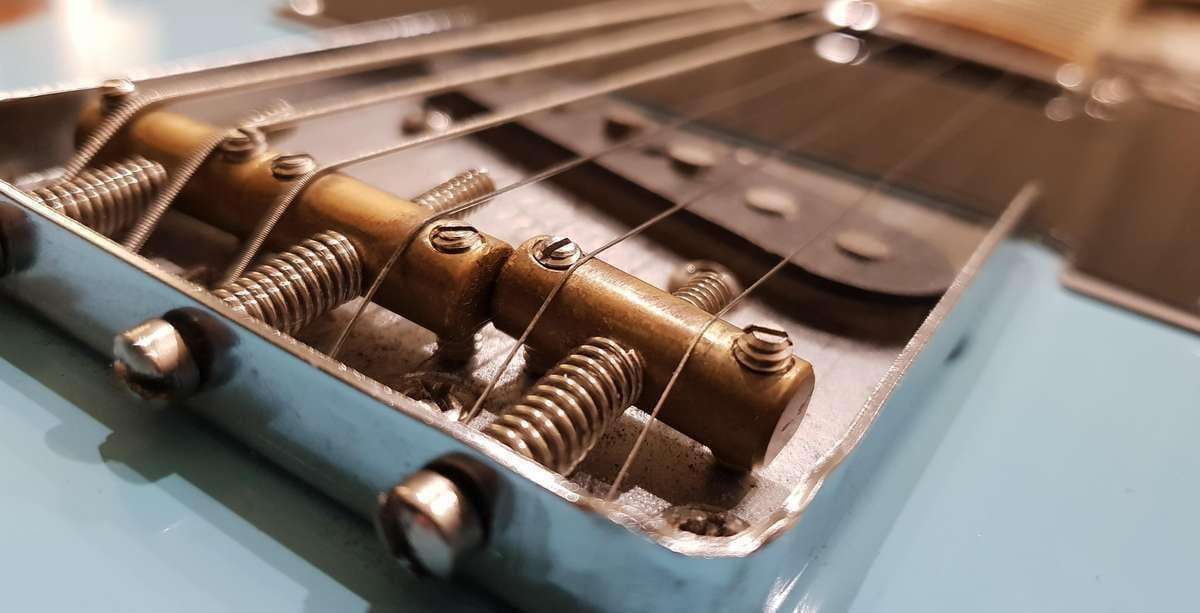
Count the right parts. Six saddles support six strings; six pivot screws describe the front mounting of one type of moving Strat bridge. A hardtail also has saddles, but that does not make it a six-screw tremolo.
Look at both ends of the string path. Rear body ferrules, holes in a bridge plate and a separate tailpiece tell you different things about how the strings load. Photograph the route before removing an unfamiliar set, especially if a previous owner has modified the instrument.
Check Pickups and Tool Fit Separately
Pickup shape and the model listing can help identify a stock arrangement, but replacement pickups need their own instructions. “Ceramic” and “alnico” describe magnet materials; neither word alone gives you an appropriate height. Record each pickup's identity where known and compare its output in the actual switch positions you use.
Do the same with tools. Verify the correct wrench or screwdriver for the installed adjustment before applying force. A tool that almost fits can damage a fastener, and a multi-tool does not guarantee that it contains every size your instrument needs. There is no universal “Squier Allen key” that safely covers all bridge and truss-rod hardware.
Before buying a replacement part, check the dimensions that control fit: screw or post spacing, string spacing, cavity clearance and the intended mounting system. A familiar brand name or a matching guitar outline is not a compatibility measurement. Where the specification is missing, ask the part maker or a technician rather than ordering by appearance.
Make a Baseline You Can Compare
Tune to your intended tuning and use the strings you plan to keep before evaluating an adjustment. If the installed strings are damaged, heavily worn or unidentified, decide whether to replace them before collecting your final baseline. A change of string set can change the feel and the settings you need to revisit.
Play a short, repeatable check: open strings, comfortable first-position chords, individual notes up the neck and bends where you normally use them. Note the exact string and fret for a rattle or dead note. “Buzzes everywhere” is much less useful than a written list of where the symptom does and does not occur.
Listen through a clean amplifier as well as acoustically, keeping the settings consistent. Record whether the issue affects amplified notes, note length, tuning or just an unplugged mechanical sound. You do not need to record a polished performance; a short phone recording can preserve the symptom for comparison or a repair discussion.
Label Every Measurement
A number needs a method to be useful. Relief is a neck-clearance measurement made with the string held at specified endpoints. Action is string clearance at a stated fret. Pickup height measures the gap to the pickup with the string held as directed. Writing all three as “string height” makes later comparisons unreliable.
Fender's Stratocaster setup reference measures relief at the eighth fret with the first and last frets held, while its action table uses the seventeenth fret. The Telecaster reference uses the same measuring locations. The linked child articles distinguish their practical twelfth-fret action examples from those manufacturer measurements.
Do not compare a twelfth-fret reading directly with a seventeenth-fret target. Write the fret, string, units and whether the string was open or held. For pickup readings, also write the reference surface: a pole-piece measurement and a covered pickup's cover-to-string measurement are different records.
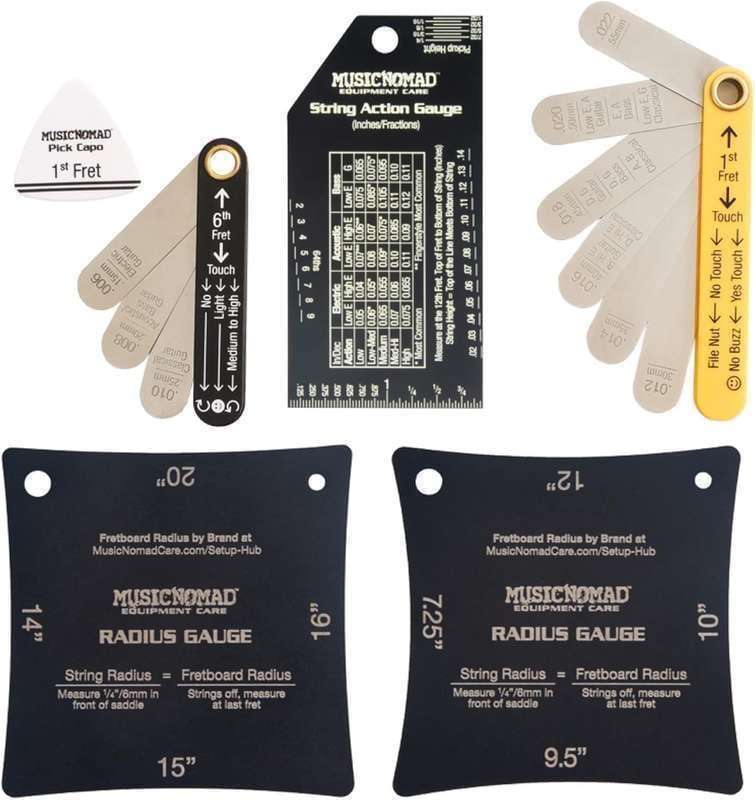
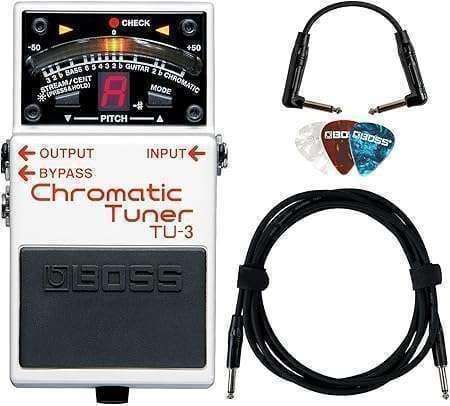
A small measuring kit is enough to begin: a tuner, a ruler or action gauge with an appropriate zero edge, a capo and feeler gauges. Use tools you already own if they let you take repeatable readings. The following are optional examples for measuring and routine adjustment; verify the supplied sizes before relying on a kit.
Tools for a Repeatable Squier Setup Check
 Buy on Amazon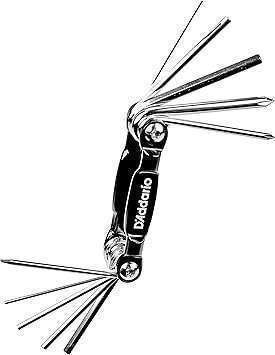
Match the Symptom to the Next Check
Treat a symptom as a reason to investigate, not as proof that one screw must move. The table below helps you decide what information to collect before following your model's procedure. It is a diagnostic worksheet, not a claim that every example has the same cause.
| What you notice | Record or compare first | Sensible next step |
|---|---|---|
| Fretting feels stiff | Tuning, string set, relief and action using the chosen method | Follow the matching guide's measurement sequence before lowering saddles |
| Open-string buzz | Which string, whether fretted notes behave differently and visible string condition | Investigate the string and nut area; do not deepen a nut slot to cure inadequate clearance |
| Buzz on particular frets | Exact string/fret pairs and whether the symptom is amplified | Compare with the child guide's diagnostics; persistent isolated problems may need fret inspection |
| Pitch drifts after bends | String installation, which strings drift and whether the bridge moves | Check the installed string path and bridge system before replacing tuners |
| One pickup sounds much louder | Switch position, amp settings and separate bass/treble clearances | Check the installed pickup guidance and compare output at consistent settings |
| Fretted notes disagree with tuning | Stable open-string tuning, fretting pressure and where disagreement occurs | Use the model's intonation check after the other setup checks |
| An adjustment will not move or has no effect | Correct tool, original position and what has already been attempted | Stop and arrange an inspection instead of applying more force |
Separate Adjustment from Repair
Measuring and recording are useful even if you do not want to adjust anything yourself. A technician can work more efficiently from a clear description of the problem, the intended tuning and the measurements you used. Take the guitar in with the strings and playing requirements you want evaluated.
Nut filing, fret leveling, damaged fasteners and structural problems deserve their own assessment. Removing material is not the same as reversing a saddle adjustment. Do not sand a neck finish, file sharp fret ends or replace a nut merely because an online list calls it a standard Squier upgrade.
For a newly purchased instrument, document a suspected defect and contact the seller before modifying it. A comfortable, stable new guitar does not need its adjustment screws moved simply to complete a checklist. Inspection can end with a decision to keep the current setup.
Free Squier Identification and Setup Worksheet
Copy this blank record into a notebook or print the page. Fill the identification rows first, choose the matching guide, then add measurements using that guide's stated method. Blank spaces mean “not yet checked”; they are not implied factory settings.
| Field | Your record |
|---|---|
| Date and model; serial or model number | ____________________ |
| Installed bridge and string-loading route | ____________________ |
| Scale and source used to identify it | ____________________ |
| Pickup layout; replacements if known | ____________________ |
| String make, set/gauges and tuning | ____________________ |
| Main symptom: string, fret and playing condition | ____________________ |
| Selected guide or manufacturer instructions | ____________________ |
| Relief: endpoints, measuring fret, units and reading | ____________________ |
| Action: measuring fret, string, units and reading | ____________________ |
| Pickup gap: string held, surface, side and reading | ____________________ |
| Bridge position and reference photo | ____________________ |
| One change made, or reason for making no change | ____________________ |
| Retuned result and remaining symptom | ____________________ |
| Next check or technician question | ____________________ |
Keep the original readings when you add a second entry. If a change makes the result worse, that starting record is more useful than a remembered impression that the guitar was “probably lower before.” Date the string change too, so you can distinguish a different setup from an aging set.
Choose one outcome to evaluate at a time: clearer fretted notes, more comfortable action or more even pickup output. Retune before judging the result and repeat the same playing check. If you change the strings, bridge position and pickup height together without notes, it becomes much harder to tell which change affected the symptom.
What the Squier PDF Adds
The Squier Setup Cheat Sheet is the printable continuation for conventional Stratocaster and Telecaster setup: keep the measurement reference, setup sequence, checklist and record together at the bench. Use the actual hardware and source guidance to choose the applicable method. It is not a promise of exact factory settings for every Squier ever made or a repair manual for every offset, baritone or locking system.
A Squier bass belongs with the Squier Bass setup article and its Bass PDF route. The headstock brand does not make the guitar PDF's measurements suitable for a bass. If your instrument falls outside the conventional guitar coverage, identify the right instructions before buying a reference for the job.
Squier Setup FAQ
Where should I start with a Squier setup?
Identify the model and installed bridge, choose your intended strings and tuning, then record the playing symptom and baseline measurements. Use the dedicated Strat, Tele or bass guide that matches the instrument before adjusting it.
Do Affinity and Classic Vibe guitars need different action heights?
The series name alone does not establish an action target. Check the exact model, measurement method, fret condition, strings and your playing response. A more expensive series does not automatically require lower action or less relief.
Is every Squier Strat fitted with a tremolo?
No. The Sonic Stratocaster HT is a hardtail example. Identify the installed bridge before following instructions for tremolo springs, a claw or pivot screws.
Can I use the same setup guide for a Squier Tele and Strat?
They share some measurement principles, but their bridge procedures differ. Use the Strat guide for the relevant hardtail or tremolo system and the Tele guide for its three-saddle or six-saddle bridge.
What if my Squier is a Jaguar, Jazzmaster or Mustang?
Identify the exact model, bridge, tailpiece and scale before selecting instructions. An offset body shape does not identify the hardware, and some models differ substantially from the traditional design.
What size Allen key does a Squier need?
There is no single size for every Squier adjustment. Check the installed part and its manufacturer documentation, and use a tool that fits fully without play. Stop if the fastener is damaged or resists adjustment.
Can I compare action measured at different frets?
Not directly. Record the measuring fret, string and units, then compare with a reference using the same method. A twelfth-fret reading is not the same measurement as a seventeenth-fret reading.
Does a new Squier always need a setup?
It needs an inspection and a playing check, not automatic adjustment. If it plays comfortably and stays stable, record the current setup. Document suspected defects and contact the seller before modifying the instrument.
Does the Squier PDF cover Squier basses?
Use the Bass guide and Bass PDF route for a Squier bass. The Squier guitar PDF supports conventional Stratocaster and Telecaster setup; a shared headstock brand does not make guitar measurements applicable to a bass.
Should I replace parts before setting up my Squier?
First identify a specific problem and check whether adjustment or repair addresses it. If a replacement is justified, verify dimensions and compatibility before buying. A generic upgrade list cannot establish what your instrument needs.
Choose the Guide, Then Keep the Record
Identify the hardware, write down the symptom and follow the matching Strat, Tele or bass route above. Keep a setup that already works; investigate a clear problem with repeatable measurements before making changes.
For the conventional Squier guitar workflow, keep the Squier Setup Cheat Sheet beside your completed worksheet. The useful result is a guitar that suits your playing and a record you can understand next time you change strings or revisit an adjustment.
🛠️ Done with this setup? Log the spec — action, relief, strings — in My Gear Garage so you remember exactly what you did in six months. Free, no password — magic-link sign-in.