Bass Guitar Intonation: Fix Sharp and Flat Notes
Check bass guitar intonation with a tuner, compare fretted notes and harmonics, and see when to move a saddle or investigate strings, action and fret problems.
Bass guitar intonation is the adjustment that helps fretted notes stay in tune after you have tuned the open strings. If your open E looks right on the tuner but the same string sounds sharp higher up the neck, check the relationship between those notes before turning another tuning peg. You need a repeatable reading first and a bridge adjustment only if the result supports it.
This guide covers fretted electric basses with adjustable individual saddles, including many Precision, Jazz and Squier models. It separates ordinary saddle adjustment from string problems, playing pressure and issues that need a technician. Fretless basses, compensated nuts and bridges with unusual locking mechanisms need their own instructions.
Quick answer: Tune the open string, then compare the normally fretted 12th-fret note with its octave harmonic. If the fretted note is sharp, move the saddle away from the neck; if flat, move it toward the neck. Retune after each small adjustment and compare again. Stop adjusting if the readings are inconsistent or the saddle has no safe travel left.
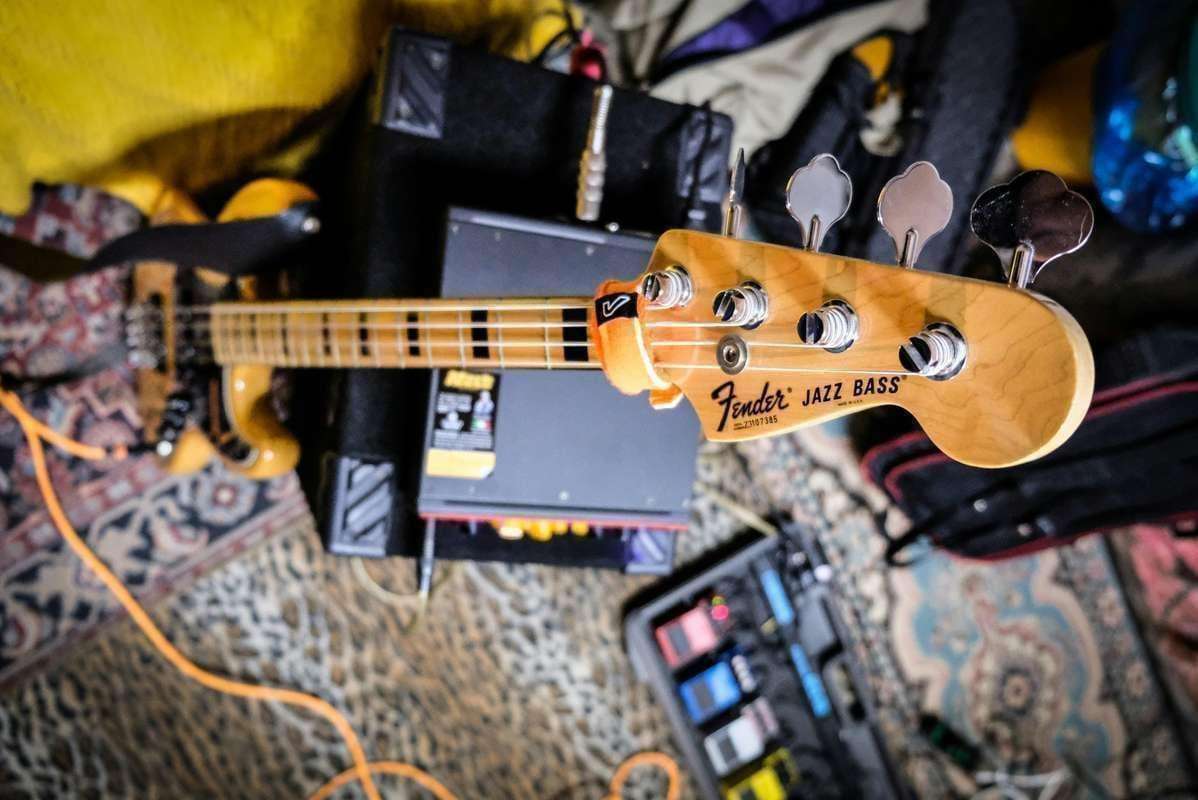
Illustrative bass photograph; it does not show a measured test instrument or demonstrate bridge adjustment.
In this guide:
- Identify the tuning problem
- Prepare a repeatable check
- Adjust bass intonation
- Investigate a stubborn string
- Record and test the result
- Bass intonation FAQs
- Keep a useful setup reference
Identify the Tuning Problem
Open-string tuning and intonation answer different questions
Tuning sets the open string's pitch. Intonation checks how the instrument behaves when you fret a note. A tuner can therefore show four correctly tuned open strings while a line played higher on the neck still sounds wrong.
The 12th fret gives a convenient octave comparison. On a standard four-string bass, the open notes are E, A, D and G; their 12th-fret notes have the same letter names one octave higher. A tuner that shows octaves helps distinguish a correct note from an unintended harmonic reading.
An octave harmonic alone does not test fretting. You sound it by touching lightly above the 12th fret, plucking and releasing the touching finger. Compare that reference with a note made by pressing the string to the fret normally, rather than treating two open-string readings as a finished intonation check.
Write down what actually goes wrong
Before picking up a screwdriver, describe the symptom in one sentence. “The A string is repeatedly sharp at the octave” is useful. “This bass sounds bad” does not tell you whether to investigate tuning, mechanical noise, amplification or playing technique.
| Observation after tuning | First useful check |
|---|---|
| The open string drifts while you wait | Establish stable tuning before evaluating the octave |
| The fretted octave repeatedly reads sharp | Check technique, then consider lengthening at the saddle |
| The fretted octave repeatedly reads flat | Check technique, then consider shortening at the saddle |
| Readings change every time you pluck | Standardize the test before moving hardware |
| One or two notes behave differently from their neighbours | Record the exact frets and investigate a local problem |
| Notes rattle rather than simply sounding out of tune | Use the bass fret-buzz diagnosis |
Do not turn every screw because one note is troublesome. A clear symptom helps you preserve the parts of the setup that already work.
Know what the octave check cannot promise
Matching one octave is a setup reference, not proof that every note will agree perfectly with every chord or another instrument. String behaviour and the act of fretting make real instruments more complicated than a diagram of equally spaced semitones. The research paper Intonation and Compensation of Fretted String Instruments explains why string deformation and inharmonicity matter.
For practical purposes, keep the goal modest: repeatable measurements and an improvement when you play. If one familiar line still sounds wrong after the octave check, record the notes involved instead of sacrificing the whole setup to that single comparison.
Prepare a Repeatable Check
Use your intended strings and tuning
Set up for the tuning and string set you actually use. If you plan to change either, finish that change before spending time positioning saddles. Keep the packet or write down the make, construction and gauges so you can reproduce the setup later.
A long-serving string set does not need replacing solely because a calendar says so. However, damage, a recent installation problem or inconsistent readings should prompt a string check before more bridge movement. When choosing replacements, the Precision Bass strings guide covers product choices separately from this adjustment procedure.
Check that the strings are seated and installed according to their manufacturer's instructions. Sadowsky's string-change guidance discusses the string's contact at the bridge and avoiding a soft bend over the saddle. Do not improvise a sharp kink or press hard on an unfamiliar string construction.
Choose tools that let you observe small changes
You need a tuner that produces stable, readable results, the correct tool for your bridge and something for recording observations. Borrowing a suitable tuner can be more useful than buying several tools before you have identified the problem.
Roger Sadowsky recommends a strobe tuner for intonation in his bass setup instructions. That is a practical preference, not a reason to ignore the tuner you already own. First establish whether it can show the direction and consistency of the error without guessing at a moving display.
Check the tool fit before applying force. An intonation screw changes saddle position along the string; the small height screws on many Fender-style saddles do a different job. A screw that looks similar on another bridge may lock a part rather than move it.
Keep the measurement conditions consistent
Use normal playing position for the pitch checks. Peterson's intonation instructions distinguish supporting the instrument for adjustment from checking it as played. Support it comfortably without pulling the neck forward or back.
Mute the strings you are not measuring, keep the same tuner settings throughout and use comparable plucks. Fret close behind the fret with your ordinary playing pressure; squeezing much harder for one reading changes the test. If you change your method halfway through, start a fresh row in your notes.
Let the display become readable rather than comparing the first flicker from one note with the late decay of another. Take several readings. If the result changes sign between repetitions, write “inconsistent” and investigate that before deciding on a saddle direction.
Finish the broader setup checks first
Review relief and action before final intonation. If those measurements need work, use the instructions for the specific instrument, complete that work and return to this page. The setup specs lookup can help you find a starting reference, but confirm that its model and measuring method match your bass.
Fender places final intonation after its other setup stages in its bass setup guidance. Do not copy a generic relief number into every bass or use the truss rod as a substitute for diagnosing one sharp note. The existing Squier bass setup guide explains the broader model and hardware distinctions.
Adjust Bass Intonation
Establish the reference before moving a saddle
Pick one string and tune it accurately. Sound its octave harmonic, then its normally fretted 12th-fret note, keeping the playing position and technique consistent. Note whether the fretted note is sharp, flat or close enough that the apparent difference is within the variation of your repeated readings.
Where the tuner displays cents, record them. There are 100 cents in a semitone, so the note name alone may hide a meaningful difference. A tuner reading of E does not necessarily mean that the E is centred.
The following is a hypothetical measurement example, not a test of a particular bass:
| Reading | Result |
|---|---|
| Open A after tuning | Centred |
| A-string octave harmonic | Stable reference |
| Fretted octave, first normal pluck | +9 cents relative to the reference |
| Fretted octave, second normal pluck | +8 cents |
| Fretted octave, third normal pluck | +9 cents |
That pattern gives you a useful direction to investigate. By contrast, readings of +9, −6 and +2 cents would first raise questions about the test, not justify averaging them into a screw adjustment.
Use physical direction, not a universal turn count
For the conventional saddle arrangement covered here:
| Fretted octave compared with the reference | Saddle movement |
|---|---|
| Sharp | Away from the neck, lengthening the vibrating string |
| Flat | Toward the neck, shortening the vibrating string |
| Consistently matched | Leave the saddle position alone |
The direction agrees with Peterson's bass intonation method. Screw rotation depends on the bridge mechanism and where you are viewing it. Watch the actual saddle movement instead of assuming “clockwise” means the same useful change on every bass.
Move only a small amount at a time. If your bridge instructions require releasing a lock or reducing tension, follow that procedure. Stop when a screw resists, a saddle lifts or tilts unexpectedly, or you cannot identify which part is supposed to move.
Retune, measure again and make a decision
After an adjustment, retune the open string before comparing the octave again. Keep the new readings alongside the old ones. Continue only when the result remains repeatable and the next change has a clear purpose.
Extend the hypothetical example: after one small backward movement and retuning, the octave reads +3, +3 and +4 cents. That suggests improvement; it does not tell you a universal distance for the next move. If another small change produces −1, 0 and −1, compare the playing result before chasing the display indefinitely.
Work through the remaining strings, then retune the whole bass and repeat the checks. Do not draw a neat diagonal line across the saddles and assume the appearance proves correct intonation. Record where each string works with its own construction and setup.
Investigate a Stubborn String
Start with a short change history
If one string still will not settle, write down what changed immediately before the problem: a new set, alternate tuning, bridge work, a different action preference or nothing you can identify. That history is often more useful than another random adjustment.
Keep the investigation narrow. Change one relevant variable, then repeat the same comparison. Replacing strings, lowering pickups, turning the rod and moving every saddle in one session makes it hard to tell which intervention helped or created another problem.
Check string fit on five-string and unusual-scale basses
The same basic fretted-octave comparison applies to a low B. Give the tuner a clean signal and verify that it is identifying the intended note. Do not treat an unstable low-note display as evidence that the bridge must move farther.
String fit deserves a separate check. D'Addario measures its bass-string winding lengths from the ball end to the taper, which is different from simply naming the instrument's scale length. Check the required winding length for the bridge and string-through arrangement before ordering.
A deliberately tapered low B is not automatically defective. D'Addario describes that construction in its low-B taper explanation. Follow the string and instrument makers' compatibility guidance rather than forcing an unsuitable section of string across the saddle.
Separate a local problem from a whole-string adjustment
Suppose the octave comparison is repeatable but one note around the middle of the neck still sounds strange. Make a simple note map: play the neighbouring frets with the same attack and write down where the problem begins and ends. Also distinguish a wrong pitch from a rattle, short sustain or an amplified noise.
That record does not diagnose fretwork by itself. It gives a technician something specific to investigate and prevents a local symptom from becoming a reason to move every saddle. Keep any recording labelled with the string, fret, tuning and date.
Treat exhausted travel as a stopping point
If the saddle reaches its usable limit and the error remains, stop. Do not remove a spring, reverse a saddle, file a part or drill the bridge solely because a generic internet method suggests it. Those choices depend on the hardware and the underlying cause.
Bring the repeated tuner readings and string details to a technician. Ask them to check the setup, string suitability and available bridge adjustment before recommending replacement parts. You are paying for a diagnosis as well as any physical work.
Record and Test the Result
A useful record lets you tell whether a later change is new. Photograph the bridge before and after, identify the date and write down anything you altered. Your own working reference is more useful than someone else's photograph of staggered saddles.
Copy this worksheet into a notebook or spreadsheet. Leave irrelevant rows blank; add others for a six-string bass only if its hardware and setup fall within the procedure you understand.
| String | Tuning and set | Before: repeated octave error | Change made | After: repeated error | Playing result |
|---|---|---|---|---|---|
| Low B, if fitted | |||||
| E | |||||
| A | |||||
| D | |||||
| G |
Record once per session: tuner and settings; normal playing position; string make and age; current action/relief reference; any bridge locks released and restored according to its manual. “No adjustment needed” is a valid result.
Finish with music you know. Play a slow line across strings and positions, then the passages that originally exposed the problem. Listen through your usual clean setup and compare fairly, without changing effects or EQ between takes.
If the result is comfortable and repeatable, stop there. If it is not, preserve the notes rather than rewriting the history from memory. Another person can help much more efficiently when you can show what you measured and what happened after a particular change.
Bass Intonation FAQs
Which way should I move the saddle if a bass note is sharp?
For a repeatably sharp fretted octave on the conventional individual-saddle bridge covered here, move the saddle away from the neck. Retune before checking the result. Identify the correct screw and any locking mechanism from the bridge instructions first.
What should I do if the fretted octave is flat?
The corresponding adjustment is toward the neck. Confirm the open tuning and repeat the reading before moving anything. If the display changes unpredictably, resolve that inconsistency rather than choosing a direction from one pluck.
Why must I retune after moving the saddle?
You need the same open-string reference for each comparison. A reading taken after adjustment with the open string out of tune is not comparable with your original check. Retuning keeps the before-and-after record useful.
Can the harmonic be correct while the fretted note is wrong?
Yes. Sounding a harmonic does not press the string onto a fret. The normally fretted note is the part of the comparison that tests the playing result; a correct harmonic on its own does not establish correct intonation.
Can I check bass intonation without buying a strobe tuner?
Start with a tuner that gives stable readings for your bass. A strobe display is useful for careful comparison, but buying one is not a substitute for consistent technique. Borrowing a suitable tuner can help establish whether your current display is the limitation.
Does changing string gauge mean I must move the saddles?
It means you should recheck the setup at the intended tuning. Measurements decide whether adjustment is needed. Do not copy the saddle positions from the previous set or assume that a particular gauge change requires a fixed number of turns.
Is five-string bass intonation a different procedure?
The fretted-octave comparison is the same basic check, but string fit, low-note tracking and bridge hardware still matter. Confirm the low B's construction and winding length are suitable. An unsettled display does not prove that the saddle needs a larger adjustment.
What if the saddle runs out of adjustment?
Stop and have the string fit, setup and bridge assessed. Removing parts or modifying the instrument to gain travel can hide the original problem. Bring the measurements and string details so the technician can reproduce your check.
Why can one note still sound wrong after setting the octave?
The octave is a useful reference, not a complete assessment of every fret. Map the remaining symptom, check your technique and distinguish pitch from noise or short sustain. A persistent local problem needs its own diagnosis.
Keep a Useful Setup Reference
Keep the worksheet with the string packet and bridge photograph. Next time the bass behaves differently, start by comparing the conditions and measurements. That habit turns another round of trial and error into a much clearer decision about what needs attention.