Acoustic Guitar Truss Rod Adjustment: Measure First
Acoustic guitar truss rod adjustment starts with measuring relief. Verify model-specific tools, distinguish humidity and action problems, and record each check.
By Nick TheodoulouUpdated

 Photo by Andrea Piacquadio on Pexels
Acoustic guitar truss rod adjustment changes neck relief: the small forward curve that gives a vibrating string clearance over the frets. Measure that curve before turning anything. High action, stiff open chords and fret buzz can come from different places, and the truss rod cannot correct all of them.
Quick answer: Tune to your playing pitch, check the guitar's condition, and measure relief using your manufacturer's specified string and fret positions. Identify the actual adjustment nut and matching tool. Adjust only when the relief reading supports it and the maker's procedure permits it. If relief is suitable but action remains uncomfortable, investigate humidity, nut, saddle or neck geometry instead of continuing to turn the rod.
Use this guide to decide whether relief needs attention, find the correct manufacturer instructions and make a useful before-and-after record. The worksheet is free to copy into a notebook. It does not require buying a tool kit before you know which tools your guitar needs.
- Relief versus action
- Match the symptom to the next check
- Verify the model and tool
- Measure acoustic neck relief
- Understand direction and stopping points
- Check seasonal changes
- Make a setup record
- Frequently asked questions
Acoustic Neck Relief Is Different from Action
Action describes the string's height above a fret. Relief describes the neck's curvature. When you hold a string against two frets to measure relief, that string becomes a reference line across the section of neck between them. This is a different measurement from an open string's height at the 12th fret.
A useful diagnosis needs both readings. Write “relief, string held at these frets” beside one, and “open-string action at this fret” beside the other. A bare number such as 0.25 mm is not meaningful without its measuring method. Mixing the two can make a correct setup look wrong.
Changing relief can affect action, but that does not turn the truss rod into an overall action-height control. It does not raise a worn nut slot or repair a loose bridge. A comfortable relief reading is one part of a setup; the rest of the instrument still has to work with it.
The Acoustic Guitar Action Height Guide covers the separate action measurement and saddle decisions. Keep that reading separate from the relief worksheet here. Neither low action nor an almost straight neck is an achievement by itself if your normal playing produces unacceptable buzz.
Start with the complaint, not the adjustment
Describe what changed in terms you can repeat: “the low E rattles when I fret the third fret,” or “first-position chords have become harder since changing strings.” Record whether the guitar always behaved this way or changed suddenly. A symptom that follows a move, string change or impact is useful evidence.
Then play the same short passage at your normal volume before and after any work. Using a lighter attack for the second test can hide a problem rather than demonstrate an improvement. Keep the tuning, pick and playing posture consistent while comparing results.
Match Acoustic Buzz or High Action to the Next Check
This table is a diagnostic worksheet, not a diagnosis from fret location alone. More than one fault can produce the same sound. Start with observation and measurement; only move to an adjustment when the evidence supports it.
| What you notice | What to record next | What that check can establish |
|---|---|---|
| The middle of the neck feels unusually high | Relief with the exact manufacturer method | Whether excessive forward bow is contributing |
| Buzz across several lower or middle positions | Relief, affected strings and frets, and playing attack | Whether clearance is insufficient; location alone does not prove a rod problem |
| One note or one small area buzzes | Exact string/fret and whether adjacent notes behave differently | A local string or fret issue deserves inspection before a whole-neck adjustment |
| Open-string buzz disappears when fretted | Which open strings buzz; inspect their nut slots and seating | The nut or string may need attention even with suitable relief |
| High action remains with suitable relief | Open-string action, saddle exposure and recent humidity history | Neck/body geometry or saddle work may need assessment |
| Action changed after travel or heating came on | Case/room humidity, dates and visible condition | Environmental movement may precede a lasting setup decision |
| Wrench slips or resistance suddenly increases | Stop; record tool and model | Tool fit or mechanical service needs resolving first |
If you see a lifting bridge, a crack, a twisted-looking neck or a sudden major change, arrange an inspection before making setup adjustments. A naturally arched acoustic top is not automatically damaged, but a changing shape should not be dismissed just because the guitar still tunes.
For broader checks involving rattles, strings and individual frets, use the existing guitar fret buzz troubleshooting guide. Keep a note of what you ruled out. Repeating a failed truss-rod adjustment without a new observation does not make the diagnosis stronger.
Verify the Acoustic Model, Access Point and Wrench
Do not choose a wrench from the brand name alone. Identify the model, approximate production era and actual hardware, then match those to the maker's instructions. A prior repair can also change what is fitted. A missing tool in a used guitar's case tells you nothing about the nut size.
An Allen key fits inside a hexagonal socket. A nut driver fits around an external nut. These descriptions are not interchangeable, even when their quoted sizes look similar. The correct size must also have the reach and clearance needed to seat squarely without bearing against surrounding wood.
| Instrument or source | Verified distinction | What to confirm before proceeding |
|---|---|---|
| Martin adjustable-rod guitars | Martin lists 4 mm or 5 mm tools depending on the guitar; its FAQ describes soundhole access and a more deeply recessed two-way rod | Exact model, rod type and required reach; Martin recommends authorized service for adjustments |
| Martin SC models in the 2024 service sheet | The relief adjustment uses a 4 mm Allen wrench | Locate the relief adjustment, not the separate neck or intonation fasteners |
| Taylor conventional peghead-access models | Taylor specifies a 1/4-inch thin-walled nut driver | Tool fits around the nut; a 1/4-inch Allen key is a different tool |
| Older Taylor nylon models | Taylor sells a separate wrench for nylon models with soundhole access | Confirm the exact nylon model rather than applying the steel-string instructions |
| Yamaha FG/FS and other acoustic models | Use the relevant Yamaha manual and supplied or confirmed tool | Neither “8 mm for all FG/FS” nor a brand-wide access location is established by the model name |
| Gibson, Guild, Collings or another maker | Obtain the model's manual or service advice | Do not substitute a guessed size or another brand's rod procedure |
Taylor also confirms soundhole access for some Baby and Big Baby instruments in its universal-wrench support answers. Older nylon models are therefore not the only exception. Match the exact model and access arrangement rather than assuming every steel-string Taylor uses peghead access.
The Martin rows follow its current FAQ and SC service instructions. Taylor's peghead wrench and older nylon-model wrench distinguish the access arrangements. Use Yamaha's manual library to identify the applicable instructions.
Use good lighting to see the access area. Do not probe blindly with a series of nearly fitting keys. If you cannot positively identify the adjustment point, a clear photograph and the model information are more useful to a service department than a report that several wrenches have already been tried.
Gather measuring tools before adjustment tools
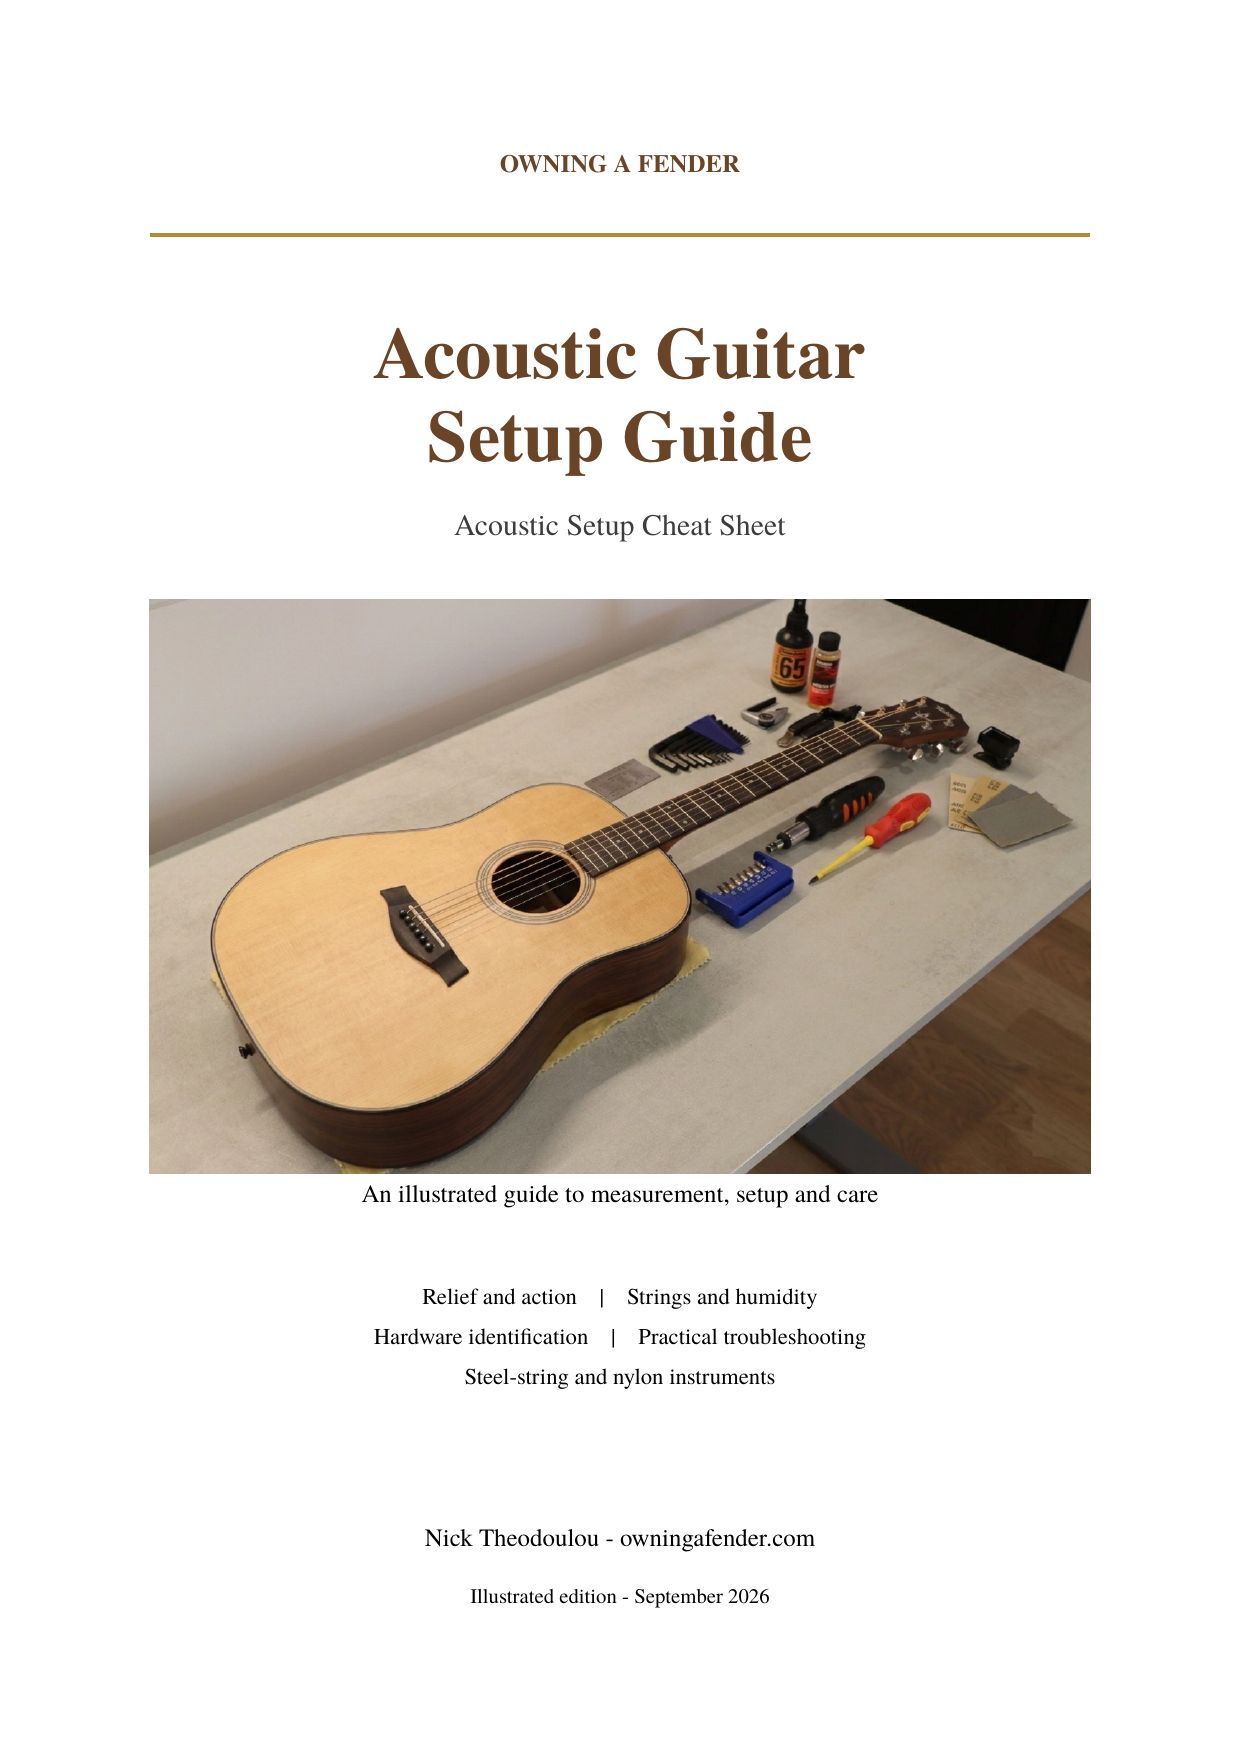
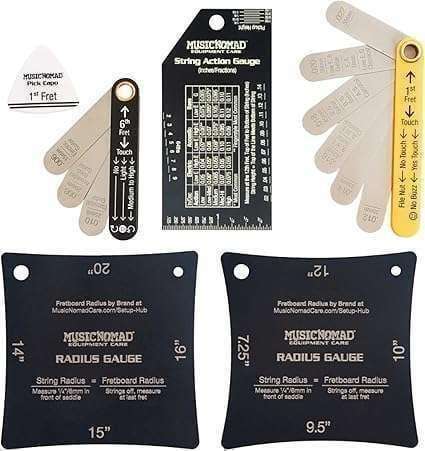
A tuner, capo where specified, feeler gauges, good light and a notebook support the diagnosis. An action gauge is useful for the separate action reading. Check that your feeler blades show the unit you intend to record; decimal inches and millimetres can be easy to confuse at the bench.
The optional measuring tools below can be useful if you do not already own suitable gauges. A gauge's printed target is not automatically your guitar's specification, and no general tool bundle establishes which wrench fits your rod. Verify the measuring range and the contents before buying.
Optional Relief and Setup Measuring Tools
 Buy on Amazon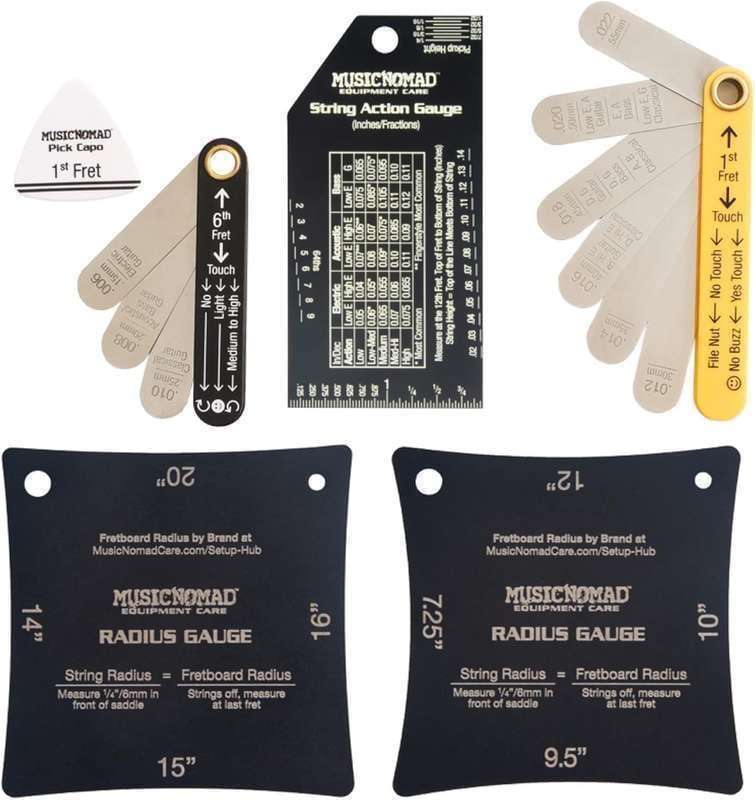
Measure Acoustic Neck Relief with One Consistent Method
First tune to the pitch you actually play, including an alternate tuning if that is your normal setup. Inspect the guitar's condition and follow its care guidance after travel or environmental change. Do not assume an hour in the room has corrected a moisture problem in the wood.
Find the manufacturer's complete measurement method before choosing a target. It should identify the string, the frets that hold it down, the fret at which the gap is read and any specified playing position. Copy these into the worksheet so the next reading is comparable.
For the gap itself, measure between the fret crown and the underside of the string. Insert the feeler gently: a blade that visibly lifts the string is too thick for the existing gap. Avoid leaning on the neck or squeezing the guitar into a different shape while holding the reference points.
Two published methods that must stay separate
Taylor's owner check holds the string at the first and 14th frets, then observes the gap at the sixth fret. Taylor describes a slight forward curve rather than a universal numerical target in this particular guide. See its truss-rod adjustment instructions.
Martin's 2024 SC service sheet uses the high E, a capo at the first fret, light fretting at the 12th, and measurement at the fifth fret in playing position. It specifies 0.003–0.005 inches, with 0.008 inches maximum, for that SC procedure. These are not general Martin or all-acoustic targets.
Holding a different span changes the measurement. Do not compare the SC figure with a low-E reading taken at the eighth fret while holding the last fret, or convert Taylor's business-card comparison into a falsely exact millimetre value. A “relief chart” without its method is incomplete.
Make sure the result repeats
Release the string, reset your hands and repeat the reading. If it changes substantially without an adjustment, resolve the measurement technique first. Check tuning, contact points, the chosen blade and whether pressure on the neck has changed.
Record a range if that is what the gauge supports. “This blade passes; the next one lifts the string” is more informative than an invented extra decimal place. It is also a useful description to give a technician when you are unsure whether adjustment is needed.
Changing string gauge or tuning can alter the balance of forces. Remeasure after such a change; do not automatically loosen the rod simply because the strings are heavier. The measured result, the intended tuning and the guitar's permitted string choices govern the next step.
Which Way to Turn, and When to Stop
For conventional operation described by Taylor, clockwise viewed facing the adjustment nut reduces forward relief; counter-clockwise increases it. Confirm the viewpoint before reaching through a soundhole. “To the left from where I am sitting” can mean something different when the adjustment is at the other end of the neck.
Reducing relief is not a blanket cure for buzzing. If the neck already has too little clearance, further tightening can make the buzz worse. First decide whether the measured gap needs to increase or decrease; then follow the exact instrument's instructions for direction, tension and permitted adjustment.
Use the maker's procedure, not a universal number of turns
There is no single increment, total-turn allowance or waiting time that this guide can safely prescribe for every acoustic rod. Some makers provide owner instructions; others recommend service. Yamaha's acoustic adjustment FAQ expressly addresses experienced users and says to stop when adjustment is having no effect.
Where the maker permits an owner adjustment, ensure the specified tool is seated, follow its string-tension instructions, make a controlled small change within that procedure, and remove the tool before playing. Return to the intended tuning and remeasure before deciding whether another change is justified. Never use a larger handle to overcome unexpected resistance.
Stop if the tool slips, the nut cannot be engaged squarely, resistance changes unexpectedly or relief does not respond. A count such as “only one turn so far” does not prove that more turning is safe. Do not dismantle the rod or other neck hardware to investigate a limit.
Single-action, two-way and non-adjustable necks
A conventional single-action rod works against the strings' forward pull. Loosening reduces that counterforce; it does not actively push the neck forward. A two-way system can correct curvature in both directions. Its neutral behaviour and adjustment procedure depend on its design, so a temporarily slack-feeling point is not permission to spin indefinitely.
Some instruments have non-adjustable reinforcement. A missing visible nut is not proof either way: access can be recessed, or the guitar may have no owner adjustment. Martin's FAQ dates its one-way adjustable introduction to 1985 and two-way introduction to 2006; confirm the particular instrument instead of using an invented 2007 wrench-size cutoff.
Once the relief is appropriate, retest the original complaint. If the symptom persists, return to the table above instead of chasing it with additional turns. A service visit is a sensible outcome when the next step involves nut cutting, fret work, saddle modification or neck geometry.
Seasonal Action Changes Need a Humidity Check
A winter buzz does not automatically mean the neck needs more relief. Taylor lists low action, upper-fret buzz and sharp fret ends among dry-guitar symptoms. Its wet-guitar guidance describes swelling and higher action. Body movement can therefore change playability even when the relief measurement is suitable.
Taylor and Martin recommend 45–55% relative humidity in the cited care guidance. Use your instrument maker's recommendation and measure where the guitar is kept. A single reading beside a radiator does not describe a week in the case, and a room reading does not necessarily describe the case interior.
Record the date, room or case location, humidity and playing symptoms. If conditions are outside the recommended range, follow the maker's humidification or dehumidification instructions and monitor the instrument. Cracks or a lifting bridge need professional assessment; humidity equipment is not a substitute for repairing damage.
Do not sand a saddle simply because summer action rose. Removing material while the guitar is swollen can create an unnecessarily low saddle when conditions return to normal. After stabilization, recheck both relief and action before deciding whether any lasting change is needed.
The existing Acoustic Guitar Humidity Guide covers the wider care routine. A hygrometer is useful for observing conditions; select a humidification product only after identifying whether moisture needs adding or reducing.
Humidity Monitoring and Care Options



Free Acoustic Relief and Action Record
Copy this table for each guitar. Fill the baseline column before changing anything, including strings. Leave an unknown item marked “unconfirmed”; guessing the wrench size or borrowing another model's target makes the record less useful.
| Field | Before | After or next check |
|---|---|---|
| Model, year and installed rod confirmed from | ||
| String set and intended tuning | ||
| Date, location and relative humidity | ||
| Original symptom: string, fret and attack | ||
| Manufacturer instruction URL or manual page | ||
| Relief method: string, held frets, measuring fret | ||
| Measured relief and units | ||
| Applicable target, with its method | ||
| Verified tool type, size and access | ||
| Adjustment made, or reason to stop | ||
| Relief after retuning, same method | ||
| Open-string action, fret, low E and high E | ||
| Repeat of original playing test | ||
| Remaining question for a technician |
For example, if the action changed but the repeated relief measurement did not, note both facts. That is a reason to investigate elsewhere, not proof that a particular repair is required. If the gap did change, record the new reading before deciding whether it explains the playing complaint.
For the wider setup sequence, the Ultimate Acoustic Guitar Setup Guide is the existing companion article. The Setup Specs Lookup can help locate reference information; verify any target against the current instructions for your model and measuring method.
Frequently Asked Questions
How do I know whether my acoustic needs a truss rod adjustment?
Measure relief using the manufacturer's specified method, and compare that result with the applicable target and your playing symptoms. High action or buzz alone does not establish that relief needs changing. Check the guitar's condition and humidity first.
Which way do I turn an acoustic truss rod?
For conventional operation, clockwise viewed facing the adjustment nut reduces forward relief; counter-clockwise increases it. Confirm your instrument's instructions before turning. Tightening a neck that already lacks clearance can worsen buzzing.
What size wrench does a Martin use?
Martin lists 4 mm or 5 mm depending on the guitar. Its SC service sheet specifies 4 mm. Identify the model and required reach; do not select a tool using a blanket pre-/post-2007 rule. Martin recommends authorized service for adjustment.
Does a Taylor use an Allen key through the soundhole?
Taylor's conventional peghead-access procedure uses a 1/4-inch thin-walled nut driver, not an Allen key. Some older nylon models use soundhole access and a different wrench. Identify the model before choosing a tool.
What is the correct relief for every acoustic guitar?
There is no universal value. The target is tied to the instrument and measurement method. Record the string, held frets and measuring fret alongside the gap, then use the maker's applicable guidance rather than transferring a number from another method.
Should I loosen the strings before adjusting?
Follow the maker's procedure for the actual rod. String-tension instructions differ, and nearby neck fasteners may have different requirements. Always measure the resulting relief at your intended playing pitch so the result describes the guitar you will play.
How long should I wait between adjustments?
Use the timing in your instrument's instructions and recheck after retuning. There is no universal 10- or 15-minute guarantee. If readings keep changing or the guitar has a moisture problem, stop chasing the measurement and address that instability first.
Can a truss rod fix high action when relief is already correct?
Continuing to change relief is not the next step. Check humidity, open-string action, the saddle and neck/body geometry. A low saddle with high action warrants assessment rather than automatically tightening the rod or removing more saddle material.
Should winter buzzing be fixed by loosening the rod?
Not automatically. First check humidity, condition and relief. Dryness can lower action through body movement. Follow the maker's care guidance and seek service for damage rather than treating every seasonal buzz as a neck-curvature problem.
What if the wrench does not fit or the rod will not respond?
Stop. Verify the model, access point, tool type and fit with the manufacturer or a qualified technician. Do not force the wrench, add leverage or keep turning a rod that is not responding as expected.
A useful result is a repeatable measurement and a guitar that works for your playing. Keep the record, change one relevant thing at a time and stop when the evidence points to a different job. You do not need to turn a rod merely because it is adjustable.
Keep reading
Next for your Acoustic
- Same guitarAcoustic Guitar Humidity: What to Check When Action ChangesRead
- Same guitarAcoustic Guitar Action Height: Measure Before You AdjustRead
- Same guitarAcoustic Guitar String Gauges: Light vs MediumRead
Everything for your Acoustic
Open the hub