Guitar Fret Buzz: Causes, Fixes, and a Step-by-Step Diagnostic Guide
Fix guitar fret buzz by location: open strings, lower frets, middle neck, and upper frets. Includes diagnostic decision tree, tool list, and when to see a pro.

Guitar Fret Buzz: How to Diagnose and Fix It for Good
Guitar fret buzz is the most common setup complaint players run into. It shows up as an annoying rattle or dead note when a string vibrates against a fret it shouldn't touch. The good news is that buzz almost always points to one of four things: neck relief, action height, nut slot depth, or uneven frets.
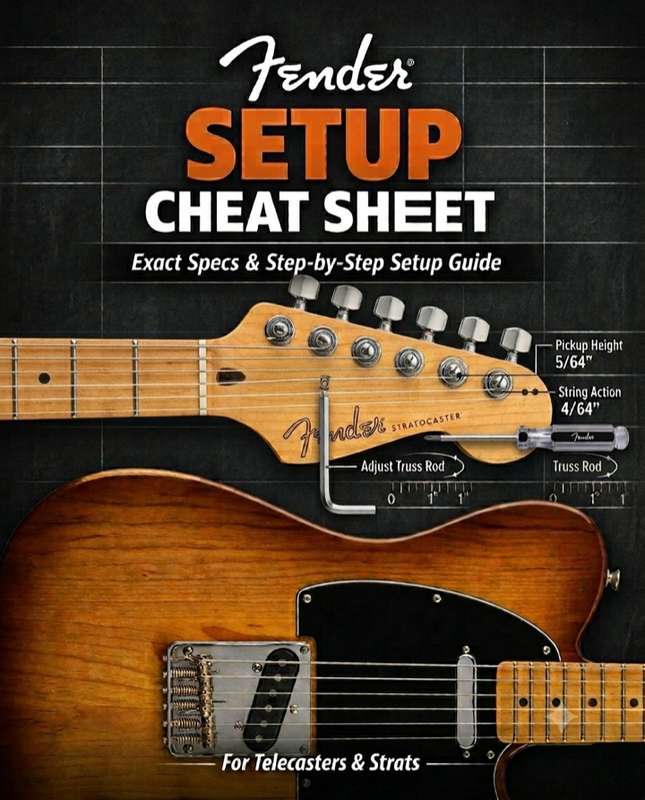
In this guide, you'll learn how to read where the buzz happens and what to adjust. We'll walk through each location on the neck, give you the right starting measurements, and show you when a simple turn of a screw is enough — and when it's time to call a pro. If you want every factory spec on one printable card, the Fender Setup Cheat Sheet covers relief, action, pickup height, and intonation for Strat, Tele, Jaguar, Jazzmaster, and Mustang.
What Is Guitar Fret Buzz?
Fret buzz happens when a vibrating string contacts a fret wire before the note has finished ringing. The collision chokes sustain, adds a metallic rattle, and can make chords sound thin. On electrics, the buzz may be audible through the amp; on acoustics, it's usually even more obvious because there's no pickup to mask it.
The string doesn't need much clearance to vibrate cleanly. When the gap between string and fret is too small for your playing attack, or when one fret sits higher than its neighbors, the string smacks into metal. Finding the right fix means matching the symptom to the cause, not just raising action everywhere and hoping for the best.
The Fret Buzz Diagnostic Decision Tree
The fastest way to narrow down guitar fret buzz is to note where it happens. The location usually tells you which part of the setup is out of whack. Use this table as your first filter before touching any tools.
| Buzz Location | Most Likely Cause | First Fix to Try |
|---|---|---|
| Open strings only | Nut slots too low or first fret too high | Check action at 1st fret; shim or replace nut |
| Frets 1–5 | Too little neck relief or backbow | Loosen truss rod 1/8 turn to add relief |
| Middle frets (5–12) | Relief too low or action too low | Set relief to 0.010", then raise saddles slightly |
| Above 12th fret / isolated frets | Saddle height too low or high fret | Raise saddle for that string; check frets with rocker |
| All over the neck | Action too low globally or major relief issue | Reset relief first, then set action height |
| Only one string | Uneven saddle height, low nut slot, or high fret | Raise that saddle; inspect nut and fret in string's path |
| Bridge / tailpiece area | Loose hardware or worn saddles | Tighten screws; inspect Mustang/Jaguar-style bridges |
This decision tree is the heart of troubleshooting. Most players waste time adjusting the bridge when the real problem is the nut, or cranking the truss rod when a single high fret is the culprit. Match the location first, then make one change at a time.
Buzz on Open Strings: Nut Slot Problems
If open strings buzz but fretted notes sound clean, the problem is almost always at the nut. The slots are either cut too low, or the first fret is sitting high enough that the open string barely clears it.
Quick check: Press the string down between the second and third frets. Look at the gap between the string and the top of the first fret. There should be a tiny sliver of daylight — roughly the thickness of a business card, or about 0.005"–0.010". If the string is touching the first fret, the nut slot is too low.
Fixing a low nut slot at home is risky unless you have experience. The safest options are:
- Shim the nut with a thin piece of material like bone dust or a commercial shim, then re-glue it.
- Replace the nut with a pre-cut Tusq or bone nut matched to your string gauge.
- Take it to a pro if the slots are badly cut or the first fret itself is high.
On budget guitars, nut slots are often cut a little too deep from the factory. If you own a Squier, Affinity and Sonic models are especially prone to this. The Squier Setup Cheat Sheet has series-specific nut and action specs that help you decide whether to fix it yourself or have a tech handle it.
Buzz on Frets 1–5: Neck Relief and Back-Bow
Buzz on the lowest frets usually means the neck has too little relief — or even a slight backbow. When the neck is too straight, the strings have no room to vibrate in the middle of their span, so they hit the frets near the nut.
Target relief for most electric guitars: 0.008"–0.012" measured at the 7th or 8th fret with the first fret capoed and the last fret held down. Fender Strats and Teles generally sit around 0.010"; Gibsons often tolerate a little less.
The fix: Loosen the truss rod in small increments — never more than 1/8 turn at a time. Counterclockwise (when looking down the neck) adds relief. Wait 15–30 minutes for the wood to settle, retune, and remeasure. If you want a complete walkthrough, our truss rod adjustment guide covers the measurement process and safety rules in detail.
Buzz in the Middle of the Neck: Relief and Action Height
Buzz between the 5th and 12th frets usually means your action is too low for your current relief, or your relief itself is too shallow. This is the most common spot for players who like super-low action but haven't checked their neck curvature first.
The rule of thumb: always set neck relief before adjusting action. Once relief is at spec, raise the bridge saddles in small increments until the buzz disappears. For electric guitars, a typical starting action at the 12th fret is 1.6mm (1/16") on the high E and 2.0mm (5/64") on the low E. Heavier picking or thicker strings need a bit more clearance.
If you raise the saddles and the buzz just moves higher up the neck, your relief is still the limiting factor. Go back to the truss rod first. For exact action targets by guitar type, see our action height guide.
Buzz Above the 12th Fret and Isolated Frets: Saddle Height and Fret Level
When buzz only appears past the 12th fret, or on one specific fret, the cause is usually local. Either the saddle is too low for that string, or one fret is sitting higher than the ones around it.
Check the saddle first. Raise the individual saddle for the buzzing string a quarter-turn at a time, retune, and test. If raising it solves the buzz without making the action uncomfortably high, you're done.
If raising the saddle doesn't help, check the frets. A fret rocker is the right tool here — it's a short straightedge that spans three frets at a time. If it rocks on a fret, that fret is high. Single high frets can sometimes be tapped back into a loose fretboard, but most of the time they need professional leveling and recrowning.
| Symptom | Likely Cause | Fix |
|---|---|---|
| Buzz only above 12th fret | Saddle too low | Raise saddle for that string |
| Buzz on one fret, one string | High fret | Fret leveling / recrowning by a pro |
| Buzz on one string all over | Low nut slot or uneven saddle | Check nut slot depth and saddle radius |
| Buzz after string change | Different gauge or tension | Let neck settle, then readjust relief and action |
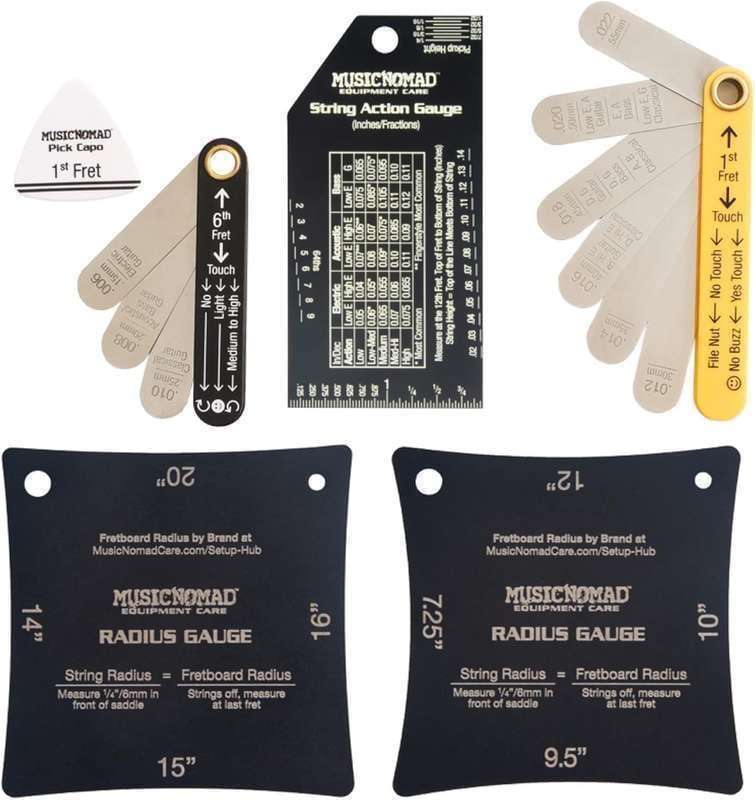
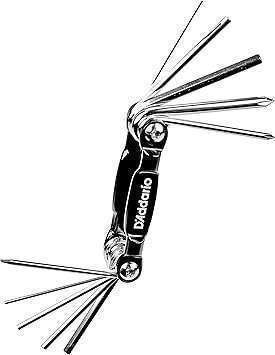
Tools for diagnosing fret buzz
 Buy on Amazon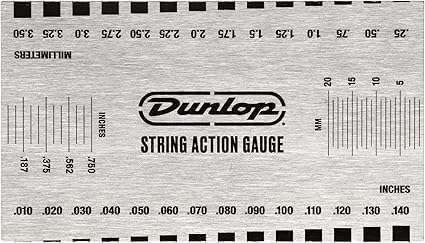
Acoustic vs Electric Fret Buzz: Key Differences
Acoustic guitars and electric guitars buzz for the same fundamental reasons, but the fixes look different. Electrics let you raise individual saddles in seconds. Acoustics require you to remove and sand the bridge saddle, which is permanent and harder to undo.
Acoustic-specific causes:
- Top bellying: The soundboard can dome upward over time, raising the bridge and action in a way that saddle sanding alone won't fix.
- Bridge plate wear: String balls can pull through or wear the bridge plate, lowering string break angle and causing buzz.
- Neck angle: If the neck angle is off, the saddle may already be at minimum height and action is still high, or the heel area can buzz.
For acoustic players, the Acoustic Setup Cheat Sheet includes the saddle-sanding 2:1 rule, humidity targets, and brand-specific specs for Taylor, Martin, Yamaha, and others. If you are lowering action on an acoustic, our Acoustic Guitar Action Height Guide has exact measurements and the step-by-step saddle-sanding process. If you're fighting seasonal buzz, humidity control is usually half the battle.
Acoustic setup essentials



Step-by-Step: Eliminating Fret Buzz on Any Guitar
Use this sequence whenever buzz shows up. It keeps you from chasing symptoms in circles.
1. Tune to Pitch and Inspect
Buzz measurements only mean something when the guitar is at full tension. Tune up, stretch the strings, and retune. Then sight down the neck from the headstock to see if it's straight, bowed, or humped.
2. Map the Buzz
Play every string open, then at the 1st, 5th, 8th, 12th, 17th, and 22nd frets. Note where the buzz starts and which strings are affected. Write it down — it's easy to forget once you start turning screws.
3. Set Neck Relief First
With a capo on the first fret and the last fret held down, measure the gap at the 7th or 8th fret. Adjust the truss rod in 1/8-turn increments until you're in the 0.008"–0.012" range for electrics, or 0.010"–0.014" for acoustics. Wait at least 15 minutes between adjustments.
4. Set Action Height
Once relief is correct, measure action at the 12th fret. Raise or lower saddles to hit your target. On acoustics, remove the saddle and sand the bottom evenly if you need to lower it; never sand more than 0.5mm at a time. See the action height guide for brand-specific targets. Fender owners can find exact factory targets in the Stratocaster setup guide and Telecaster setup guide.
5. Check the Nut
If open strings buzz, test the gap at the first fret. A low slot needs a shim or a new nut. Don't deepen slots yourself unless you have gauged nut files and know exactly how deep to go.
6. Check the Frets
Use a fret rocker to find high frets. If you find one, a pro leveling is usually the cleanest fix. Single high frets on an otherwise level board can sometimes be spot-leveled, but it's easy to create more problems if you've never done it.
7. Play-Test and Re-Intonate
After each change, play chords, single notes, and bends across the whole neck. If you made a big action change, check intonation at the 12th fret and adjust saddle position if needed. If the buzz appeared after switching to a lighter string gauge, use that guide to recheck the tension change before chasing the saddles.
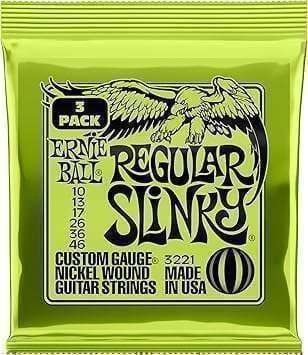
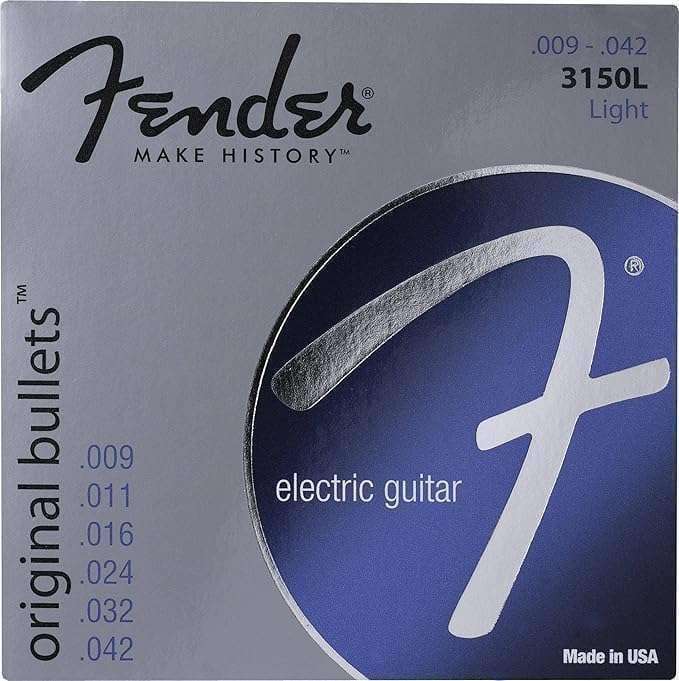
Fresh strings for a stable setup

When to Take Your Guitar to a Professional
Some fret buzz issues are beyond a quick home setup. Know when to stop before you turn a small problem into an expensive repair.
See a pro if:
- The truss rod is maxed out or won't turn.
- A fret rocker shows multiple high or uneven frets.
- The guitar needs a neck reset or fret level.
- The top is bellying on an acoustic, or the bridge plate is damaged.
- You've made three adjustments and the buzz is unchanged or worse.
A professional setup typically costs $50–$100, while a fret level runs $150–$300. If your guitar is valuable or vintage, those prices are cheap insurance. Not sure what your instrument is worth? Get a quick Guitar Price Estimate before spending money on major work. For a complete price breakdown by job type, see our guide to how much a guitar setup costs.
Frequently Asked Questions (FAQ)
1. What is guitar fret buzz?
Guitar fret buzz is a rattling sound that happens when a vibrating string hits a fret wire before the note dies out naturally. It can be caused by low action, incorrect neck relief, worn or low nut slots, uneven frets, or loose hardware.
2. Is some fret buzz normal on a new guitar?
A tiny amount of buzz on very light touch can be normal, especially on electrics played clean. But loud, consistent buzz that kills sustain is not normal. New guitars sometimes leave the factory with action set too low or with uneven frets, so a setup is often worth doing.
3. Why does my guitar buzz only on open strings?
Open-string buzz almost always means the nut slots are cut too low or the first fret is too high. When you fret a note, your finger takes the nut out of the equation, which is why fretted notes sound clean while open strings buzz.
4. Why does my guitar buzz on the first few frets?
Buzz on frets 1–5 usually means the neck has too little relief or a slight backbow. Adding a small amount of forward bow by loosening the truss rod usually clears it up.
5. Why does my guitar buzz in the middle of the neck?
Buzz in the middle of the neck is usually a combination of shallow neck relief and low action. Set relief to spec first, then raise the bridge saddles if the buzz remains.
6. Why does my guitar buzz above the 12th fret?
Buzz past the 12th fret is most often caused by saddle height that's too low for the string's vibration path. It can also point to a high fret in that area. Raise the saddle first; if that doesn't work, check the frets with a rocker.
7. Can heavier strings fix fret buzz?
Heavier strings vibrate in a smaller arc and can reduce buzz, but they also add tension that changes neck relief. They're a band-aid, not a cure. It's better to fix the underlying setup issue first, then choose a gauge that matches your playing style.
8. How do I tell if a fret is too high?
Use a fret rocker — a short straightedge that spans three frets. If it rocks back and forth on one fret, that fret is higher than its neighbors. You can also tap lightly along the fret tops with a small hammer; a loose fret may move or produce a different sound.
9. Should I adjust the truss rod or the saddle height first?
Always adjust neck relief before action. Relief sets the foundation of the neck's curve. If you adjust saddles first, you'll end up chasing buzz as the neck moves underneath them.
10. When should I take my guitar to a professional for fret buzz?
Take it to a pro if the truss rod is stuck or maxed out, multiple frets are uneven, the guitar needs a neck reset, or you've made several adjustments with no improvement. For valuable instruments, a professional evaluation is the safer route.
Conclusion
Guitar fret buzz is frustrating, but it's rarely mysterious once you match the location to the cause. Start with neck relief, then set action, then check the nut and frets. Make one change at a time, retune, and play-test before moving to the next adjustment. That discipline is what separates a quick fix from a day of chasing your tail.
If you want every measurement — relief, action, pickup height, and intonation — laid out for your specific Fender model, the Fender Setup Cheat Sheet puts it all on one printable card. For acoustic owners, the Acoustic Setup Cheat Sheet covers saddle sanding, humidity, and brand-specific specs. And if you're deciding whether a buzzy budget guitar is worth fixing, a Guitar Price Estimate can tell you what the instrument is worth before you spend money on a pro setup.
Last updated: July 12, 2026