Squier Bass Setup Guide: P-Bass, J-Bass & PJ Action Specs
Squier bass setup for P, J and PJ models: identify your hardware, measure relief and action consistently, balance pickups and record results with a worksheet.
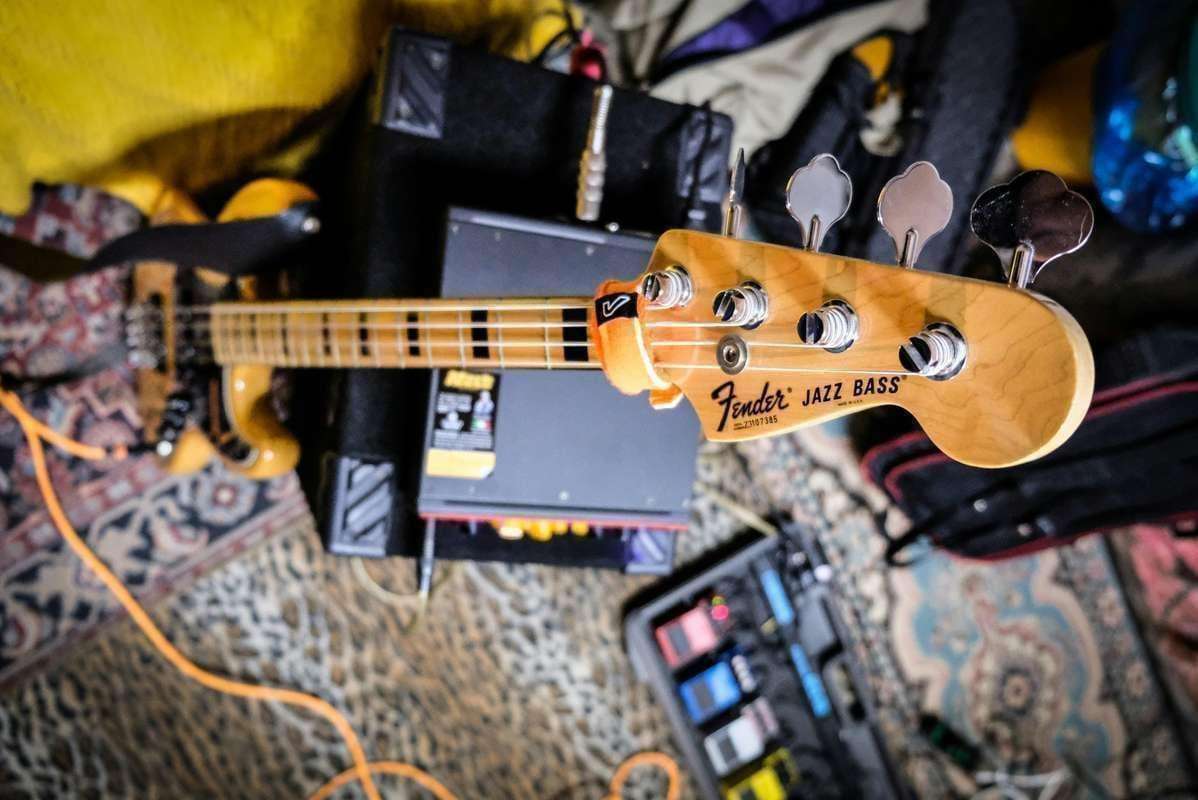
Squier Bass Setup: Identify, Measure, Then Adjust
A Squier bass setup starts with the instrument in your hands: its neck, bridge, pickups, strings and tuning. An Affinity PJ, a Classic Vibe Precision and a Mini Precision can share a logo while needing different string choices and hardware checks. High action, a thin sound or a buzzing note needs diagnosis before adjustment.
This guide covers a fretted four-string P, J or PJ with conventional adjustable saddles. It also identifies the limits of those assumptions for modified, five-string and short-scale instruments. The measurements below are attributed starting references, not claims that every Squier leaves the factory with the same setup.
Quick answer: Choose strings and tuning first, then check relief, nut clearance, action, pickup balance and intonation. For a suitable 9.5–12-inch-radius bass, Fender's general reference is .012 inch / .30 mm relief at fret eight, with 6/64 inch / 2.4 mm bass-side and 5/64 inch / 2.0 mm treble-side action at fret seventeen. The measuring method matters as much as the number. The Bass Setup Cheat Sheet puts the scoped reference, checklist and blank setup record into a printable workbench guide.
Match the Hardware to the Method
These are examples from manufacturer listings checked in September 2026. They help identify differences; an older instrument or replacement part may differ.
| Listed Squier model | Scale / radius | Pickups and bridge | Setup implication |
|---|---|---|---|
| Affinity Precision Bass PJ | 34 inches / 9.5 inches | Ceramic split P plus J bridge pickup; four saddles | Check each pickup separately, then their blend |
| Affinity Jazz Bass | 34 inches / 9.5 inches | Two ceramic J single-coils; four saddles | Record neck and bridge gaps separately |
| Classic Vibe '50s Precision | 34 inches / 9.5 inches | Alnico single-coil; four vintage-style saddles | The Precision name does not always mean a split pickup or two saddles |
| Mini Precision Bass | 28.6 inches / 9.5 inches | Split pickup; four saddles | Verify winding length instead of buying a long-scale set by habit |
The Affinity examples list head-adjust truss rods; so do the '50s Classic Vibe and Mini examples. That does not establish one wrench size, a plastic cover or identical access on every production year. Look at the actual socket and use the relevant model documentation.
Before starting, photograph the bridge and pickup positions. Record the model, string packet and any replacement parts. A serial lookup can help with identification, but a previous owner may have changed the neck or pickups; match the physical hardware before adopting a reference.

Prepare Your Strings, Tools and Baseline
Choose Strings Before Setting the Bass Up
Keep a healthy set if you like its sound and feel. Replace damaged or unreliable strings before chasing unstable tuning. Changing gauge, construction or tuning after completing a setup can alter the result, so make those choices first.
The listed Affinity PJ and Jazz models specify nickel-plated steel .045–.105 strings; the Mini lists .040–.095. Those are model examples, not mandatory beginner gauges or proof of what remains on a used bass. Gauge alone does not describe tension, construction or playing feel.
Check the string's usable winding length as well as nominal scale. D'Addario's fitting guidance distinguishes the ball-end-to-taper distance from the bass's vibrating scale. Follow the string maker's routing and trimming instructions so the intended section sits at the nut and saddle.
For product comparisons, use our Precision Bass strings guide. The sets shown here are shopping options for a compatible bass; check their exact gauge, winding length and construction before ordering, especially for the Mini.
Bass Strings: Check Gauge and Winding Length

 Buy on Amazon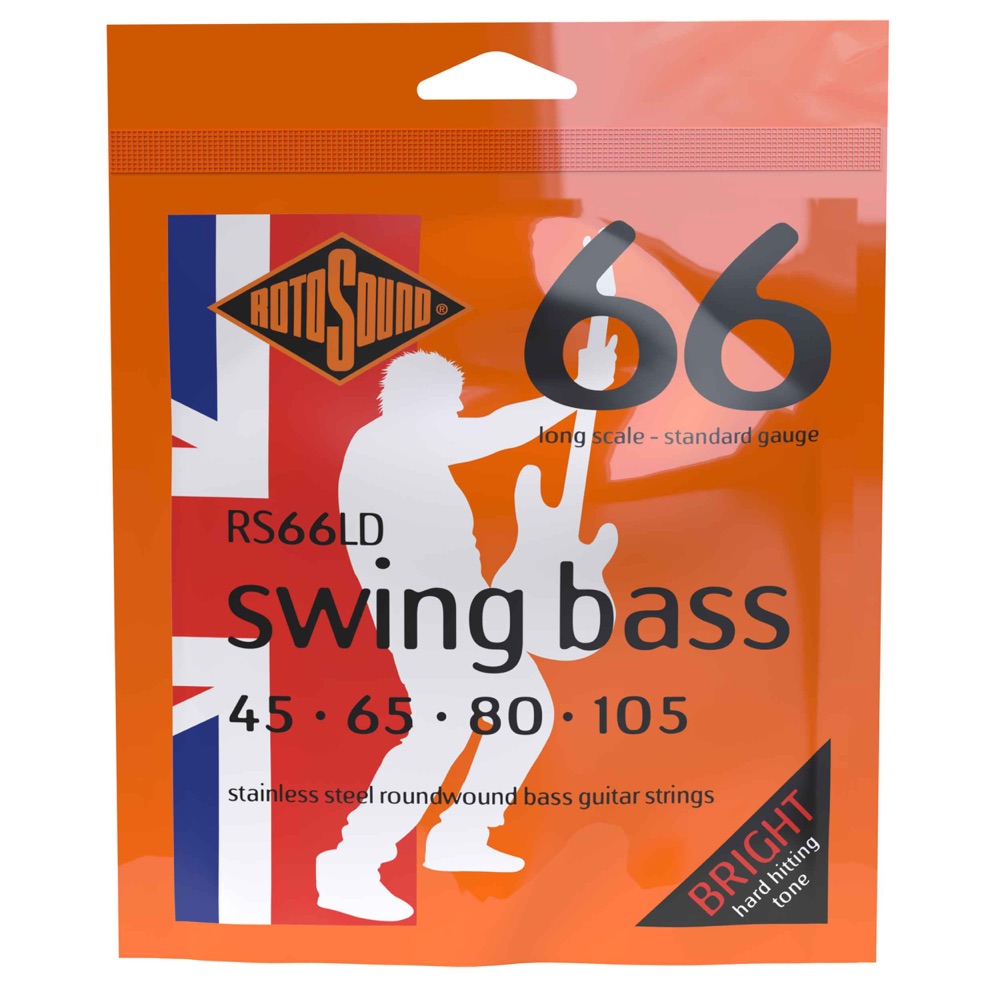

Assemble a Measuring Kit
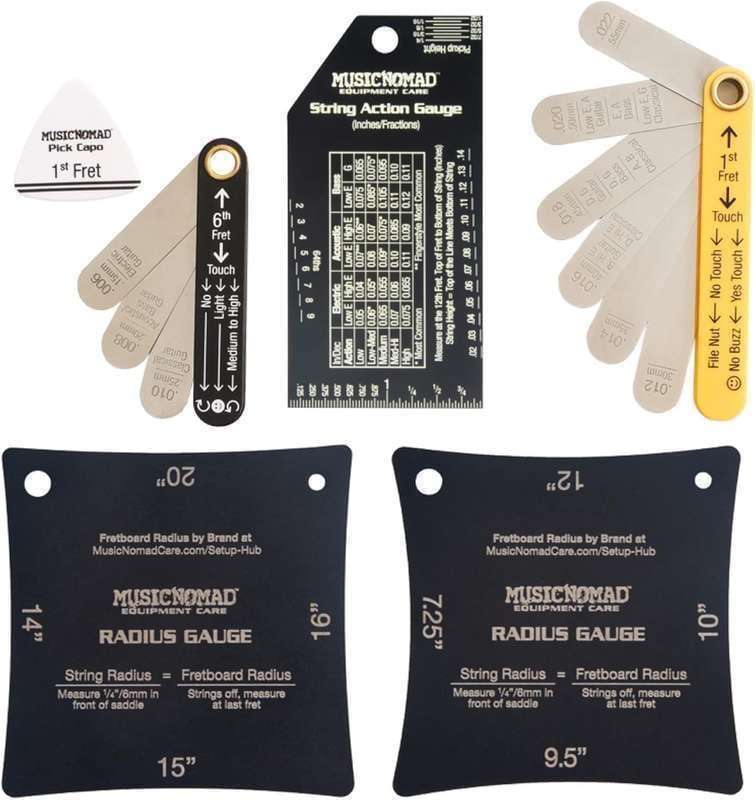
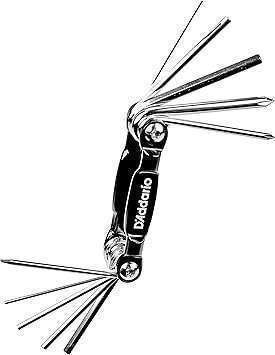
Use a ruler with a true zero edge or an action gauge, feeler gauges, a capo and a chromatic tuner. Add correctly fitting tools for your particular truss nut, saddles and pickup screws. A multi-tool is useful only if its bit seats fully; a nearly correct hex key can damage the socket.
A feeler gauge measures a small gap without relying on eyesight alone. An action ruler must rest on the fret crown rather than the fingerboard. Check that the printed scale begins at its edge; otherwise its apparent reading includes an offset.
Support the instrument securely without pushing the neck into a different position. Use normal playing position for listening and intonation checks. Keep amp settings and picking force consistent so a changed sound has a useful comparison.
Squier Bass Setup Tools

Record the Problem Before Touching a Screw
Write what happens, where it happens and how you tested it: open E only, several low frets, one upper note, or every string. Listen through a clean amp as well as acoustically. Avoid treating all mechanical noise as the same fault.
Our bass fret-buzz diagnostic guide separates those patterns. If the instrument already feels comfortable and plays cleanly for your normal attack, the useful result of a setup check may be a record with no adjustments.
Check Relief and Nut Clearance
Keep the Measuring Endpoints Consistent
For the Fender reference, tune the bass, capo fret one and hold the lowest string at the last fret. Read the gap between string underside and fret crown at fret eight. A blade should fit without lifting the string; record a range if the gap falls between available blades.
The reference for a 9.5–12-inch-radius neck is .012 inch / .30 mm. Radius refers to the fingerboard's crosswise curve; relief is its lengthwise bow. They are different measurements. Use a more specific manufacturer instruction when available, especially with a replacement neck.
If you compare a new reading with an old one, repeat the same held frets and tuning. Holding at fret seventeen instead of the last fret changes the measured span. A different result from a different method does not prove that the neck moved.
Adjust Only When the Measurement Calls for It
Identify access and the correct tool before turning. Fender's general bass instructions call for loosening string tension before truss adjustment. A conventional rod normally reduces forward relief when turned clockwise while looking into its adjusting nut; confirm the actual design and viewing direction.
Make a small controlled change within the maker's instructions, then retune and remeasure. There is no universal Squier turn fraction or settling timer. Stop with excessive resistance, a damaged socket, no useful response or a neck that repeatedly needs correction.
These measurements and precautions come from Fender's bass setup and care reference. They are a starting framework, not a reason to turn the rod whenever the action feels high.
Assess the Nut Without Filing It
A nut slot that is too high can make early-position fretting uncomfortable; one that is too low can contribute to open-string buzz. These are different problems. StewMac's nut-gauge instructions explain why excessive clearance and no clearance require different responses.
For an initial comparison, hold a string at the third fret and observe its clearance above the first. Do not apply an open-string first-fret target to this held-string check. Note whether there is a small gap, an obvious gap or contact, together with the playing symptom; this is a screening observation, not a nut-cutting specification.
Leave cutting, filling or replacing slots to a suitably equipped technician. Filing a low slot deeper cannot restore its missing clearance. Also report binding or a string that sits incorrectly after a gauge change instead of assuming the whole neck needs adjustment.
Set Action, Then Balance Pickups
Measure Action at Fret Seventeen
Remove the capo, leave strings open and tuned, and measure from the seventeenth fret crown to each string's underside. For the same 9.5–12-inch-radius Fender reference, the outer-string starting heights are 6/64 inch / 2.4 mm on the bass side and 5/64 inch / 2.0 mm on the treble side. Metric figures preserve Fender's rounded equivalents.
Do not copy these numbers onto a twelfth-fret measurement. If your instrument's specific instructions use fret twelve, keep that source, target and method together instead. A single action number without its measuring fret is an incomplete setup note.
With a conventional individual saddle, change height using its correct screws and keep both feet supported. Retune and play before deciding on another change. Check the middle strings individually rather than assuming the two outer heights guarantee a comfortable arc.
Stop if the required height exceeds safe saddle travel, a screw loses support, or hardware binds. Neck-angle assessment and fretwork are separate jobs. A low purchase price does not make forced adjustments a reasonable shortcut.
Compare P, J and PJ Pickups by Listening
Fender's general pickup chart distinguishes pickup categories rather than prescribing separate universal neck and bridge heights:
| Reference category | Bass-side gap | Treble-side gap |
|---|---|---|
| Standard J or P | 7/64 inch / 2.8 mm | 5/64 inch / 2.0 mm |
| Vintage style | 8/64 inch / 3.2 mm | 6/64 inch / 2.4 mm |
Hold each outer string at its last fret and measure pole top to string underside. These are starting references; the name Classic Vibe alone does not identify a replacement pickup's magnetic strength. Follow the pickup maker's guidance when it differs.
For a split P pickup, listen to the strings over both halves. For a Jazz or PJ, solo one pickup, play the same phrase, then compare the other and their blend. Write down which sound is actually too loud or weak before changing a mounting screw.
Do not chase identical ruler gaps if the pickups then sound unbalanced. Conversely, raising a weak pickup indefinitely can create clearance or magnetic-interference problems. On an active or modified bass, check its battery, controls and wiring symptoms before treating an electrical problem as a height problem.
Roger Sadowsky's setup guidance demonstrates balancing pickups by comparing their output. Its numeric specifications apply to Sadowsky instruments; this guide uses the scoped Fender references above for suitable Squier hardware.
Check Intonation and Complete the Worksheet
Use Repeatable Octave Readings
Finish relief, action and pickup adjustments before final intonation. Tune the open string, then compare the twelfth-fret harmonic with a normally fretted octave. Use consistent pressure close behind the fret; squeezing the string into the fingerboard can distort the comparison.
If the fretted octave is repeatedly sharp, move the saddle away from the neck. If it is repeatedly flat, move it toward the neck. Retune after each small adjustment and repeat the comparison rather than working to an arbitrary millimetre increment.
Peterson's intonation instructions support checking basses in playing position with consistent playing pressure. If readings wander, investigate tuning stability and the string before moving the saddle again. There is no universal final saddle position that makes every P or J correctly intonated.
Use the dedicated bass intonation guide for sharp-versus-flat diagnosis, limited saddle travel and string-related checks. A paired-saddle replacement bridge requires a different compromise from the individual saddles in our model examples.
Free Squier Bass Setup Worksheet
Copy this into a notebook or print this section. Fill in your observations, not the reference numbers unless you actually measured them. An empty box means unrecorded, not zero.
| Identification | Your record |
|---|---|
| Model, neck and radius | __________ |
| Bridge and pickup types | __________ |
| String set, winding fit and tuning | __________ |
| Date and specification source | __________ |
| Original symptom and test phrase | __________ |
| Check | Before | After |
|---|---|---|
| Relief: held frets / reading fret / units | __________ | __________ |
| E action: measuring fret / units | __________ | __________ |
| A and D action: measuring fret / units | __________ | __________ |
| G action: measuring fret / units | __________ | __________ |
| Pickup gaps: pickup / string / held fret | __________ | __________ |
| Octave error: string / sharp or flat / tuner reading | __________ | __________ |
| Playing result and unresolved symptoms | __________ | __________ |
Record a separate row for each pickup or string when needed. A five-string needs its extra string recorded, not an assumed four-string target extended by a fixed increment. You can also keep instrument notes in My Gear Garage.
Decide Whether to Keep the Result
Play the same phrase that exposed the original problem, then check notes across the neck. Compare normal fingerstyle or pick attack through the same clean amp settings. A different volume setting or much softer touch can hide a problem without fixing it.
If the original symptom persists, keep the measurements and describe what changed. A technician can use that record more effectively than a request to make everything as low as possible. See our setup cost guide for how to compare what a shop includes.
Squier Bass Setup FAQ
What action height should a Squier P-Bass have?
Use the instrument's applicable reference and measuring fret. Fender's general 9.5–12-inch-radius starting point is 6/64 inch / 2.4 mm bass-side and 5/64 inch / 2.0 mm treble-side at fret seventeen, with strings open and tuned. Adjust for the playing result rather than treating that as a universal factory setting.
Do Affinity and Classic Vibe basses need different methods?
Check the specific hardware. Our listed Affinity PJ, Affinity Jazz and Classic Vibe '50s examples have 34-inch scales and four saddles, but their pickup configurations differ. Older models, modified instruments and different necks can require different references.
How do I adjust a Squier Affinity bass truss rod?
Identify its access, correctly fitting tool and manufacturer's procedure first. Measure relief before turning, follow the instruction about string tension, then retune and remeasure. Do not assume every Affinity has a plastic cover, the same wrench size or a mandatory turn increment.
Is every Precision Bass pickup a split coil?
No. The listed Squier Classic Vibe '50s Precision uses an alnico single-coil pickup. The Affinity PJ combines a split P pickup with a J bridge pickup. Identify what is installed before choosing a pickup-height reference.
Can I use the same strings on a Mini Precision?
Check winding length and fit first. The listed Mini has a 28.6-inch scale and .040–.095 factory string specification. A string packet suitable for a 34-inch bass is not automatically the right fit for the Mini's nut, bridge and tuners.
Should I lower the saddles whenever my bass feels stiff?
Measure first. Excess relief, nut clearance, string choice and action can each affect feel. Lowering saddles without checking the cause may add buzz while leaving early-position fretting uncomfortable.
Why does my PJ sound uneven between pickups?
Solo each pickup through the same amp settings and compare the same phrase. Check its measured gap and string clearance before adjusting. If the problem is intermittent, distorted or electrical, pickup height may not be the cause.
Should I file the nut to fix open-string buzz?
Do not file a suspected low slot deeper. First separate open-only buzz from fretted-note noise and inspect seating and clearance. Nut cutting, filling and replacement need appropriate tools and diagnosis.
How often does my Squier bass need a setup?
Recheck after a material change in strings, tuning, conditions or playing symptoms. A stable, comfortable instrument does not need every adjustment repeated on a fixed calendar. Keep the worksheet so later checks use the same measurement method.
Does the Bass PDF include exact settings for every Squier?
No. It includes a scoped Fender reference, measurement and diagnostic guidance, a printable checklist and blank setup record, with five-string and fretless notes. Use the instructions for your actual hardware when they differ from the reference.
Keep a Setup You Can Reproduce
A useful setup leaves you with a comfortable instrument and a record of how it got there. Keep the model-specific reference beside your own measured result, and investigate a changed symptom before repeating an old adjustment.
The Bass Setup Cheat Sheet is the relevant workbench companion for this bass workflow. If you are deciding whether to service or sell the instrument, the Guitar Price Estimate provides a separate valuation route.