Jaguar Pickup Height: Measurement and Output Balance
Set Jaguar pickup height with the right measuring method for your pickups. Compare mounting types, balance output, diagnose problems, and record your settings.
Getting Jaguar pickup height right starts with identifying the pickups and measuring a repeatable gap. A traditional Jaguar single-coil, a Player humbucker and an aftermarket replacement can need different settings. The useful result is a guitar whose pickup positions work together, with enough string clearance for your playing.
Quick Answer: Tune up, fret each outer string at the last fret, and measure from pole-piece top to string bottom. Follow the installed pickup maker's guidance, then compare neck and bridge through a clean amp. Traditional body-mounted Jaguar pickups lower when their screws turn clockwise; suspended mounts work the other way. Record the gap after each small adjustment.
In this guide:
- Which specifications apply?
- Identify pickups and mounting
- Prepare and measure
- Adjust and balance output
- Free diagnostic table and setting record
- Frequently asked questions
- Keep a useful final setting
Jaguar pickup height specs: choose the right reference
There is no verified single neck/bridge table here that covers every Fender and Squier Jaguar. Fender's general setup guidance sorts measurements by pickup type, and tells owners to check the installed pickups. It also allows adjustment for the player and strings. A model name alone is insufficient to select a gap. See Fender's factory setup guidance.
One useful historical reference is Fender's Reissue '62 Jaguar, Japan, 1986 manual. Printed page 15, PDF page 17, gives the following outer-string clearances with the highest fret held. It does not supply separate neck and bridge values. These are that manual's instructions, not newly verified specifications for a Player II, Classic Vibe or modified Jaguar. Read the Fender manual.
| Reference and scope | Low E / bass side | High E / treble side |
|---|---|---|
| Fender Reissue '62 Jaguar manual, Japan 1986 | 3/32 in, approximately 2.4 mm | 1/16 in, approximately 1.6 mm |
| Your installed pickup's instructions | Enter the maker's stated value | Enter the maker's stated value |
The gap runs from pole-piece top to string bottom, not the plastic cover, claw or pickguard. Imperial fractions and rounded millimeters are alternative descriptions of the same clearance; choose the scale your ruler reads clearly. Do not chase a tenth of a millimeter your tool cannot reliably resolve.
Why a neck/bridge gradient is not a rule
The neck position may need more clearance when balancing a pair. Fender notes that string movement differs between neck and bridge positions, but that does not establish a mandatory 0.4 mm difference. Two pickups at visibly different heights can still have similar measured gaps because the strings and body are not the measuring reference.
If your guitar already sounds balanced and the strings clear the hardware, document that setting before copying an online table. If a pickup has been changed, its instructions take precedence over a factory description of the guitar's original equipment. An unknown pickup calls for identification, not a more confident-looking number.
For broader setup work, the Jaguar setup guide covers the surrounding adjustments. The free pickup-height calculator is another reference aid; check its pickup category and measuring method against the actual hardware rather than treating a result as a factory certificate.
For the workbench: the Fender Setup Cheat Sheet combines Stratocaster and Telecaster setup with an offset supplement covering hardware identification, pickup measurement, mounting directions and a blank setup record. Keep the free Jaguar method below handy, or use the printable guide beside the guitar.
Identify your Jaguar pickups and mounting
Traditional single-coils and modern variants
Start with the guitar's exact model and any modification history. The following examples show why appearance and the word “Jaguar” cannot settle the adjustment question:
| Guitar or pickup arrangement | What to identify before adjusting |
|---|---|
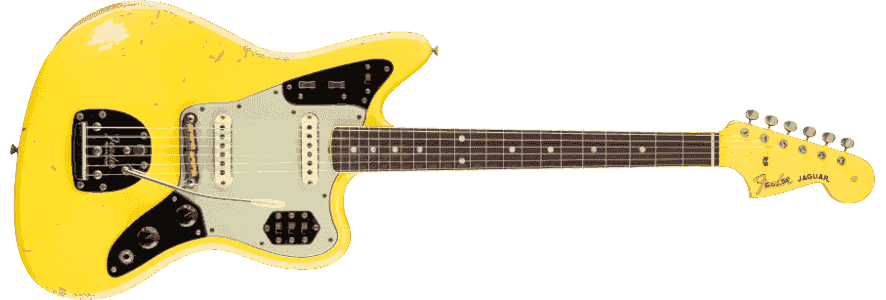
| Traditional narrow Jaguar single-coils with metal claws | Find the two pickup mounting screws and check the model's service information |
| Squier Classic Vibe '70s Jaguar | Fender-designed alnico single-coils with lead/rhythm switching; verify its own hardware rather than assuming another Jaguar's settings |
| Fender Player Jaguar, original HS version | Humbucking bridge pickup and single-coil neck pickup; assess each pickup separately |
| Fender Player II Jaguar | Two Jaguar single-coils and a three-way blade switch; do not mistake its controls for the original Player HS |
| Kurt Cobain Jaguar or an aftermarket conversion | Identify the actual humbuckers and their maker's measuring instructions |
These distinctions are documented on Fender's Classic Vibe '70s Jaguar, Player Jaguar, Player II Jaguar and Kurt Cobain Jaguar pages. They establish equipment and controls, not interchangeable pickup-height targets.
A metal claw is part of the traditional pickup assembly, not a height ruler. Fender describes its role in reducing hum and concentrating the magnetic field in its Jaguar history. That does not tell you how far a screw moves the pickup or prove that one quarter-turn is more audible than on another guitar.
Body mounting versus suspension
Look directly at the screw head when describing rotation. Fender's 1986 manual documents opposite directions for body-mounted Jaguar/Jazzmaster pickups and pickups suspended from a pickguard. Apply the direction to the mount you have identified:
| Mounting arrangement | Clockwise | Counterclockwise |
|---|---|---|
| Traditional Jaguar pickup screwed into the body | Lowers pickup; increases gap | Raises pickup; decreases gap |
| Pickup suspended from a pickguard or mounting ring | Raises pickup; decreases gap | Lowers pickup; increases gap |
Do not assume a humbucker conversion retained the original mounting. A screw beside a pickup can fasten a ring or pickguard rather than change pickup height. If the mounting is unclear, compare the service diagram or have a technician identify it before turning anything.
Keep this distinction separate from pole adjustment. The visible rods on a traditional Jaguar single-coil are not screw heads. Do not push them through the coil or bend the claw to “match” a string radius. A humbucker may have adjustable pole screws, but those are a separate adjustment from raising or lowering the whole pickup.
Prepare the guitar and measure four gaps
Use tools you can read consistently
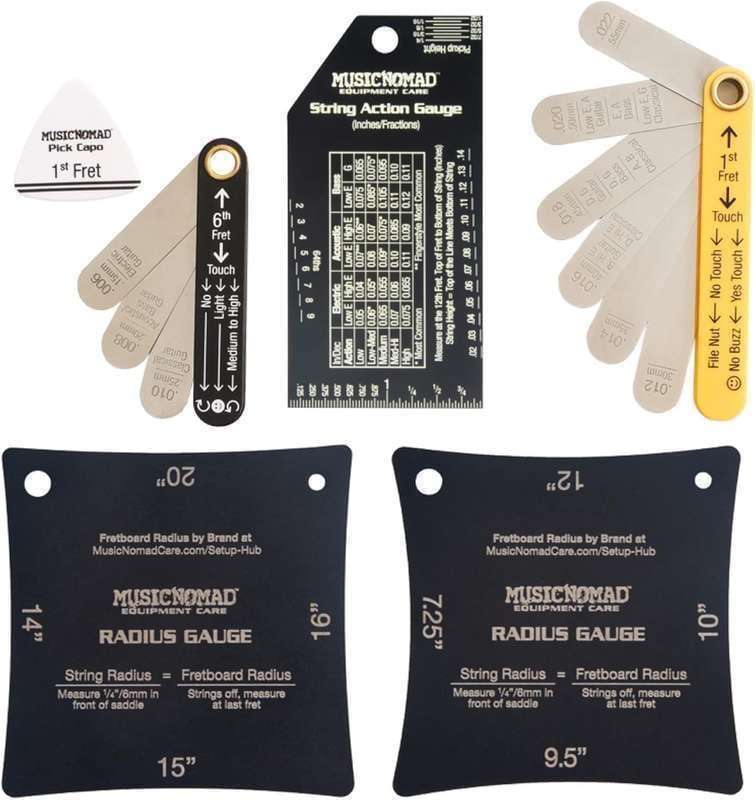
A ruler or action gauge with clear small graduations, a correctly fitting screwdriver and a tuner cover the basic job. A capo is optional if it can hold the last fret without fouling the body. Work with good lighting and support the guitar securely while measuring.
Tools for measuring Jaguar pickup height
 Buy on Amazon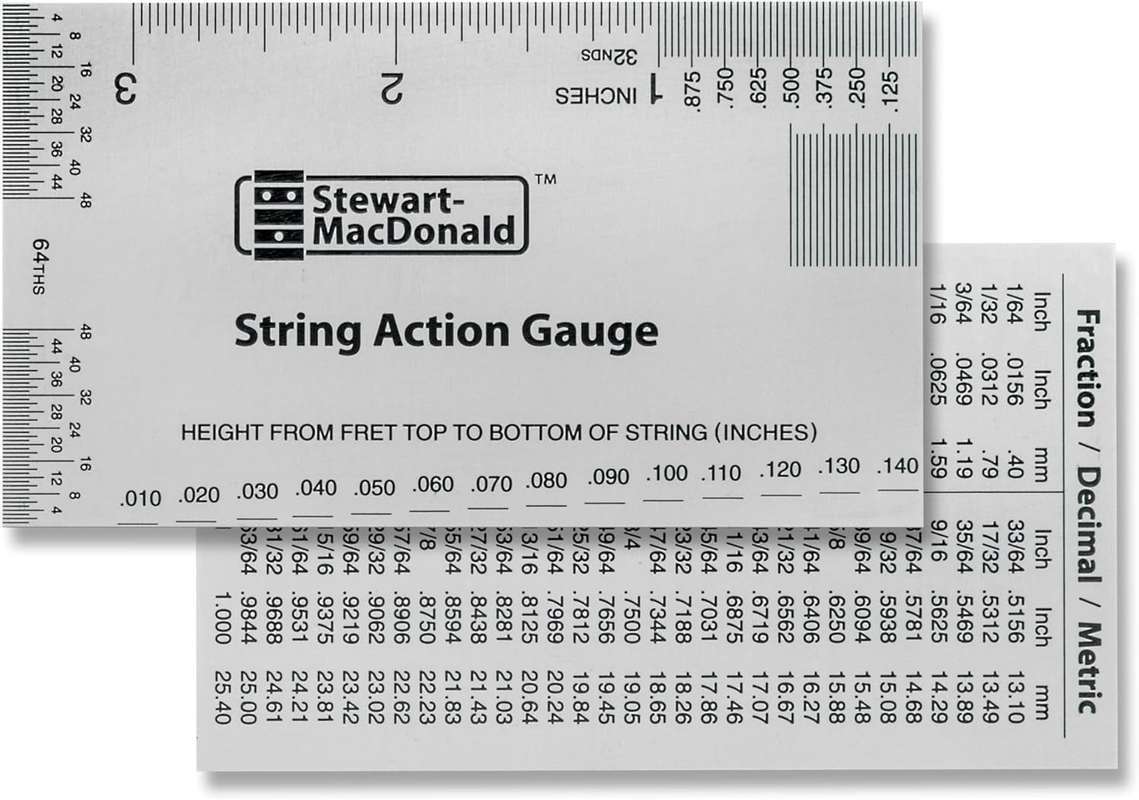
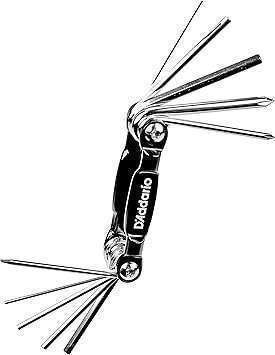
The screwdriver should seat fully in the screw. Stop if it slips or the screw binds; extra force will not improve the measurement. Keep the ruler clear of the finish, and do not press a string downward with its edge while reading the gap.
Finish the mechanical setup first
Use your intended strings and tuning. Set relief, action and the relevant bridge/vibrato adjustments before balancing pickups, since changing the string position can change the clearance you have recorded. If the neck still needs attention, use the Jaguar truss rod guide before this stage.
You do not need new strings solely to move a pickup. However, old or damaged strings make tone comparisons less useful. If a replacement is already due, fit your chosen set first; the Jaguar string guide covers that separate choice.
String options when a replacement is due



Take a baseline before touching a screw
- Tune to your normal pitch and leave the vibrato at rest.
- Hold the low E at the last fret. Measure vertically between its underside and the top of the pole directly beneath it.
- Record the bridge bass gap, then the neck bass gap.
- Hold the high E at the last fret and record both treble gaps.
- Release the strings and check that normal picking and vibrato use do not make them strike the pickup, claw or cover.
That last-fret, pole-to-string reference follows Fender's setup instructions. An open-string reading is not interchangeable. If a replacement has rails, hidden poles or a cover, use its maker's stated reference and label it; do not remove a cover just to reproduce another pickup's measurement.
Write down the units, tuning and strings beside the four readings. “Neck 2” is ambiguous: it could mean millimeters, a bass-side reading or a screw-turn count. A note such as “neck, low E, last fret held, pole-to-string, mm” remains understandable next month.
Adjust Jaguar pickup height and balance output
Establish a repeatable listening test
Use a clean amp setting, steady volume and the same short musical phrase. Bypass modulation and heavy compression for the initial comparison. Keep your picking position and force reasonably consistent, and leave the guitar's volume and tone settings unchanged between tests.
On a traditional two-circuit Jaguar, compare neck and bridge in the lead circuit first. Check that the bass-cut switch is in the same position for each comparison. Fender's Jaguar controls explanation describes how the rhythm circuit selects the neck pickup with separate controls. Switching circuits mid-test introduces another variable.
Change one side, then measure again
Choose the pickup with the clearest problem. Starting with the bridge is a convenient way to establish a reference, but it is not mandatory. If the neck is plainly overpowering it, start by testing a small reduction in neck height.
Make a small movement, such as a quarter-turn of one mounting screw, following the direction for that mount. Remeasure the gap immediately. A quarter-turn is a control step, not a universal millimeter conversion; the observed movement is what matters.
Replay the phrase and note whether the change helps. If it does not, return to the measured baseline before trying a different change. Avoid adjusting both pickups and the amplifier at once: you would lose the information needed to decide which adjustment worked.
Balance without chasing identical tone
A useful balance means switching pickups produces the contrast you want without an unwanted level jump. It does not require both positions to sound identical. Check a chord, a single-note line and your usual dynamic range before deciding that one pickup is too quiet.
If the quieter pickup has ample clearance and its maker permits the adjustment, a small raise is an option. Lowering the louder pickup is another. Neither is an automatic rule; pick the change that improves the relationship without creating string contact, pitch instability or an unwanted response.
DiMarzio's height-adjustment FAQ illustrates why the pickup maker matters: it gives a full-size humbucker starting approach, then balances the neck by ear, and describes different guidance for other designs. Do not transfer those distances to every Jaguar single-coil.
Test the sounds you actually use
Once the clean balance works, restore your usual effects and amp settings. For surf or clean instrumental playing, compare chord clarity with reverb on. For indie rhythm, check the transition between neck chords and bridge lines. For heavier effects, listen for useful note definition at the gain level you play.
These are listening tests, not genre-specific factory settings. More output into a pedal is not automatically a better sound. If the clean guitar already behaves well and the problem appears only with one effect, adjust that effect before undoing a good pickup balance.
Finally test any rhythm circuit, coil split or series option your guitar actually has. Note deliberate differences separately from faults. A successful setting should work for your switching habits; a setting that balances one mode perfectly may need a compromise in another.
Free Jaguar pickup diagnostic table and setting record
Use this table as a sequence of checks. A symptom suggests a test; it does not prove a cause. Change one thing, repeat the same phrase and keep the setting only when the result is useful.
| What you notice | First controlled check | When to stop adjusting height |
|---|---|---|
| Neck is much louder than bridge | Compare both in the same circuit; try lowering the neck slightly | The remaining difference comes from your selected circuit or desired tone |
| Bridge sounds weak | Confirm the pickup is fully selected, then test a small raise if clearance permits | Output cuts in and out, or movement produces no useful improvement |
| Low notes flutter or decay strangely | Bypass modulation; test more clearance, especially at the neck bass side | The symptom persists after the height comparison; investigate strings and mechanical setup |
| Sound is dull only in rhythm mode | Compare that mode's own volume/tone controls | Lead mode is clear and the difference is the circuit's intended response |
| String clicks against pickup or claw | Increase clearance and repeat your hardest normal picking/vibrato | Hardware will not move far enough without binding or losing screw engagement |
| Pickup rocks or does not follow the screw | Stop and inspect the mounting/support arrangement | Immediately: loose threads, compressed support or binding needs hardware attention |
| Both pickups together sound unusually hollow | Compare each alone and note split/phase/series settings | A wiring or phase issue is suspected; height cannot repair a connection |
| Rattle is present unplugged near the bridge | Locate the mechanical noise before changing pickups | Follow the bridge/action diagnosis in the parent setup guide |
Magnetic interference is one possible explanation for odd pitch and reduced sustain when a pickup is close. Fender's historical manual and DiMarzio's FAQ both describe that risk. The table deliberately avoids diagnosing every wobble or buzz as pickup height.
Copy this blank record
Date / model / installed pickups: ____________________
String gauge / tuning / measurement units: ____________________
Reference used: last fret held; pole, rail or cover: ____________________
Circuit / amp settings / test phrase: ____________________
| Position | Starting gap | Trial gap | Final gap |
|---|---|---|---|
| Bridge, low E | ____ | ____ | ____ |
| Bridge, high E | ____ | ____ | ____ |
| Neck, low E | ____ | ____ | ____ |
| Neck, high E | ____ | ____ | ____ |
One change tested: ____________________
Output balance / note decay / string clearance: ____________________
Keep or return to baseline, and why: ____________________
The record is intentionally blank: these are your measurements, not a claim of a test performed on this site. Photograph the completed record or copy it into your guitar notes. Save the original readings even if you prefer the new setting.
Know the adjustment limits
There is no universal number of safe turns. Keep mounting screws engaged, do not force a pickup down against an obstruction, and stop if turning a screw stops moving the assembly. Do not keep backing a screw out while waiting for a stuck pickup to rise.
A technician can check support material, springs, thread engagement, trapped wiring or a binding cover. Those are mounting repairs. Raising the bridge, changing the neck angle or replacing pickups solely to recover a missing height adjustment would introduce other work before the cause is known.
If you are considering selling instead of modifying the guitar, a Guitar Price Estimate can inform that separate decision. It will not diagnose a pickup or tell you which height sounds best.
Frequently asked questions
What is the correct Fender Jaguar pickup height?
Use the installed pickup maker's guidance. Fender's 1986 Japan reissue Jaguar manual gives 2.4 mm bass and 1.6 mm treble with the last fret held, without separate neck and bridge targets. That historical reference is not a universal specification for all Jaguars.
How do I measure Jaguar pickup height?
Tune up, hold each outer string at the last fret and measure from pole-piece top to string bottom. Record bass and treble readings for both pickups. Use the manufacturer's stated reference for covered or rail pickups.
Which way do Jaguar pickup screws turn?
On traditional body-mounted Jaguar pickups, clockwise lowers the pickup and counterclockwise raises it, viewed at the screw head. Suspended pickups work the opposite way. Identify the mount and verify the actual movement after a small turn.
Should the Jaguar neck pickup be lower than the bridge?
It may need more clearance for useful output balance, but there is no mandatory difference between the two. Compare them at unchanged amplifier and guitar settings, then measure and record the result.
Do Squier Jaguars use the same pickup height specs?
Do not assume so. Identify the Squier model, installed pickups and mounting, then use matching guidance. The Classic Vibe name or a similar-looking claw does not prove that another Jaguar's target gaps apply.
Can pickup height fix a muddy neck pickup?
A small height change is worth comparing after checking the circuit and tone controls. Mud in only the rhythm circuit may reflect that circuit's voicing. If the height trial does not help, return to the baseline and investigate the signal chain.
Why do my Jaguar strings warble?
A pickup too close can disturb vibration, but modulation effects, strings and mechanical setup can also produce odd pitch or decay. Bypass effects and test extra pickup clearance; persistent symptoms need further diagnosis.
How far does a quarter-turn move a Jaguar pickup?
There is no universal millimeter conversion. Screw pitch and mounting response matter. Use a quarter-turn as a small trial, then measure the actual gap rather than estimating movement from the turn count.
When should I recheck Jaguar pickup height?
Recheck after changing strings or tuning, adjusting action or relief, or working on the pickups and mounting. If the setup is stable and sounds right, keep the recorded settings rather than adjusting on a fixed schedule.
What Jaguar guidance is in the Fender Setup Cheat Sheet?
Its offset supplement covers identifying hardware, measuring pickups, mounting directions, diagnostic stop rules and a blank setup record. Historical measurements are labelled for their source, rather than presented as universal Jaguar factory specs. The free four-gap record is also available in this article.
Keep a setting you can repeat
A good Jaguar pickup adjustment leaves you with clear measurements, usable pickup balance and room for the strings to vibrate. Identify the hardware, measure with the last fret held, test one small change and save the result. If the pickup will not move normally, solve the mounting problem before continuing.