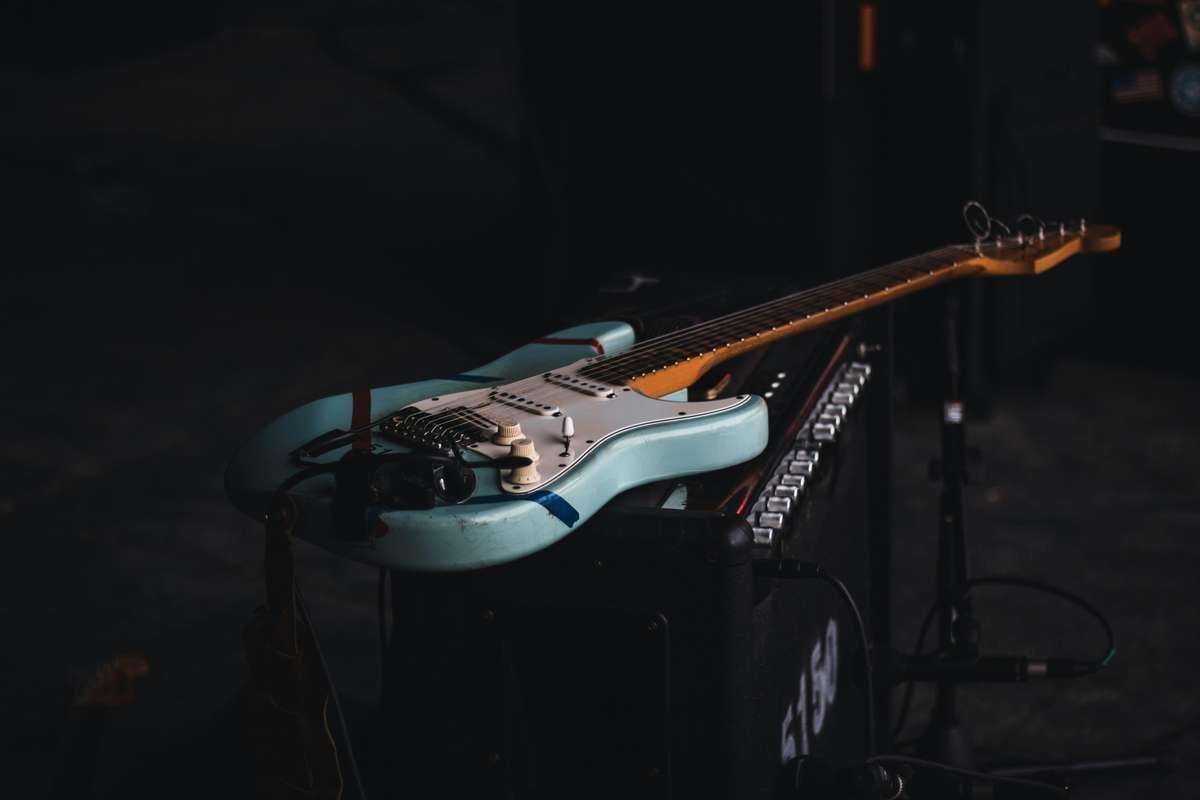
Squier Stratocaster Setup: Action & Tremolo Specs
Set up a Squier Stratocaster with clear action and relief checks. Identify Affinity two-point, vintage tremolo and Sonic hardtail bridges before adjusting.
Squier Stratocaster Setup: Action, Tremolo & Pickup Specs
A Squier Stratocaster setup can turn a stiff, buzzy beginner guitar into an instrument that is easier to fret, stays in tune after bends, and sounds noticeably clearer. The order matters: strings and neck relief first, action and tremolo balance next, then pickup height and intonation. Chasing one adjustment before the previous one is stable is the quickest way to go in circles.
This walkthrough covers full-size, non-locking Squier Strats from the Sonic, Bullet, Affinity and Classic Vibe families. Identify the bridge on your actual guitar first: a two-point tremolo, six-screw tremolo and hardtail need different treatment. Mini Strats and locking-tremolo models need their own specifications. Use the playing-height examples below as starting points, then adjust for your touch, strings and fret condition.
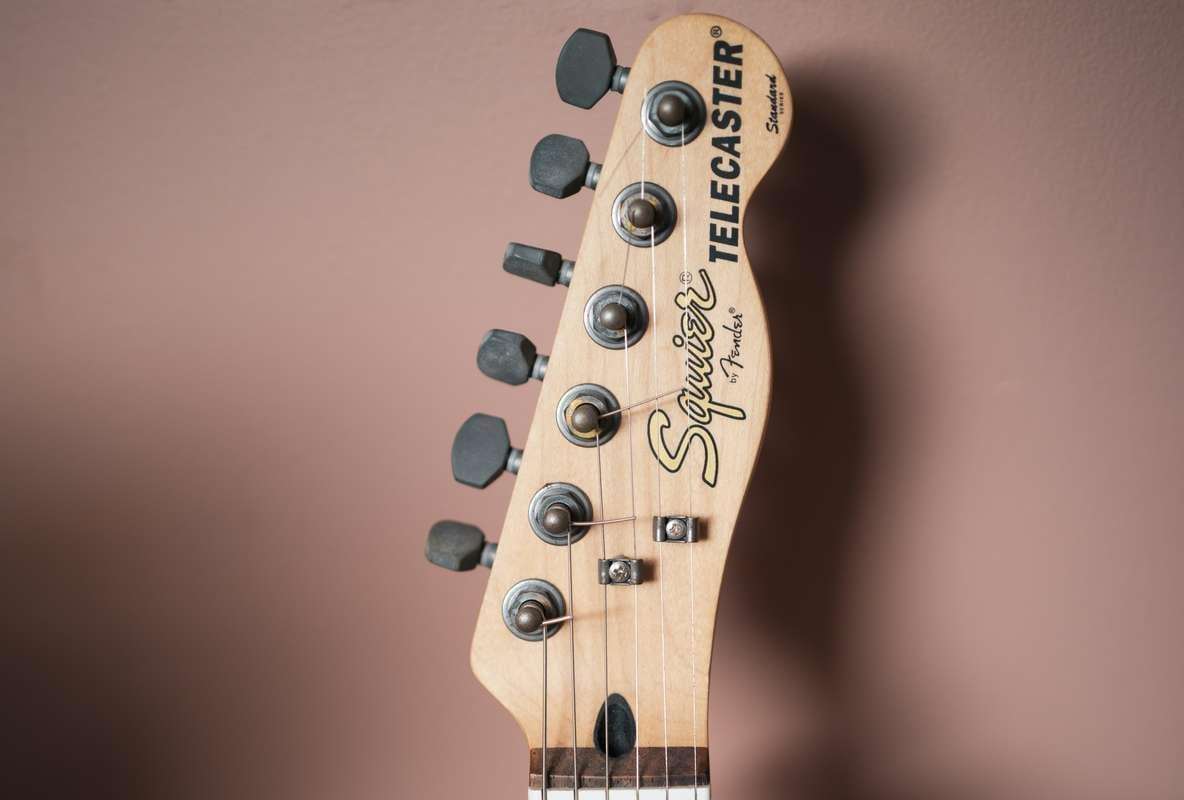 Illustrative Squier Telecaster headstock; the bridge examples below describe Stratocaster hardware. Photo by Florent Bertiaux on Unsplash
📋 Quick Answer: String the guitar with your intended gauge, set relief around 0.010 in (0.25 mm), then set the action near 1.6 mm high E / 2.0 mm low E at the 12th fret. Balance the tremolo, set pickup height and intonate last. Make one small change at a time, retuning before every measurement.
What’s in this guide:
- Squier Strat setup specs — measurement methods and practical starting points
- Identify your bridge — Affinity two-point, vintage tremolo or hardtail
- Tools and preparation — what to measure before touching a screw
- Neck relief and action — the correct adjustment order
- Tremolo balance and pickup height — Strat-specific refinements
- Intonation, problem diagnosis and FAQ
Quick Answer: Squier Stratocaster Setup Specs
For a comfortable all-round Squier Strat setup, begin at 1.6 mm (4/64 in) on the high E and 2.0 mm (5/64 in) on the low E at the 12th fret. Set relief around 0.010 in (0.25 mm), start single-coil pickups about 2.4 mm on the bass side and 2.0 mm on the treble side, and balance the tremolo only after the neck and action are right. Raise the action or add a little relief if playing hard produces persistent buzz.
| Check | Method | Starting reference |
|---|---|---|
| Neck relief | Capo first fret, hold low E at last fret, measure at eighth | Around 0.010 in (0.25 mm) for a 9.5-inch-radius neck; confirm your model |
| Playing action | Open strings, tuned to pitch, measure fret-top to string-bottom at twelfth fret | This article's practical example: 1.6 mm high E / 2.0 mm low E |
| Factory action comparison | Use the fret specified by the manufacturer | Fender's general Strat table measures at the seventeenth fret, so do not compare it directly with twelfth-fret readings |
| Pickup clearance | Hold the outer strings at the last fret | Follow the installed pickup's guidance; series name alone does not identify the pickup |
| Bridge balance | Check bridge type before adjustment | Hardtails have no spring balance; floating tremolos need repeated tuning checks |
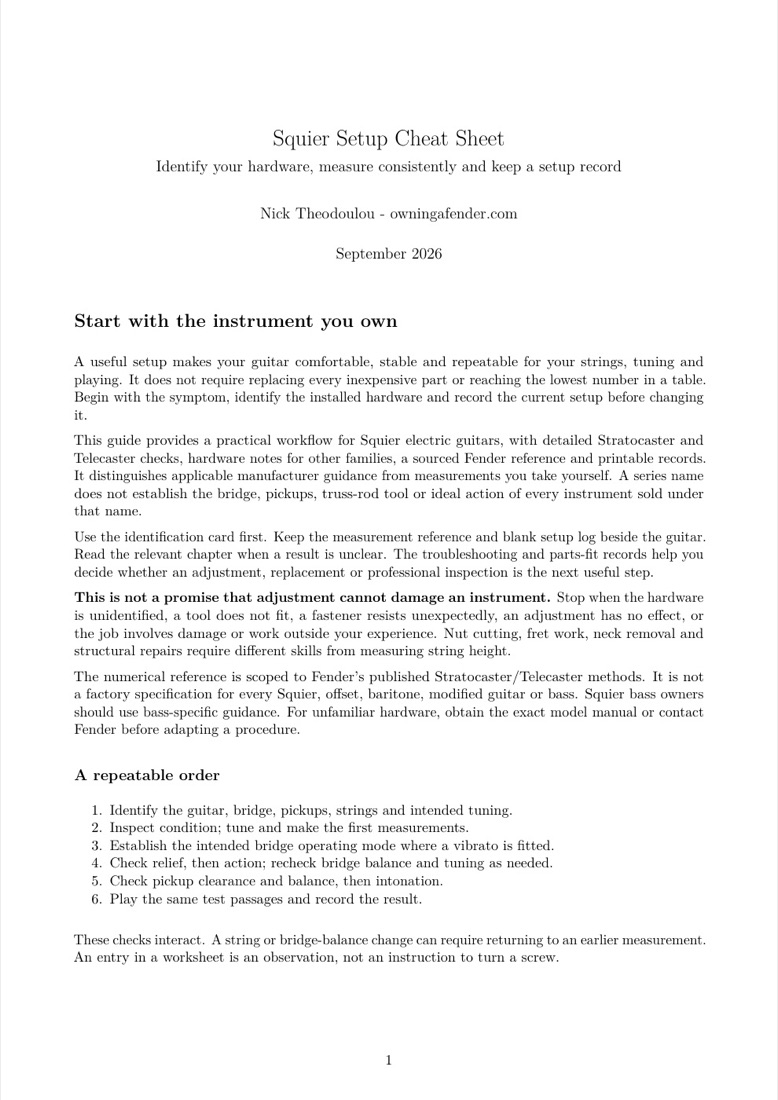
These are starting measurements, not separate factory tolerances for each price tier. A Classic Vibe does not automatically need less relief than an Affinity. Compare like-for-like measurements with Fender's Strat setup reference. For the reference cards and a troubleshooting order you can keep on the bench, the Squier Setup Cheat Sheet collects the measurements and workflow in one PDF.
Before You Adjust Anything
Identify your Squier Strat bridge
| What you see | Example | What to do in this guide |
|---|---|---|
| Two large pivot posts at the front of a moving bridge | Current Affinity Series Stratocaster | Follow the two-point notes below; do not apply a six-pivot-screw procedure |
| Six pivot screws across the front of a moving bridge | Vintage-style Squier Strat tremolos | Follow the six-screw notes; distinguish pivot screws from saddle screws |
| Fixed bridge without a tremolo arm or rear spring assembly | Sonic Stratocaster HT | Skip spring/claw adjustments; set relief, saddle height, pickups and intonation |
Check the installed hardware rather than relying on “Affinity” or “Bullet” alone: older versions and modified guitars can differ. A bridge with six saddles is not necessarily a six-screw tremolo. The pivot fasteners are at the front edge of a moving bridge, not the small screws on each saddle.
Start with the gauge of strings you intend to use. If you are not sure which set to choose, our best strings for Squier guide compares the top sets for Strat, Tele, and offset models. Moving from .009s to .010s increases string tension; on a Strat-style bridge it can change both neck relief and the angle of the tremolo. Fit and stretch the new strings before measuring, tune to pitch, and give the neck 10–15 minutes to settle.
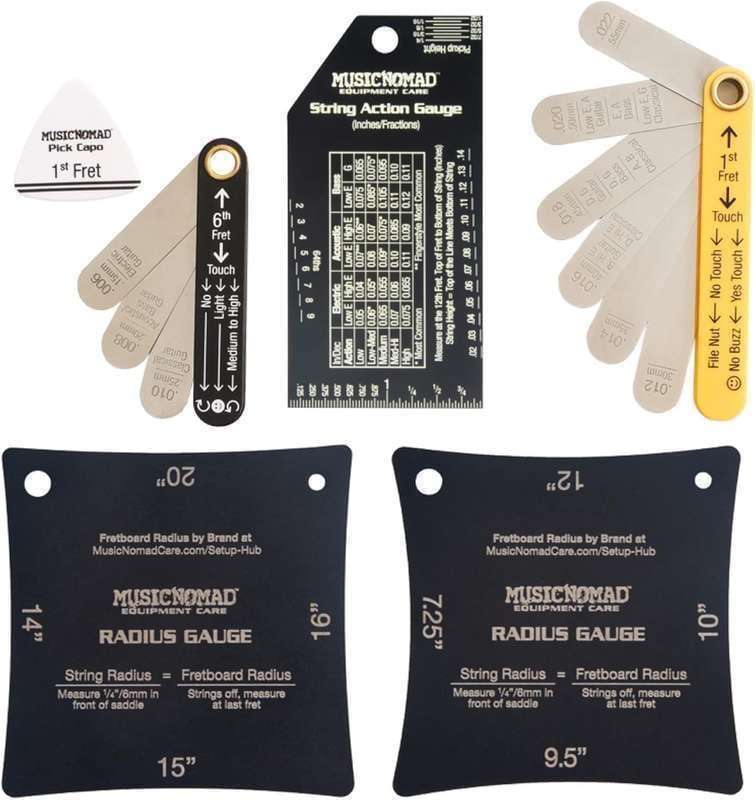
Measure from the top of the fret to the bottom of the string. A ruler with a zero edge is much more useful than guessing by eye, and a precise tuner makes intonation far less frustrating. You will need a metric Allen key for the saddles, a screwdriver for the tremolo claw and pickups, a correct truss-rod tool, a capo and feeler gauges.
Core tools for a Squier Strat setup
 Buy on Amazon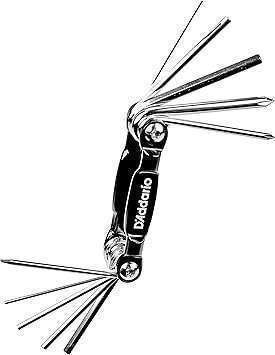

Take a quick baseline before you turn a screw. Note the action on both E strings, where any buzz occurs, the gap at the middle of the neck, and whether the tremolo is flush with the body or floating. A few phone photos of the bridge and saddle positions make it easy to undo a change.
Step 1: Set the Neck Relief
Relief is the tiny forward curve that gives vibrating strings room to move. It is not the same thing as action. If relief is wrong, changing saddle height only hides the problem and may leave the guitar uncomfortable in another part of the neck.
Measure the relief
Capo the first fret. Hold the low E down at the last fret, then measure the gap between that string and the eighth fret. Around 0.010 in (0.25 mm) is a useful starting reference for the common 9.5-inch radius. Check your model and playing response rather than choosing relief by the guitar's price tier.
Adjust slowly and recheck
On most modern Squiers, the truss-rod adjustment is at the headstock. A small clockwise turn reduces relief; a counter-clockwise turn adds relief. Work in one-eighth turns at most, retune, then remeasure. Stop and ask a technician for help if the nut feels seized, you are unsure which tool fits, or the neck needs a large correction.
Relief is a setup adjustment, not a cure for every buzz. Buzz concentrated above the 12th fret usually points to low saddles; one or two isolated frets can point to fretwork. That distinction saves you from overtightening the truss rod.
Step 2: Set Squier Strat Action and Saddle Radius
Once the neck is stable, measure the action at the 12th fret with the guitar in playing position. Lower each saddle in tiny, even moves, retune, and play every fret on that string. A very low number that only works with a feather-light touch is not a better setup than a slightly higher number that plays cleanly. For factory targets across Strat, Tele, and other models, see the guitar action height specs chart.
Start with the two E strings
Try the practical twelfth-fret example above, then raise the affected string if it rattles or loses sustain with your normal attack. Do not lower it just because your guitar belongs to a more expensive series. Check bends around frets 12–17 on the high E, where an overly low action can choke out.
Match the fretboard curve
The middle four strings should follow the fretboard radius rather than forming a flat line. Most Squier Strats use a 9.5-inch radius, so the D and G sit between the outer strings while preserving a gentle arc. A radius gauge is helpful, but careful measuring plus a play test is enough for a first setup.
If all strings buzz below the fifth fret, add a touch of relief before raising the bridge. If only the upper frets buzz, raise the affected saddle a quarter-turn at a time. A sharp fret end, a loose saddle-height screw or a visibly high fret needs a more targeted repair.
Affinity, Sonic and Classic Vibe differences
| Series | What changes the setup | Practical check |
|---|---|---|
| Sonic / Bullet | Hardtail and tremolo versions exist. | Identify the bridge before following the spring-balance steps. |
| Affinity | Current models can have two-point bridges; older hardware varies. | Check pivot type and cavity dimensions before buying parts. |
| Classic Vibe | Vintage-style hardware and pickup specifications depend on the model. | Check the actual pickup and bridge; test every bend. |
Do not assume a Fender replacement bridge, block or pickguard will fit because the body outline matches. Check screw spacing, post spacing and cavity depth first. For a used guitar with unclear history, a Guitar Price Estimate can also help you judge whether an upgrade budget makes sense before you buy parts.
Step 3: Balance Your Squier Strat Tremolo
Hardtail owners: skip this step. For either non-locking tremolo type, the rear claw controls spring tension. The front pivot fasteners have a different job and are not interchangeable with the claw screws.
The tremolo is what makes a Squier Strat setup different from a Telecaster setup. String tension pulls the bridge forward; springs in the rear cavity pull it back. Change string gauge, action or tuning, and that balance can move.
Decide: deck it or float it
Decked means the bridge plate rests against the body. It is the simplest choice for a beginner, supports down-only vibrato and tends to return to pitch more predictably. Floating leaves a small gap behind the bridge so you can pull up as well as push down; it is more expressive but more sensitive to changes in string tension.
For a bridge designed to sit against the body, adjust the rear claw gradually, retuning until string and spring tension reach the intended balance. For a floating setup, use the model's specified bridge position and test return to pitch. Stop if the claw runs out of useful travel or movement binds.
Six-screw bridge: avoid clamping the bridge plate with the pivot screws. Two-point bridge: follow its pivot-height procedure; do not try to reproduce six-screw settings on the two posts. Fender documents these as separate adjustments in its setup reference. If the pivot height already works, leave it alone while checking spring balance.
Use the tremolo claw, not random saddle changes
If the bridge rises after fitting heavier strings, tighten the claw evenly. If it is hard against the body after fitting lighter strings and you want it to float, loosen it evenly. Keep the claw approximately parallel to the cavity wall; one screw much farther in than the other can make spring tension uneven.
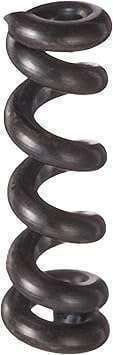

After every tremolo change, retune all six strings. With a floating bridge, changing one string alters the tension on the rest, so work through a few tuning passes rather than trying to perfect one string at a time. Lubricating a binding nut slot and stretching new strings do more for tuning stability than adding springs blindly.
Step 4: Set Pickup Height for Clearer Tone
Pickup height is a tone control disguised as a setup spec. Too close to the strings, single-coils can become harsh, pull the strings magnetically and create strange warbling notes. Too low, they lose output and the bridge pickup may feel weak.
Fret the outer strings at the final fret and measure from the bottom of the string to the top of the pole piece. Check the installed pickup's recommended clearance first. The 2.4 mm bass / 2.0 mm treble example above is a starting comparison for vintage-style single-coils, not a universal Squier specification. Humbuckers and replacement pickups need their own applicable guidance.
Set the bridge pickup first, then switch between bridge, middle and neck at the same amp setting. Lower the bass side if the low strings sound boomy or uneven, and lower the whole pickup if high notes sound compressed or warble. The goal is an even perceived volume across positions, not matching ruler numbers at all costs.
Step 5: Intonate Only After the Other Adjustments
Intonation tells the guitar whether to play in tune as you move up the neck. It changes when you move saddles, but action and relief also affect it—so leave this until the neck, bridge and string gauge are settled.
Tune the open string accurately, then compare the fretted 12th-fret note with its octave. If the fretted note is sharp, lengthen the string by moving its saddle away from the neck. If it is flat, shorten the string by moving the saddle toward the neck. Retune the open string after every move and repeat until the 12th-fret note is acceptably close.
On a floating tremolo, make the saddle adjustment, retune all strings, and then recheck. It takes longer than a fixed bridge but avoids the false result that comes from checking one string while the bridge angle has changed. Perfectly mathematical intonation is not possible with fretted instruments; aim for chords and notes that sound convincingly in tune where you play.
Keep track with the free guitar intonation checker: enter your tuner reading for each string, follow the saddle-direction guidance and print a checklist once you have rechecked the full set.
Common Squier Strat Problems, Diagnosed in Order
| Symptom | Likely cause | First response |
|---|---|---|
| Buzz on open strings only | Nut slots are too low or worn | Test by fretting at the first fret; see a tech for nut work. |
| Buzz on frets 1–5 | Too little relief | Add a very small amount of relief, then retest. |
| Buzz above the 12th fret | Saddles too low or a high fret | Raise the affected saddle slightly; inspect for isolated frets. |
| Bridge leans forward | String tension exceeds spring tension | Tighten both claw screws equally. |
| Guitar returns sharp after trem use | Nut or string tree friction | Stretch strings; lubricate and inspect the nut slots. |
| Thin or warbling tone | Pickups too close | Lower the pickups, especially on the bass side. |
The most important habit is changing one variable at a time. Do not raise the saddles, tighten the truss rod and move the claw in one session without retesting. If you cannot get clean notes at a sensible action or if the truss rod resists a gentle adjustment, the guitar may need a fret level, nut work or a technician’s inspection rather than more setup force.
Squier Strat Setup Checklist
- Fit the string gauge you will actually use and stretch it thoroughly.
- Tune to pitch, let the neck settle, and record your starting measurements.
- Set relief at the 7th–8th fret in small truss-rod increments.
- Set outer-string action at the 12th fret, then match the saddle radius.
- If fitted, balance the tremolo for its bridge type; skip this on a hardtail.
- Set pickup height with the strings fretted at the final fret.
- Intonate each string with a precise tuner.
- Test bends, chords, all five pickup positions and tremolo return-to-pitch.
For a broader series comparison, see the complete Squier setup guide. If your guitar has a fixed bridge instead, the Squier Telecaster setup guide explains the saddle-focused process. Owners of a Fender-branded Strat can use the dedicated Stratocaster setup guide, while the Setup Specs Lookup is useful for checking factory-style measurements by model.
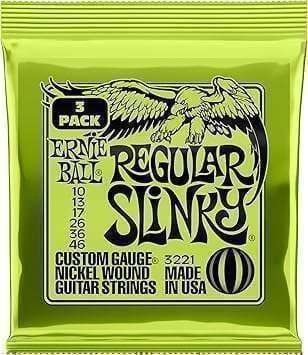
Fresh strings for dialing in a Squier Strat

Frequently Asked Questions
What is the correct Squier Stratocaster string height?
Use the same measurement method each time. This guide's practical starting example is 1.6 mm high E / 2.0 mm low E at the twelfth fret. Fender's general factory table uses the seventeenth fret. Adjust for clean bends and your picking strength; do not assign a lower target simply because the guitar is a Classic Vibe.
How much neck relief should a Squier Strat have?
Around 0.010 in (0.25 mm) is a useful starting reference for a 9.5-inch-radius neck using the first-fret capo, last-fret hold and eighth-fret measurement. Check your model and diagnose the buzz before making an adjustment.
Should I deck or float my Squier Strat tremolo?
Deck it if you want the simplest, most stable down-only vibrato setup. Float it if you want to pull notes sharp with the bar and are comfortable retuning after string or tension changes. Neither choice is inherently better.
Why does my Squier Strat go out of tune after using the tremolo?
The usual causes are strings that have not been stretched, friction at the nut or string tree, or an unbalanced tremolo. Check these before replacing tuners; a binding nut slot is often the real culprit.
What pickup height should I use on a Squier Strat?
Use the installed pickup's guidance and measure with the last fret held down. The vintage-style single-coil example here is 2.4 mm bass / 2.0 mm treble; it does not cover every ceramic pickup, humbucker or replacement set. Check string clearance and balance the output by ear.
Can I use Fender Strat setup specs on a Squier?
They can be useful references when the radius, bridge and pickup type match. Use the same measuring fret and string-fretting method as the source. A six-screw bridge instruction does not transfer directly to a two-point bridge, and hardtails have no tremolo balance to adjust.
Why does my Squier Strat buzz even with higher action?
If higher action does not help, look for too little relief, a low nut slot or an isolated high fret. Buzz in only one place usually needs a focused diagnosis rather than a global saddle adjustment.
Do I need to reset my Squier Strat after changing string gauge?
Usually, yes. A change in gauge affects neck tension and the spring balance of the tremolo. Recheck relief, bridge angle, action and intonation whenever you make a meaningful gauge change.
Is it safe to adjust a Squier Strat truss rod yourself?
Small, measured adjustments with the correct tool are routine maintenance. Turn no more than one-eighth at a time, retune and remeasure. Stop if the nut feels unusually tight or you are unsure how much correction the neck needs.
Conclusion: Make the Setup Repeatable
The best Squier Stratocaster setup is not the lowest action someone else can claim—it is the stable combination of relief, action, tremolo balance and pickup height that lets you play cleanly. Write down the final measurements, because the same reference makes the next string change much faster.
If you are considering a second-hand Squier or deciding whether to repair one, start with a Guitar Price Estimate so the cost of upgrades is grounded in the instrument’s likely value. For the workbench reference itself, the printable Squier Setup Cheat Sheet keeps the key specs and troubleshooting sequence together.
🛠️ Done with this setup? Log the spec — action, relief, strings — in My Gear Garage so you remember exactly what you did in six months. Free, no password — magic-link sign-in.