Takamine Guitar Setup: Action, Relief & Saddle Checks
Check Takamine action and neck relief, identify your saddle and pickup, and learn when lowering the action needs a technician rather than saddle sanding.

Takamine Guitar Setup: Identify the Saddle Before Adjusting
A Takamine guitar setup starts with the same questions as any acoustic: are the strings right for the instrument, is the neck relief suitable, and where does the action feel uncomfortable? The extra decision is identifying the saddle and pickup assembly before removing material. A generic acoustic saddle-sanding instruction does not fit every Takamine.
This guide covers measurement and diagnosis for six-string steel-string GD, GN, G Series and Pro Series instruments. It does not assume that every model has a Palathetic pickup, or that every saddle can be lowered in the same way. Nylon-string and twelve-string instruments need their own model guidance.
Quick answer: Tune to pitch, measure relief, and record both outer-string action readings at the twelfth fret. Identify your saddle/pickup before deciding how to lower it. Do not sand the shaped bottom of an integrated pickup saddle. Have its assembly checked by a Takamine dealer or experienced repairer. A high action reading alone does not prove that the saddle needs cutting.
In This Guide
Essential Tools and Prep Checklist
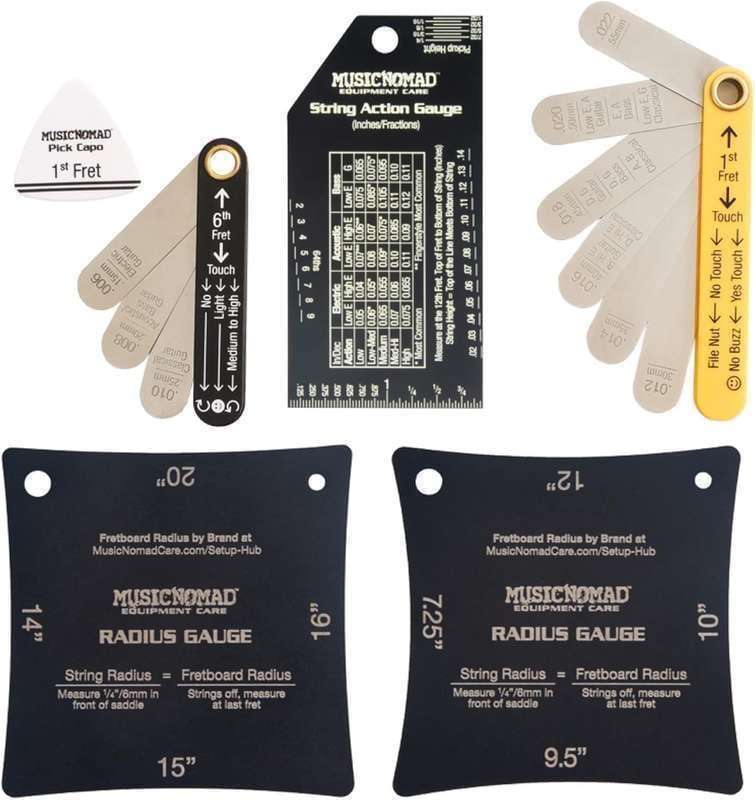
Use an accurate tuner, a string-action ruler, feeler gauges and a capo. Have the correct model-specific truss-rod tool available only if you intend to adjust relief; a nearly fitting hex key can round the socket. Sandpaper and nut files are not required to diagnose the problem.
Start with the strings and tuning you normally use. Note when the problem appeared: after a string change, a move between climates, a repair or gradually over time. This history is often more useful than comparing your guitar with an unexplained number online.
| Record | How | Why it helps |
|---|---|---|
| Model and installed electronics | Label, model documentation and any modification history | Determines which saddle/pickup guidance applies |
| Action | Fret-top to string-bottom at twelfth fret, open strings tuned to pitch | Creates repeatable high-E and low-E readings |
| Relief | Use one documented capo/fretting method consistently | Avoids confusing neck curvature with saddle height |
| Buzz location | Open string, several lower frets, upper frets or one isolated note | Narrows the next inspection |
| Amplified balance | Play each string through clean amplification | Captures the pickup's condition before work |
Useful references: Factory Specs, Takamine Serial Number Lookup, Acoustic Serial Number Lookup and My Gear. Serial information helps identify an instrument; it does not identify every replacement saddle or pickup fitted later.
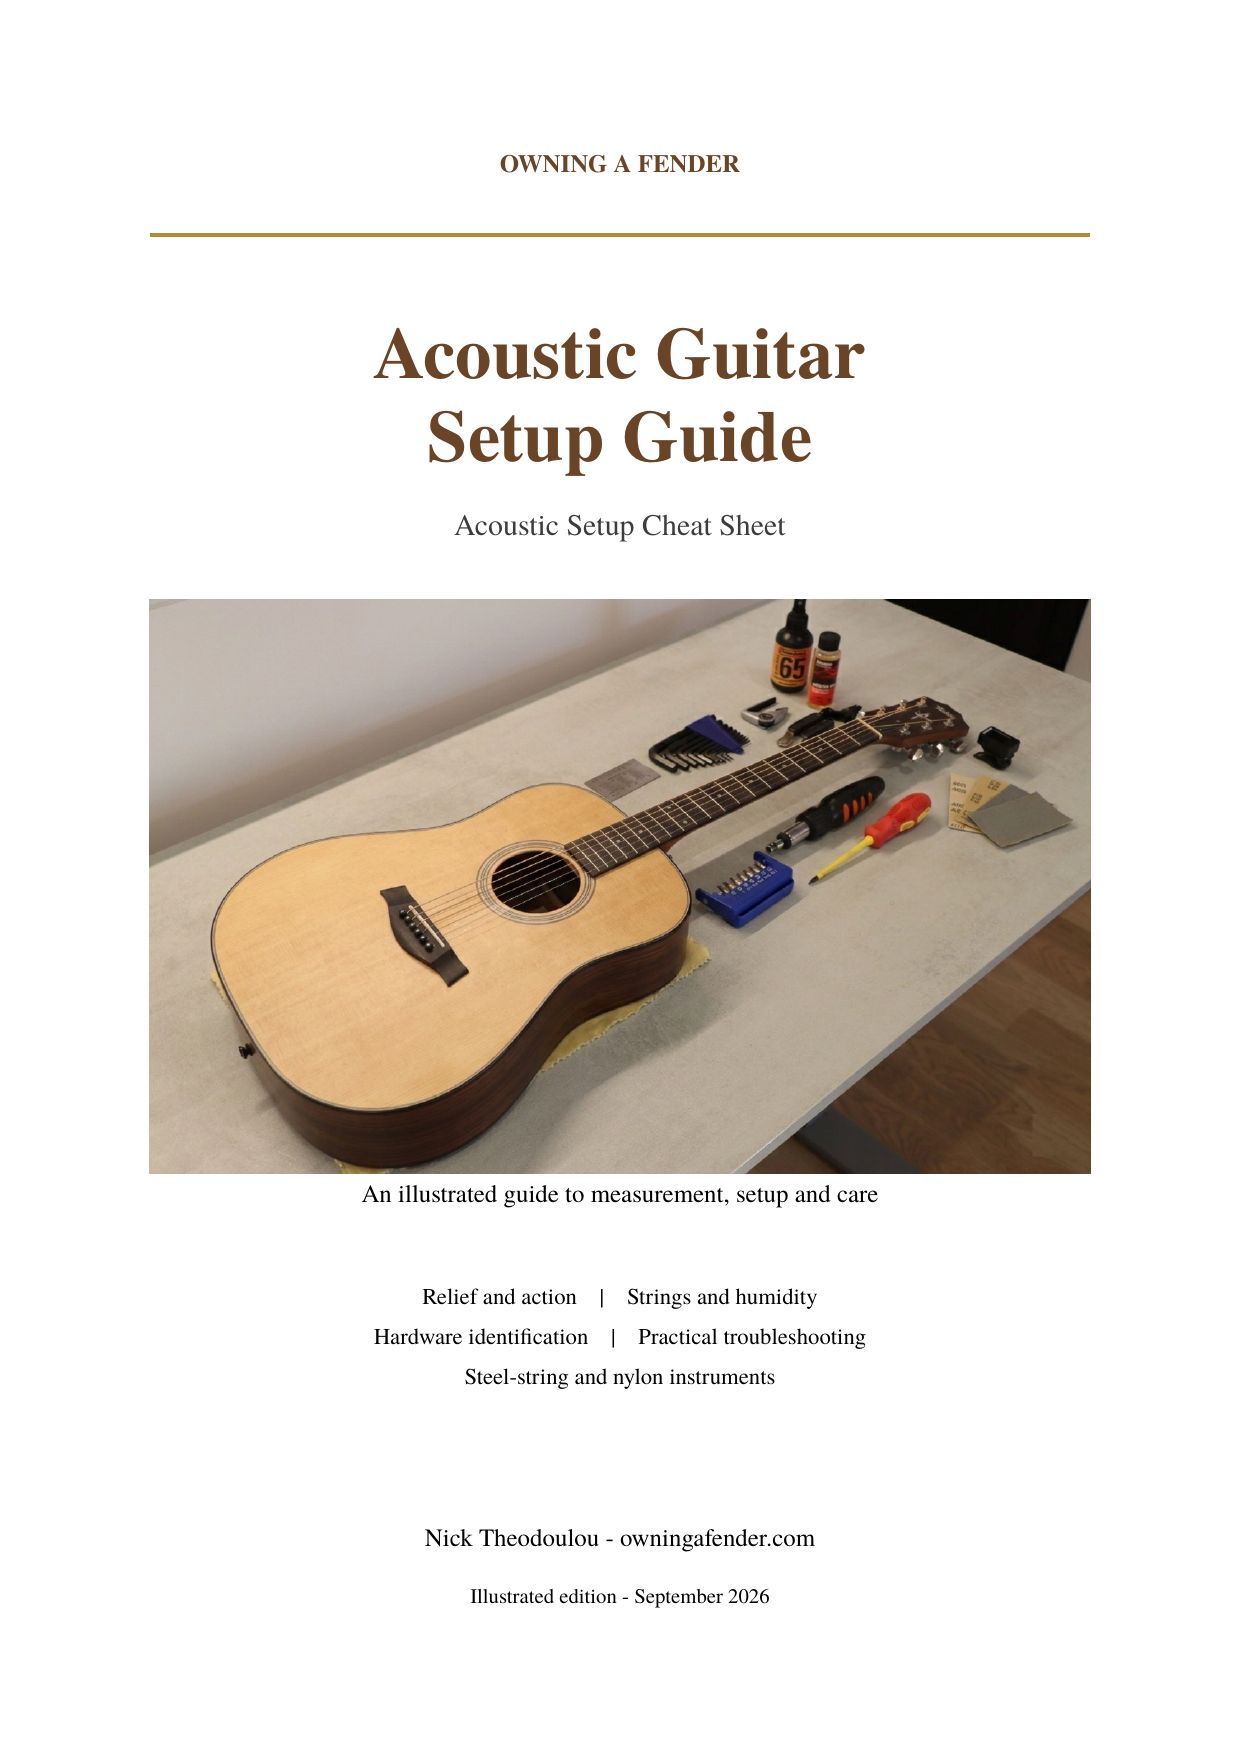
The Acoustic Setup Cheat Sheet provides a portable measurement sequence, reference tables and setup log. Use it for general acoustic setup planning; a proprietary Takamine saddle/pickup repair still needs the instructions for that assembly.
Tools for measuring before you adjust
 Buy on Amazon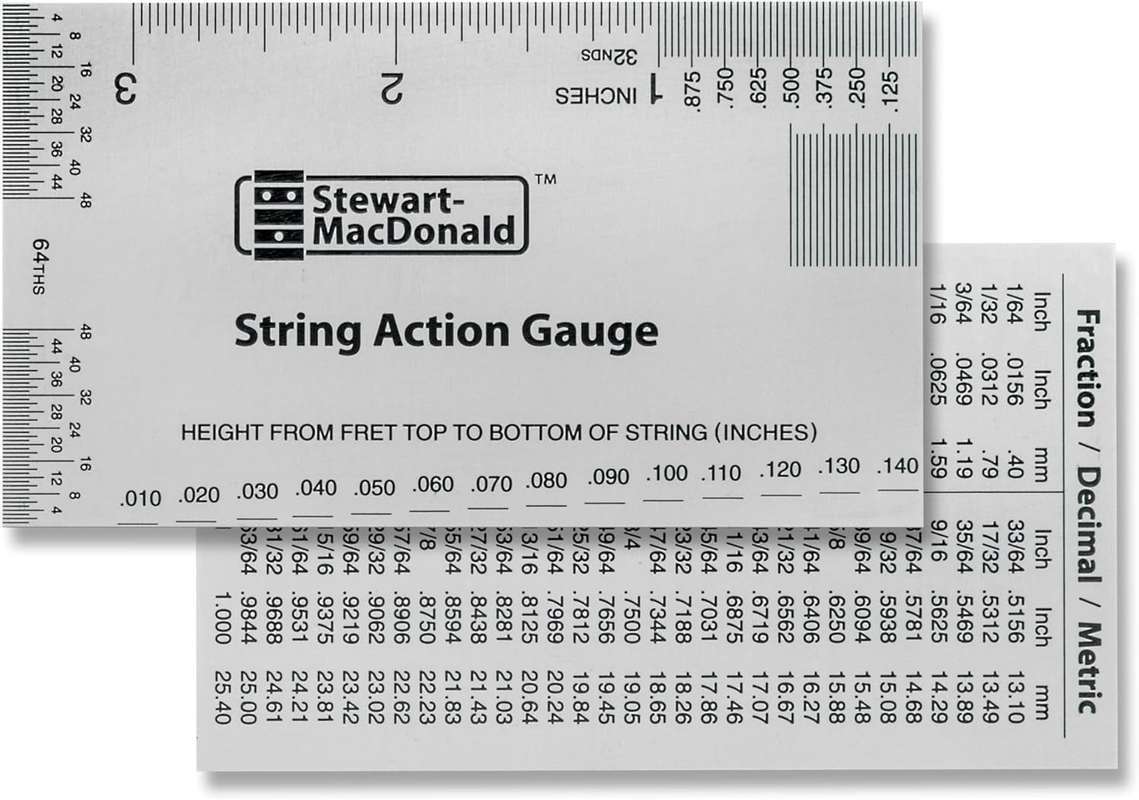

Takamine Setup Specs by Series: Check the Actual Model
GD and GN model prefixes occur within the wider G Series. They are not separate factory action grades. Likewise, an EF model number is not sufficient evidence that a guitar is a thinline instrument. Use the model's published specifications and the hardware actually fitted.
| Instrument or assembly | What to establish before saddle work |
|---|---|
| Acoustic without a pickup | Whether the saddle is a conventional removable part and how much usable height remains |
| G Series acoustic-electric | Whether it has an integrated saddle/pickup unit, another pickup design or a later replacement |
| Pro Series / Palathetic-equipped model | The service procedure for its particular bridge and pickup assembly |
| Split saddle | The fitted parts, compensation and orientation of both sections |
Takamine explains its split-saddle design and Palathetic pickup separately. A split saddle describes the string contact arrangement; it does not by itself tell you how to lower it. Its preamp documentation also distinguishes G Series and Japanese Pro Series compatibility.
As a practical playing-height example, 2.0 mm high E / 2.5 mm low E at the twelfth fret can be a starting discussion for a six-string steel-string acoustic. These are not verified factory specifications for every GD, GN, P or EF model. A clean, comfortable instrument does not need adjustment simply to match them.
Neck Relief and Truss Rod Adjustment
Relief is the neck's slight curvature under string tension. Measure it before deciding that the saddle is too tall. Use the acoustic truss rod guide for the measurement distinction and check the access and tool against your instrument's documentation.
For a consistent initial check, tune the guitar, capo the first fret and hold the low E at the neck/body joint. Measure the gap at the seventh or eighth fret and write down exactly which frets you used. Compare repeat readings using that same method; do not combine a last-fret specification with a neck-joint measurement.
If the model's instructions call for adjustment, record the starting position, make a small change and retune before checking again. View clockwise/counter-clockwise directions facing the adjustment nut. Stop if the tool does not seat, the nut resists, or the response is unclear. Tightening a truss rod to compensate for an over-tall saddle can create another problem.
A seasonal action change can involve the neck and body. If the instrument recently moved between dry and humid environments, record the conditions as well as relief. Avoid making irreversible saddle changes while the guitar's condition is changing.
How to Lower the Action on a Takamine Acoustic Guitar
Measure first, identify the assembly second, and choose the adjustment last. The acoustic action guide explains the general measurement process; the guitar action height reference is useful for distinguishing measuring frets and instrument types.
Choose the appropriate next step
| Finding | Next step |
|---|---|
| Relief differs from the model's guidance | Resolve relief before judging saddle height |
| Action rose with visible top/bridge movement | Have the instrument's condition assessed before cutting parts |
| Integrated saddle seated in a metal pickup channel | Do not sand its shaped bottom; ask about assembly-specific adjustment |
| Conventional removable saddle, confirmed by model/service guidance | Have remaining height, contact and compensation checked before deciding what material can be removed |
| Saddle already very low but action remains high | Investigate neck angle and structure rather than removing more material |
Some Takamine integrated saddles have precisely shaped contact feet. Removing material there can interrupt their pickup contact without achieving the intended height change. Repairer Gerry Hayes documents this construction in his illustrated Takamine integrated-pickup repair explanation. Existing shims or professional reshaping may be relevant, but their presence and suitability must be checked on the actual instrument. Do not pull on the pickup wiring or assume every model contains removable shims.
What the 2:1 saddle calculation means
For a conventional saddle, a 1 mm reduction at the bridge gives approximately a 0.5 mm action reduction halfway along the string. This geometry is a planning estimate, not permission to remove material from any Takamine saddle. It does not account for whether the saddle can move lower, sufficient remaining support, pickup contact or a structural fault.
For example, a reading 0.5 mm above your chosen target tells you the scale of a possible adjustment. It does not tell you whether the appropriate work is relief correction, an assembly adjustment or replacement of a part. Establish that first.
The Palathetic Pickup and Saddle Balance
Takamine describes the Palathetic as using individual string-sensing elements and a bridge-mounted construction. It is not adequately described as one generic loose piezo strip beneath every Takamine saddle. Identify the installed system before applying advice intended for another design.
Before work, record each string through the same clean amp setting, using a consistent plucking position and force. Repeat afterwards. This comparison helps separate an existing imbalance from a new one introduced during adjustment.
If one string becomes much quieter after saddle work, stop and have the fit, orientation and pickup contact inspected. Do not automatically sand again. If the whole amplified sound distorts or disappears, also check the battery, cable and preamp according to its manual; the saddle is only one possible cause.
No single twelfth-fret action height guarantees pickup balance. Two instruments with the same measured action can have different saddle exposure, bridge geometry and pickup assemblies.
Nut Slots and Intonation
Open-position discomfort, sharp notes and buzz need diagnosis rather than an automatic nut-file adjustment. Fretting a string at the third fret changes the measurement: the small remaining clearance over the first fret is not the same as its open-string action. Do not use an open-string clearance figure as a filing target while the string is fretted.
A useful record for a repairer is whether an open string buzzes but its first-fret note plays cleanly, or whether individual fretted notes fail in one location. Nut slots, fret condition and setup can all affect the result. Filing removes material permanently; leave slot depth and saddle compensation work to someone with the appropriate tools and experience.
To check intonation, tune accurately and compare the twelfth-fret harmonic with a normally fretted twelfth-fret note. Use a light, repeatable fretting pressure and repeat the reading. Worn strings, excessive fretting pressure or high action can affect the result. A fixed acoustic saddle is not adjusted like an electric guitar's screw-mounted saddle: do not start filing its contact point from a single tuner reading.
Best Strings for Takamine Guitars
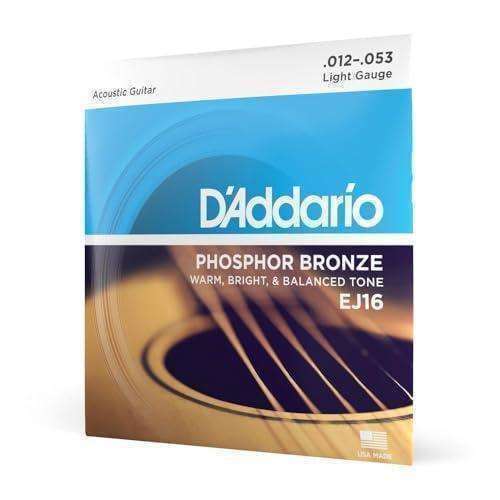
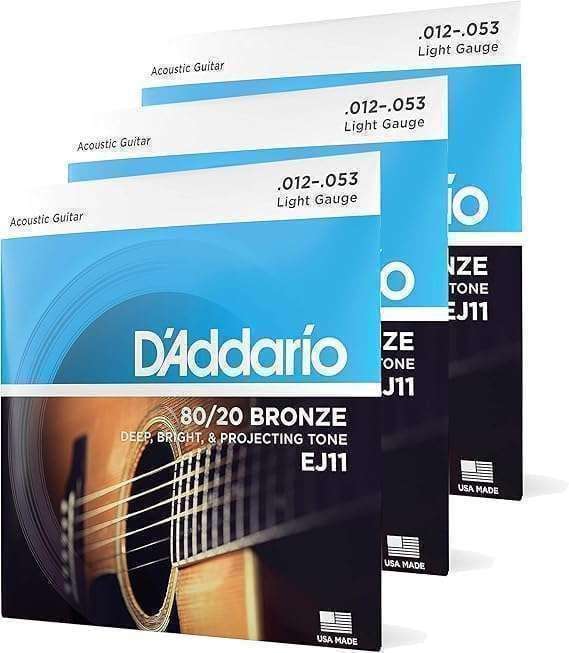
Match the guitar's string type, scale and permitted gauge first. A familiar light steel-string set is a reasonable replacement when it matches what the instrument is already set up for. Switching gauge or construction can change feel and relief, so log the old and new sets and remeasure afterwards.
Phosphor bronze, 80/20 bronze and coated sets offer different sound and maintenance choices. Choose them for the result you want, rather than expecting a more expensive string to cure a high fret or incorrectly fitted saddle. See the acoustic string gauge guide before a gauge change.
Steel-string options when a replacement set is needed

Humidity Care and Seasonal Maintenance
Keep the guitar in a stable environment within its manufacturer's recommended humidity range. Use a hygrometer rather than guessing from how the room feels. Record a persistent seasonal change before correcting it with saddle or nut work.
A moving top, fret ends becoming prominent or a bridge beginning to lift deserves inspection. A humidifier is not a substitute for assessing visible damage. Our acoustic humidity guide explains the routine monitoring tools and storage considerations.
When to Take Your Takamine to a Professional
Get help if the saddle/pickup construction is unclear, the truss rod resists, action remains high with little saddle exposed, there is visible bridge/top movement, or amplified balance changes after work. A repairer can also distinguish a local high fret from a setup issue affecting the whole neck.
Bring the model details, string gauge, tuning, before/after readings and a description of the troublesome notes. Ask for a diagnosis and quote before approving replacement parts. The setup cost guide explains the distinction between routine adjustments and repair work, while the fret-buzz troubleshooting guide helps describe the location of the problem.
FAQ
What is the correct action height for a Takamine GD20?
Check the model's guidance and your playing response. The 2.0 mm high E / 2.5 mm low E twelfth-fret example here is a practical starting discussion, not a verified GD20 factory requirement. Measure at playing tension before deciding whether it needs changing.
How do I adjust the truss rod on a Takamine guitar?
Identify its access, tool and adjustment instructions first. Measure relief consistently, make only a small documented change if needed, and retune before checking the response. Stop if the tool or nut resists.
Why is my Takamine action too high?
Relief, saddle height, neck angle and changes in the body can contribute. Record the action and relief, identify the saddle and check the guitar's condition before assuming sanding is the answer.
Can I lower Takamine action without ruining the pickup tone?
The method depends on the assembly. A shaped integrated saddle must not have its contact feet sanded down. Have the fitted parts and any adjustment options identified, then compare amplified string balance before and after the work.
How much neck relief should a Takamine have?
Use the specification and measuring method for the model. Record the capo position, fretted position and measurement fret so later readings are comparable. A generic figure without those details is incomplete.
What strings should I put on a Takamine GD10?
Start with a steel-string set of the type and gauge specified for your instrument. If changing gauge for comfort, check the resulting relief and action instead of assuming the previous setup remains suitable.
How do I check intonation on my Takamine?
Compare a tuned string's twelfth-fret harmonic with the normally fretted note. Repeat with consistent pressure. Investigate strings and action before considering changes to the fixed saddle's compensation.
How often should I set up my Takamine guitar?
Check it after a meaningful change in strings, climate or playing feel. Inspection does not automatically mean adjustment. Keeping a setup log makes it easier to distinguish a change from the guitar's normal behavior.
Can I sand the bottom of a Takamine saddle?
Do not assume so. A conventional removable saddle and an integrated pickup saddle have different contact requirements. If the underside is shaped to fit a pickup channel, do not sand those features; seek assembly-specific advice.
Should I upgrade the saddle on my Takamine?
Only to solve an identified need with a part compatible with the actual bridge and pickup. Bone or another material is not automatically an upgrade for an integrated assembly. Confirm fit and function before buying.
Keep a Repeatable Setup Record
A useful setup leaves you with a comfortable instrument and a record of what changed. Keep the measurements, string details and pickup-balance check together, so the next service begins with evidence rather than another guess.