Do New Guitars Need a Setup? New Guitar Day Checklist
Do new guitars need a setup? Inspect before adjusting with a printable intake sheet, accurate measurement methods, and clear seller or technician handoff steps.
Do New Guitars Need a Setup? Inspect Before Adjusting
Do new guitars need a setup? Some need adjustment, some need a repair assessed, and some already play comfortably. A new guitar setup checklist should help you tell the difference. The purchase price, shipping distance or day on the calendar cannot decide that for you.
Start with condition, tuning and a short playing check. Record a useful baseline before changing strings or turning screws. An instrument that sounds good, stays in tune during normal playing and feels comfortable may need nothing beyond routine care.
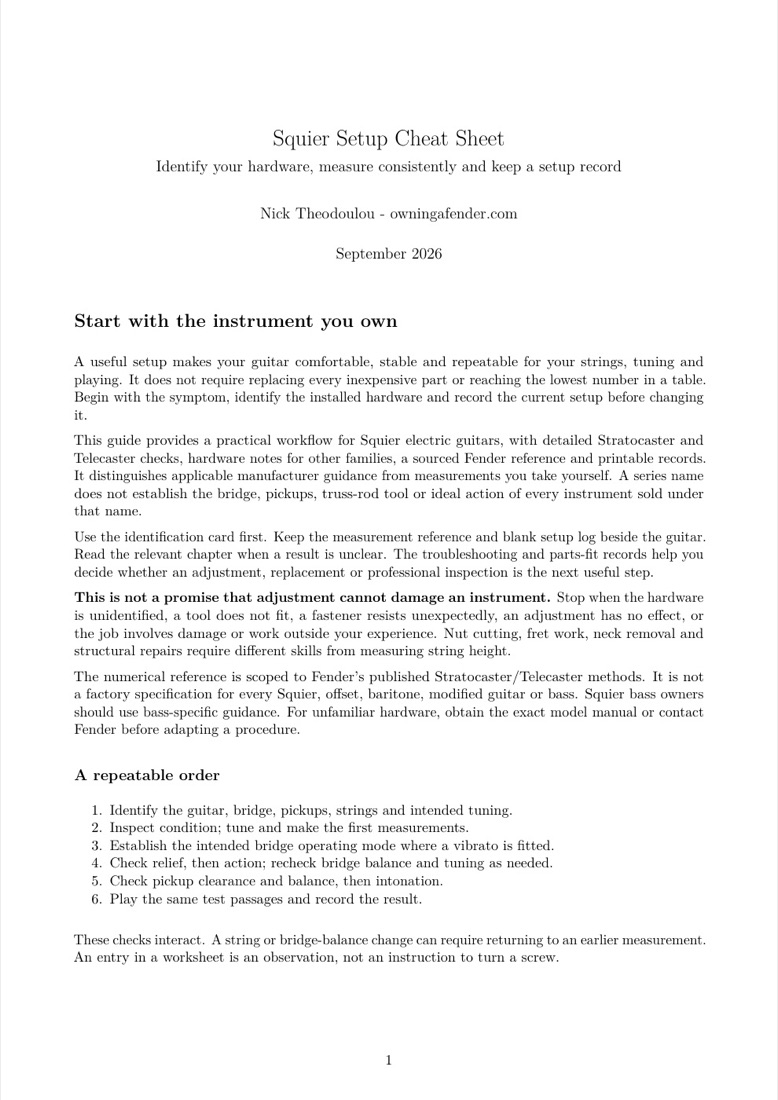
For Squier electric owners, the Squier Setup Cheat Sheet provides measuring methods, hardware distinctions and printable records. The Acoustic Setup Cheat Sheet provides an acoustic inspection and setup workflow. Choose by instrument, rather than applying one brand's reference numbers to everything.
Quick answer: Inspect for damage, identify the instrument, tune it and reproduce any playing problem. Measure only with a stated method. Discuss a suspected delivery defect with the seller before modifying the guitar; make setup adjustments only when the observations support them.
1. Receive, Identify and Inspect the Guitar
Open it according to its care instructions
Photograph visible packaging damage before unpacking. Keep the packaging and delivery paperwork while you assess the instrument and discuss any problem with the seller. Record the delivery date, full model name and any specification or inspection sheet supplied.
There is no universal two-hour or two-day unboxing rule. Martin's care guide says an instrument exposed to freezing temperatures should warm to room temperature in its case. Taylor's current shipping advice explains that its modern finishes usually do not require a waiting period, while recommending caution after below-freezing exposure. Follow the instructions for the actual instrument and conditions.
Inspect without dismantling
Use good light to look around the headstock, neck joint, body, bridge and tuners. Photograph cracks, bent parts, an apparent bridge gap or an unexpected mark from more than one angle. A photograph can document a concern; it cannot establish whether a finish line extends into the wood.
Do not tighten every visible screw. Some set bridge height, pivot position or pickup suspension. A floating bridge need not sit flat against the body. If you cannot identify a fastener, leave its position intact and ask for the appropriate instructions.
Check neck edges gently for sharp fret ends. Avoid dragging your hand forcefully along them. Record what you feel rather than immediately filing metal or assuming one dry journey caused it. Sight along the neck if helpful, but do not diagnose a twist from a camera angle alone.
Separate a defect report from a preference
| Observation | Useful next action | Preserve first |
|---|---|---|
| Crack, lifted acoustic bridge or visibly bent hardware | Pause adjustment and contact the seller for assessment | Photographs and delivery details |
| Comfortable guitar with no repeatable problem | Record the baseline and play | Strings, tuning and current settings |
| Clean sound but action feels uncomfortable | Measure using the maker's method; discuss preferences | Before readings and test passage |
| One note chokes or a control cuts out | Reproduce and record the exact condition | Fret/string or switch position |
| Wrong model or unexpected hardware | Compare the order and supplied specification | Model code and clear images |
Ask what inspection or service the seller proposes and whether they want to see the guitar before changes. This is practical evidence preservation, not a claim about a particular return policy or legal entitlement.
2. Tune, Play and Write Down the Symptom
Establish the string and tuning baseline
Record the intended tuning and the supplied string set if known. Write “unknown” when you cannot establish the gauges; do not fill the box from a generic model assumption. Avoid immediately changing gauge, tuning, bridge mode and action together, because the original condition becomes harder to reproduce.
Use a tuner you can read reliably. Check each open string, play briefly and check again. Record whether pitch drifts without touching the vibrato, after a normal bend, or only after using the arm. A tuner reading alone cannot identify a faulty machine head or prove a nut is binding.
If strings are damaged or corroded, document that and decide with the seller whether replacement is appropriate. For a supported restringing procedure, identify the tuner and bridge first. Fender's Stratocaster care instructions distinguish locking, standard and vintage string installation and describe gentle stretching after tuning. Do not forcefully pull strings or borrow a winding procedure for unfamiliar hardware. Replacing like-for-like on a Strat? The best strings for Stratocaster guide compares model-specific factory gauges and explains what to check when choosing a replacement set.
Use the same short playing check
Play familiar open chords, a few fretted chords and a simple passage you can repeat. Then play each string across the fretboard with your normal attack. Keep amplifier settings consistent for an electric; excessive gain or effects can obscure the comparison.
Write down the string and fret of a buzz, choke or unusually short note. Include whether you hear it acoustically, through the amplifier, or both. A light unamplified rattle and a fretted note that cuts out in the amplified sound are different observations.
Repeat an odd result with ordinary finger pressure and a cleanly positioned finger. If it remains, demonstrate that exact note to the seller or technician. There is no need to label it “bad frets” before an inspection establishes the cause.
Choose tools for the checks you will perform
A tuner and notes are enough for the first playing comparison. A readable action ruler, feeler gauges and capo help with documented measurements; a hygrometer helps assess storage conditions. Use an existing suitable tool rather than purchasing a complete repair kit for an inspection.
The following are optional measuring aids. The MN604 set includes measurement tools; it is not a complete adjustment-wrench kit. A ruler does not diagnose a neck problem by itself.
Optional Inspection and Measurement Tools

 Buy on Amazon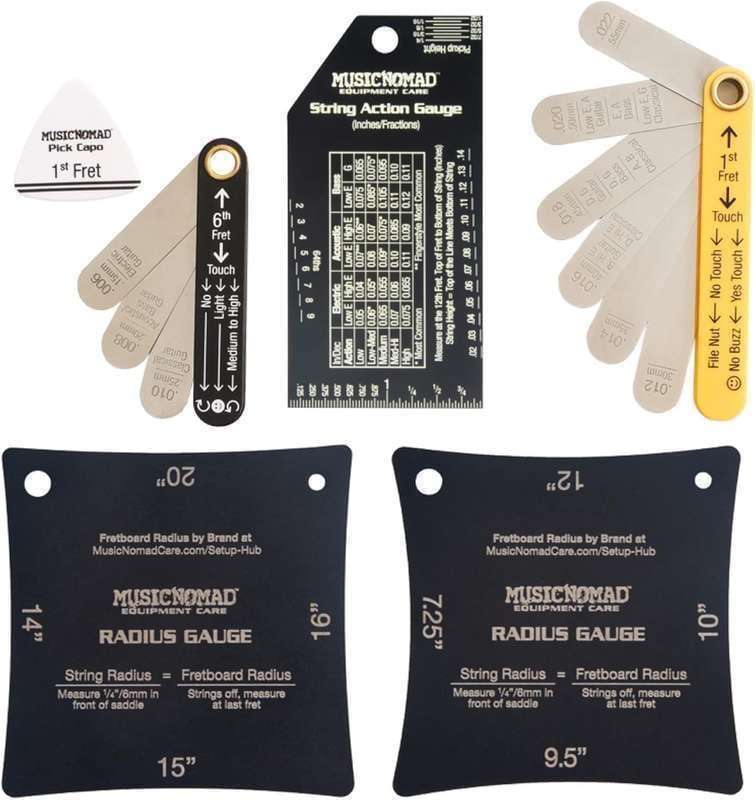

3. Measure Relief and Action Without Mixing Methods
Relief needs three fret references
Relief is the gap under a held string used to assess neck curvature. Record where the string is held at both ends and where the gap is read. “Relief: 0.010 inch” is incomplete when the method is missing.
For Fender's published electric-guitar method, tune first, capo the first fret, hold the sixth string at the last fret and measure between the eighth-fret top and string underside. Slide the feeler blade into the gap without lifting the string. A business card has no dependable thickness and is not a substitute for a stated measurement.
Fender's factory setup reference gives 0.010 inch (about 0.25 mm) relief for its 9.5–12-inch-radius electric-guitar row. That is a scoped starting point with the factory strings, not a universal electric, acoustic or bass target. Use the appropriate owner's manual when the instrument or procedure differs.
Action needs the reading fret and string condition
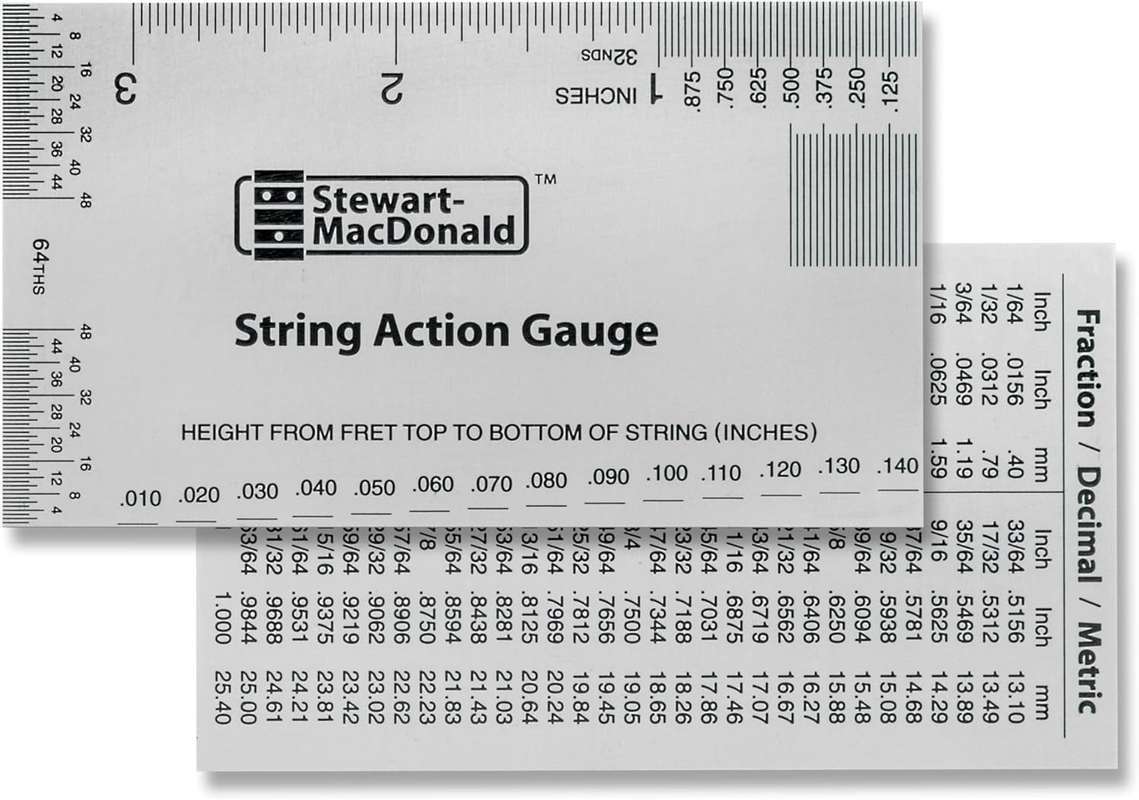
Action measures clearance between a fret top and the underside of a string. Read the ruler without tilting it and note the string, fret and units. Do not measure from the fingerboard wood or the string's top surface.
In the same Fender electric reference row, action is 4/64 inch (about 1.6 mm) on both outer strings at the seventeenth fret. Those numbers cannot be relabelled as twelfth-fret targets. Fender also treats specifications as guidance that can vary with playing requirements, not an automatic pass/fail test.
| Record | Method that must travel with it | What remains undecided |
|---|---|---|
| Relief | Held frets, reading fret, string and tuning | Whether a rod adjustment is appropriate |
| Action | Reading fret, fret-top reference, string and units | Whether discomfort comes from relief, bridge, nut or other geometry |
| Pickup clearance | Held fret and pole/cover reference | Whether that pickup needs a height change |
| Octave comparison | Harmonic versus normally fretted note, after tuning | Whether the saddle needs movement |
Measure first; choose the adjustment later
A truss rod controls neck curvature. It is not a universal cure for high action or an isolated bad note. Before an adjustment, identify the exact rod, access point, correctly fitting tool and maker's instructions. Stop if the tool slips, resistance is unusual or the result is unclear.
Acoustic saddle removal and nut-slot cutting remove material or disturb fitted parts. They are not required first-day checks. A low saddle, unusual neck geometry or an acoustic pickup beneath or behind the saddle changes the assessment. Do not sand a saddle solely because another guitar's action table shows a lower number.
The free action-height guide explains the measurement questions in more detail. Keep your own instrument's method and current playable setting with any reference you use.
4. Check Intonation, Controls and the Storage Environment
Compare a fretted note, not two unfretted references
Tune the open string, then compare its twelfth-fret harmonic with the twelfth-fret note played using normal, repeatable pressure. Record whether the fretted note is sharp, flat or too inconsistent to judge. Comparing only the open string and harmonic does not test what happens when you fret a note.
Repeat before moving a saddle, and retune after any supported adjustment. Fresh strings, repeatable pressure and the completed relief/action checks make the result more useful. A guitar with shared saddles or a fixed acoustic saddle needs its own procedure; a universal factory saddle coordinate cannot set every instrument's intonation.
This is an inspection checkpoint, not a promise of perfectly tuned notes at every fret. If one chord sounds wrong, write down the chord, finger pressure and tuning rather than moving every saddle at once.
Test electronics with a known working connection
Use a known working cable and amplifier at modest volume. Check each pickup selection and the usable sweep of the volume and tone controls. Note intermittent cut-outs, crackles or a loose jack without immediately opening the control cavity.
A failed cable can imitate a guitar fault. For active electronics, check the maker's battery instructions before diagnosing a dead pickup. Do not rotate a loose output-jack assembly from outside and risk twisting its internal connections; describe the movement and seek the correct service procedure.
Photograph the resting bridge and tailpiece. If a vibrato is fitted, identify it before testing its range. An unfamiliar arm, screw or moving bridge is a reason to find the manual, not to force the assembly until it resembles another guitar.
Measure humidity before adding moisture
Martin's current care guidance recommends 45–55% relative humidity for its instruments. Taylor also recommends monitoring case humidity and gives a 45–55% RH range. Check your maker's instructions and the actual storage reading before choosing humidity control.
A new acoustic does not automatically need water added. Record the room or case reading, location and time, and monitor a pattern rather than treating one display value as a diagnosis. Follow the control product's directions; do not put wet material against the instrument or use a heater to dry it.
Sharp fret ends or changing action deserve inspection alongside environmental history. They do not establish the cause on their own. The acoustic humidity guide explains the measurement and storage routine without an automatic hardware adjustment.
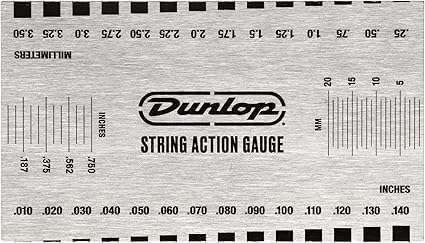
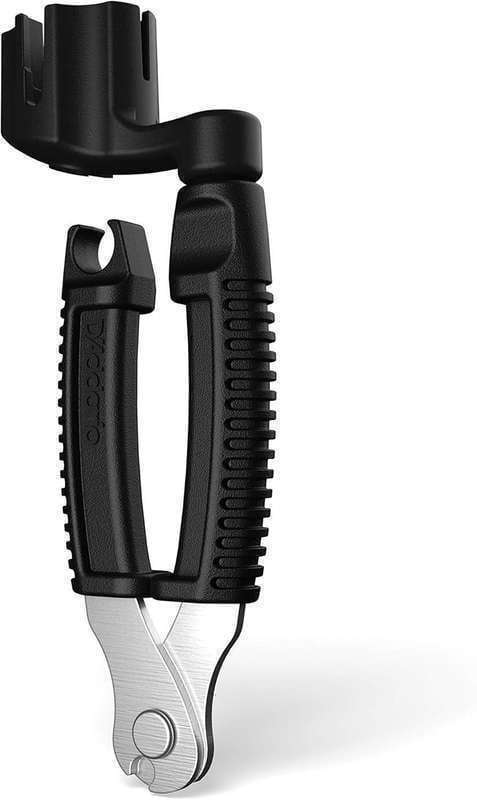
An action ruler can help record later changes; choose either suitable ruler below, not both. A winder/cutter is useful only if you are actually replacing strings using the correct method.
Optional Tools for Recording or Restringing
5. Printable Intake Sheet and the Right Next Step
Print this section or copy it into your notes. Leave unmeasured values blank. A useful completed inspection can say “no adjustment needed”; it does not need a screw-turn count in every row.
| Identification | Your record |
|---|---|
| Delivery date, seller and order reference | __________________ |
| Full model, product code and known modifications | __________________ |
| String set/gauges and intended tuning | __________________ |
| Bridge, pickup and tuner identification | __________________ |
| Maker's care/setup document | __________________ |
| Photos and initial playing concern | __________________ |
| Check | Before / method / observation | Follow-up |
|---|---|---|
| Visible condition and hardware | __________________ | __________________ |
| Tuning before/after the same passage | __________________ | __________________ |
| Relief: held frets / reading fret / units | __________________ | __________________ |
| Outer-string action: fret / units | __________________ | __________________ |
| Problem notes: string / fret / attack | __________________ | __________________ |
| Intonation: harmonic / fretted comparison | __________________ | __________________ |
| Controls, cable and battery if applicable | __________________ | __________________ |
| Humidity: case or room / time / RH | __________________ | __________________ |
Choose the route that fits the instrument
The inspection above is shared; adjustment specifications are not. These existing articles and paid guides let you continue with a relevant instrument workflow. A model name or serial lookup cannot verify replacement parts.
| Instrument | Free next step | Optional printable guide |
|---|---|---|
| Squier electric guitar | Squier setup overview | Squier Setup Cheat Sheet |
| Fender electric guitar | Setup Specs Lookup, with the model and method checked | Fender Setup Cheat Sheet |
| Acoustic guitar | Acoustic guides | Acoustic Setup Cheat Sheet |
| Les Paul or SG | Gibson guides | Gibson Setup Cheat Sheet |
| Bass guitar, including Squier bass | Bass guides | Bass Setup Cheat Sheet |
The Squier electric guide does not replace a bass-specific procedure. Likewise, an acoustic's saddle and pickup assembly deserves acoustic guidance even when its maker also produces electric guitars.
Hand over observations, not a guessed repair
Give the seller or technician the worksheet, clear photos and a short demonstration. Explain what you want to improve and what you have already changed. Ask which work is a basic adjustment and which would involve fret, nut, electrical or structural repair, with an itemized quote where appropriate.
There is no price threshold above which every new guitar needs paid setup work. Agree on the symptom, scope and desired playing result. After service, repeat the same passage and ask for the final measurements and method so you have a useful baseline.
If you separately want a used-market comparison, the Guitar Price Estimate can help investigate value. It does not certify condition, establish whether a seller owes a remedy or confirm that a new-guitar purchase price was fair.

FAQ
Do new guitars need a setup?
Some do; others already play comfortably. Inspect, tune and reproduce any problem before deciding on adjustment. A new guitar may need no changes, a preference adjustment or a seller assessment for a suspected defect.
Should I set up a guitar bought online?
Inspect it before modifying it. Photograph delivery concerns, follow its care instructions, then tune and test it. Shipping alone does not prove the setup has changed or that a paid service is necessary.
What should I do first with a new guitar?
Check the packaging and instrument for visible concerns, identify the model and follow its unboxing instructions. Then record the strings, tuning and a repeatable playing check. Contact the seller before attempting to repair suspected damage.
How long should I wait before setting up a new guitar?
Follow the maker’s advice for the finish and shipping conditions. There is no universal waiting period for every guitar. Record the initial condition promptly when safe to unpack, and postpone final adjustments if the environment or measurements remain unstable.
Why is my new guitar’s action high?
Relief, bridge or saddle height, nut geometry and the instrument’s condition can affect the result. First measure using the correct fret and method. High action alone does not tell you to turn the truss rod or sand an acoustic saddle.
Why does my new guitar buzz on one fret?
An isolated buzz needs a repeatable check, including the string, fret, attack and whether it is audible through an amplifier. It may require fret or other setup assessment, but one noisy note does not establish a high fret or justify immediate filing.
Can I check a new guitar without adjusting the truss rod?
Yes. Visual inspection, tuning, a playing comparison and properly documented relief/action measurements can all precede adjustment. Leave the rod alone when the guitar plays well or you do not have the correct instructions and tool.
Do new acoustic guitars need humidification?
Only add or remove humidity as needed for the maker’s recommended environment and the measured conditions. Martin and Taylor recommend 45–55% RH in their cited care guidance. A new instrument does not automatically need a humidifier added.
How do I check a new guitar’s intonation?
After tuning, compare the twelfth-fret harmonic with the normally fretted twelfth-fret note. Repeat with consistent pressure and record the result. Comparing only the open string with its harmonic does not test fretted intonation.
What should I bring to a professional setup?
Bring the intended string set and tuning, the intake worksheet, relevant photos and a demonstration of the problem. Agree on the work and price before proceeding, and request the final measurements for future comparison.
Keep the Baseline and Enjoy the Guitar
The point of a new guitar day checklist is to make the next decision clear. Record what works, investigate what does not and leave unnecessary adjustments alone. Repeat the same checks after an agreed change rather than judging several changes from memory.
The Squier Setup Cheat Sheet adds a portable electric-guitar measurement workflow and blank records. The Acoustic Setup Cheat Sheet provides acoustic-specific checks and a printable log. Keep this free intake sheet with either guide so the instrument's original condition remains easy to find.